
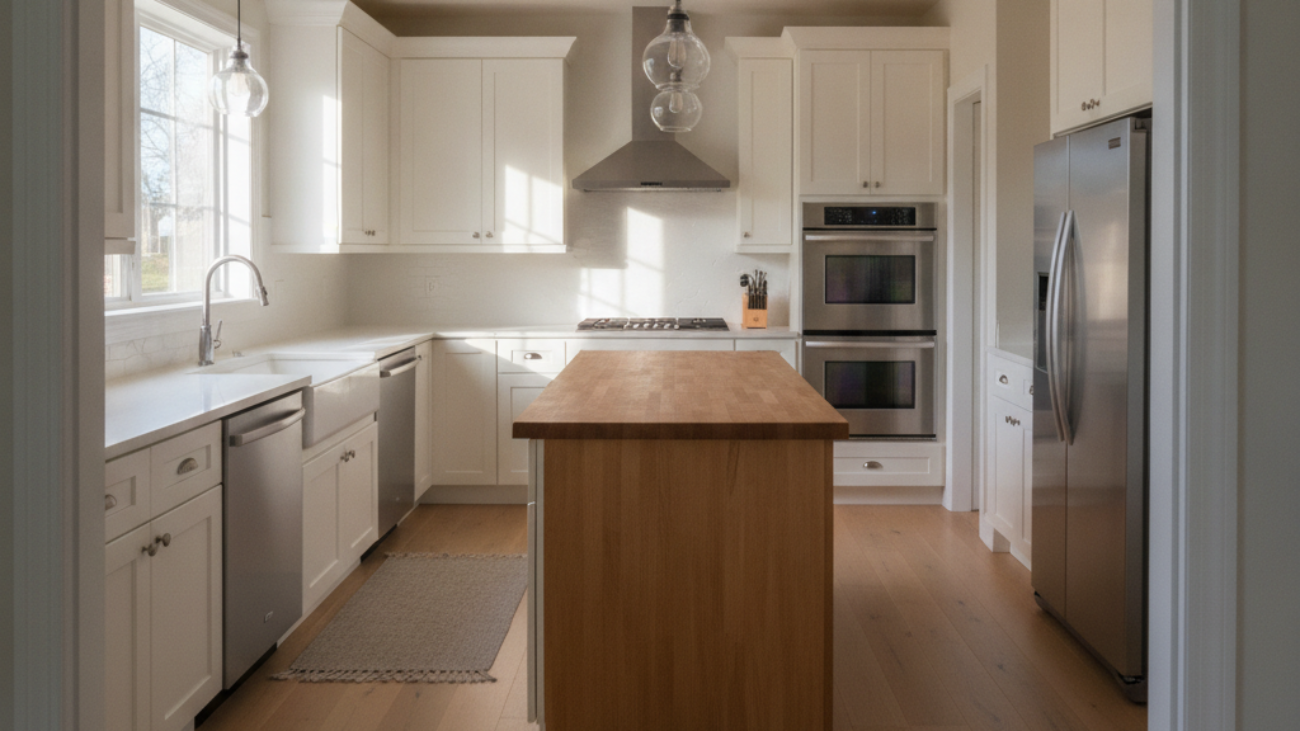
Repainting painted kitchen cabinets is the systematic prep, priming, and finishing of already-coated doors, drawers, and boxes to restore durability and refresh style. In York, homeowners choose this to avoid a full renovation’s disruption. With careful surface prep and the right products, repainted cabinets can deliver a factory-smooth, long-lasting finish.
By Paint2decor INC — GTA Cabinetry Refinishing Specialists
Last updated: 2026-06-28
Quick Summary and Table of Contents
This complete guide explains when repainting painted kitchen cabinets makes sense, how to prepare and prime for adhesion, and the pros and cons of spray versus brush-and-roll. Use the step-by-step process, tools list, and troubleshooting checklists to get a smooth, durable finish that stands up to daily use.
Use this page to plan your refresh in a clear order. Jump to any section below.
- What is cabinet repainting?
- Why repainting matters in 2026
- Prerequisites: when to repaint vs. other options
- How repainting works: the complete process
- Spray vs. brush-and-roll methods
- Best practices for durable results
- Tools and materials checklist
- Troubleshooting common paint problems
- Case examples from York and the GTA
- FAQ
- Conclusion and next steps
What Is Cabinet Repainting?
Cabinet repainting restores previously painted kitchen cabinets by cleaning, degreasing, deglossing, repairing, priming, and finishing with new coats. It renews color, hides wear, and protects wood or MDF. With correct prep and compatible primers, it achieves strong adhesion and a uniform, furniture-grade surface.
When we talk about repainting painted kitchen cabinets, we mean working over an existing coating. That coating might be latex, alkyd, or factory-cured. Each behaves differently, so compatibility and prep are crucial.
- Surface assessment: Identify the existing paint type, sheen, and failures (chips, peeling, blocking).
- Adhesion strategy: Use mechanical abrasion (120–220 grit) and bonding primer designed for slick or previously coated surfaces.
- Finish goals: Decide on sheen (matte, satin, semi-gloss) and color family that complements counters and floors.
- Durability target: Kitchens see moisture, grease, and abrasion. Aim for 2–3 finish coats over a sealed, sanded primer.
Paint2decor INC focuses on kitchen cabinet refinishing, cabinet spray painting, and respraying across the GTA. If you discover underlying veneer damage or door style fatigue, we also guide clients to alternatives like kitchen cabinet refinishing or specialized kitchen cabinet respraying.
Why Repainting Matters in 2026
Repainting extends cabinet life, modernizes style, and reduces renovation disruption. It’s a lower-waste option versus replacement, and well-executed repaints can last years with routine care. For York homeowners, it’s an efficient path to a brighter kitchen without reconfiguring layouts or replacing boxes.
Here’s why the repaint route resonates with Toronto-area homes.
- Longevity boost: A bonded system (cleaning + degloss + bonding primer + 2–3 topcoats) resists daily wiping and humidity swings typical of kitchens.
- Style fast-track: Color shifts—like warm whites, soft grays, or deep navy—refresh spaces in days, not weeks.
- Less disruption: Doors can be sprayed off-site while boxes are finished in place with masking; the kitchen often remains partly usable.
- Lower waste: Keeping sound boxes reduces landfill from demos; a single kitchen can avoid discarding dozens of doors and drawer fronts.
- Upgrade flexibility: Pair repainting with new hardware, soft-close hinges, or minor carpentry for a bigger visual lift.
In our experience across York and the wider GTA, homeowners who maintain repainted surfaces with gentle cleaners and microfiber cloths get more consistent results. Simple habits—like using vent hoods and wiping splatters within minutes—add tangible longevity.
Prerequisites: When You Should and Shouldn’t Repaint
Repaint when cabinet boxes are structurally sound, doors are stable, and existing coatings are intact or sandable. Avoid repainting if there’s persistent moisture damage, delaminating veneer, or failing adhesives. In those cases, consider refinishing, refacing, or selective replacements for better long-term results.
Before diving in, confirm these baseline conditions.
- Sound substrate: No soft spots, rot, or swollen MDF. Minor corner dings are repairable; spongy panels are not.
- Coating condition: Light chipping is okay; widespread peeling suggests contamination or prior poor prep.
- Adhesion test: Crosshatch a 1-inch area with a utility blade, press painter’s tape, and pull. Minimal removal indicates acceptable adhesion for repainting.
- Moisture control: Leaks under sinks or steam from kettles need mitigation; repainting over active moisture traps failure.
- Odor/grease load: Heavy kitchen grease requires degreasing with a detergent/degreaser and thorough rinse; residue undermines primer bonding.
If cabinets fail these checks, we often steer clients to refinishing pathways or, when style change is the goal, upgraded doors via refacing. For isolated damage, targeted repairs and individual door repaints can bridge the gap.
How Repainting Works: The Complete Process
Successful cabinet repainting follows a disciplined sequence: label and remove hardware, deep clean, scuff sand, fix defects, prime for adhesion, sand smooth, apply 2–3 finish coats, and cure. Masking, ventilation, and timing between coats prevent dust nibs and ensure a factory-like surface.
Use this step-by-step plan to organize work and protect your kitchen.
- Plan and label: Photograph the kitchen, label doors/drawers, and map hinge positions. Ten minutes of mapping avoids hours of guesswork later.
- Set up clean zones: Create a finishing area with airflow and dust control. A temporary spray station in a garage plus negative-pressure masking in the kitchen keeps dust off boxes.
- Hardware off: Remove doors, drawers, hinges, and pulls. Bag and label fasteners. Consider replacing worn hinges during reinstallation.
- Degrease thoroughly: Clean every surface with a kitchen-safe degreaser, then rinse with clean water. Residue is the top adhesion killer on cabinets.
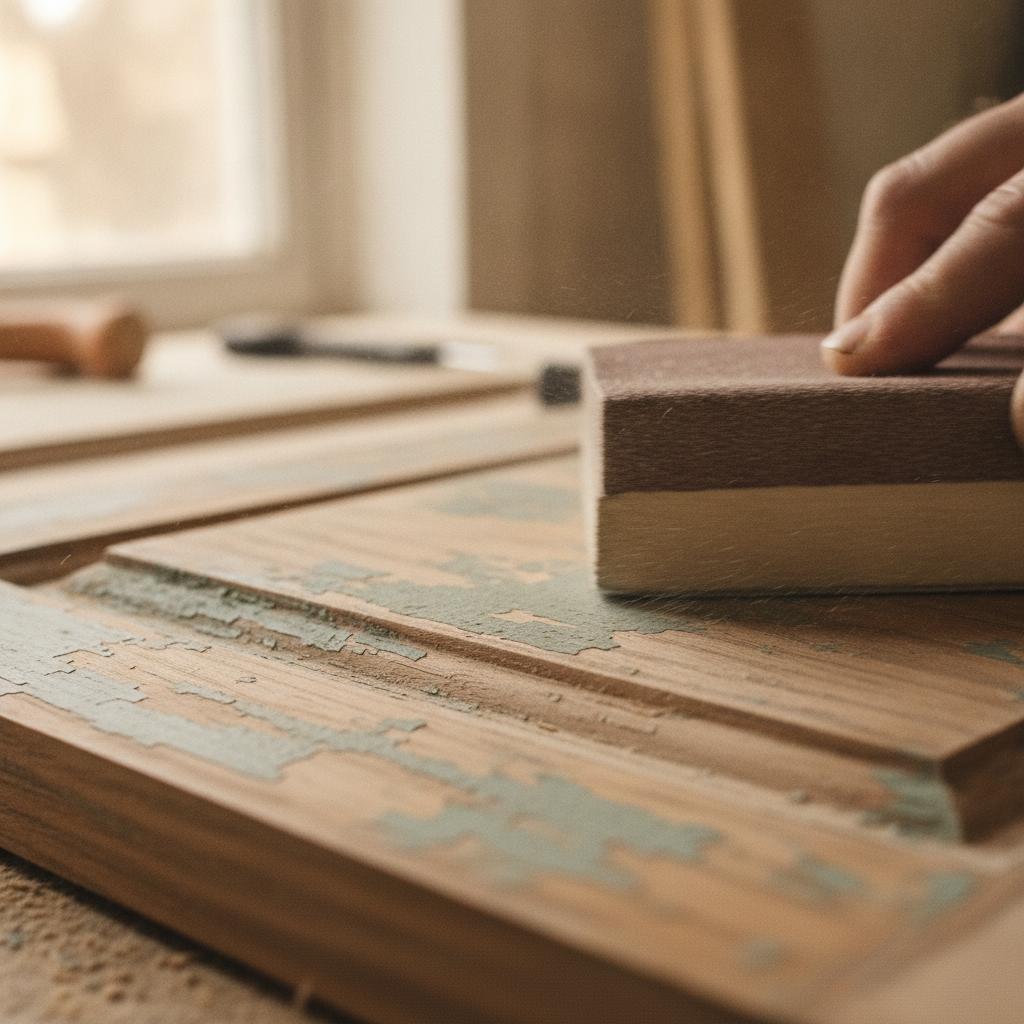
- Scuff sand: Abrade existing paint with 120–150 grit to break gloss; follow with 180–220 grit for a uniform scratch pattern that promotes primer keying.
- Repair and caulk: Fill dings with a non-shrinking wood filler. Backfill open grain if a glass-smooth look is desired. Caulk static seams; avoid caulking moving joints like panel float lines.
- Dust removal: Vacuum with a HEPA brush, then tack-cloth or microfiber wipe. Any leftover dust telegraphs through topcoats.
- Prime for adhesion: Use a bonding primer compatible with previously painted or thermofoil-like surfaces. One full coat, then spot prime repairs as needed.
- Sand the primer: Lightly sand with 220–320 grit to knock down fibers and dust nibs. Aim for a silky feel.
- Finish coats: Apply 2–3 thin coats. Whether spraying or brushing, keep film builds even. Respect recoat windows shown on the can.
- Cure and reassemble: Allow adequate cure time before reinstalling doors and adding hardware. Soft-close hinges reduce impact during early cure.
Looking for more visual detail? Our overview of painting your kitchen cabinets and this practical kitchen cupboard repaint guide expand on sequencing, masking, and cleanup.
Methods Compared: Spray vs. Brush-and-Roll
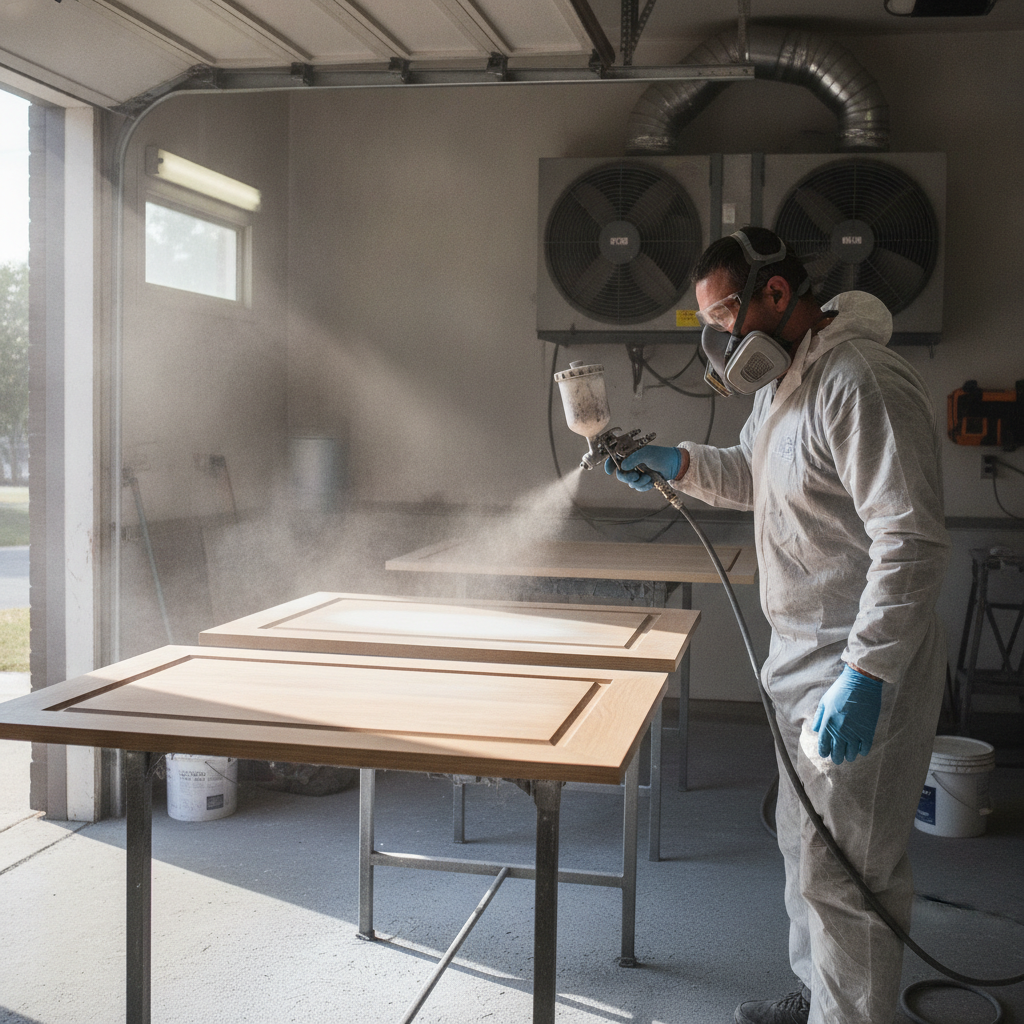
Spraying produces the smoothest, most uniform finish quickly, while brush-and-roll reduces setup and excels inside occupied homes. Both work when prep, primer, and film builds are right. Choose based on workspace, ventilation, and the desired “factory finish” look.
Both methods can perform well. Here’s a quick side-by-side to guide your choice.
| Aspect | Spray (HVLP/Airless) | Brush-and-Roll |
|---|---|---|
| Finish Quality | Ultra-smooth, factory-like; minimal texture | Very good with technique; slight orange peel possible |
| Speed | Fast application once set up | Slower application but quicker setup |
| Masking Needs | High; requires controlled spray zone | Moderate; localized masking |
| Ventilation | Critical; overspray and aerosols | Important; less atomization |
| Learning Curve | Higher; dialing viscosity and tip sizes | Lower; technique still matters |
| Best Use | Doors/drawers off-site; large batches | Boxes in-place; small kitchens or touch-ups |
If you lean toward spraying, see our practical kitchen cabinet respraying notes. For tight spaces or when keeping the kitchen semi-operational, brush-and-roll can be the smarter move.
Best Practices for Durable Results
Durable repaints come from clean surfaces, proper deglossing, compatible bonding primers, and thin, even finish coats. Control dust and humidity, respect dry and recoat windows, and allow adequate cure before heavy use. Small technique tweaks compound into a professional, long-wearing result.
Adopt these habits for consistent, pro-grade outcomes.
- Degloss fully: Even low-sheen paints carry oils and cleaners. Scuff every square inch; a uniform scratch pattern matters.
- Vent and filter: Use box fans and filters to exhaust dust. Keep relative humidity below roughly 60% while coating.
- Thin coats win: Heavy coats trap solvents and sag. Two to three thinner coats level better and cure stronger.
- Stir, don’t shake: Shaking introduces bubbles that telegraph into the finish. Stir gently and strain paints before loading.
- Temperature range: Aim for about 60–80°F for application and early cure. Extremes slow curing or cause flashing.
- Sheen strategy: Satin hides minor texture and fingerprints better than higher gloss in busy family kitchens.
- Hardware refresh: New pulls and knobs modernize instantly. Match hole spacing to avoid drilling and filling.
Local considerations for York
- Schedule sanding and spraying on low-humidity days common between spring and early fall in York to reduce dry-time variability.
- If you’re near the Toronto Public Library – Daniel G. Hill Branch or around Smythe Park, plan off-site door spraying to limit odors in multi-family buildings.
- For busy family kitchens, stage work by zones (island first, then perimeter) so meals stay manageable during the project.
When we work with York homeowners, we often build a simple calendar that staggers door batches. That rhythm—prep one day, prime and sand the next, finish coat the third—keeps quality up and the kitchen usable.
Want a pro finish without the guesswork? Our team specializes in cabinet repainting, refinishing, and respraying across the GTA. Explore our refinishing guide or get inspired by a recent kitchen cabinets makeover.
Tools and Materials Checklist
Gather a complete kit before you start: cleaning agents, abrasives, bonding primer, quality finish paint, application tools, masking supplies, PPE, and labeling materials. A well-prepped staging area and organized hardware bags save hours and prevent reinstallation delays.
Here’s a proven, field-tested list we use on York projects.
- Cleaning/Degloss: Kitchen-safe degreaser, clean water, microfiber cloths, liquid deglosser if needed.
- Abrasives: 120–150 grit (degloss), 180–220 grit (refine), 320 grit (primer sand). Sanding block + random orbital sander.
- Repairs: Non-shrinking wood filler, glazing putty for pinholes, flexible paintable caulk for seams.
- Primers: Bonding primer designed for previously painted or slick substrates.
- Finishes: Cabinet-grade enamel or equivalent durable coating in chosen sheen.
- Application: HVLP sprayer with proper tip/needle set or high-quality angled sash brush + low-nap microfiber roller.
- Masking: Painter’s tape, plastic sheeting, brown paper, zipper doorway for dust control.
- PPE: Respirator with appropriate cartridges, safety glasses, nitrile gloves, hearing protection for sanding.
- Organization: Zip bags for hardware, labels for doors/drawers, marker for hinge maps.
For spray-specific guidance on setup, airflow, and tip selection, reference our cabinet respraying guide for practical diagrams and sequencing tips.
Troubleshooting: Peeling, Bleed-Through, Orange Peel
Most cabinet paint problems trace back to contamination, incompatibility, or film thickness. Address peeling by removing failures and re-priming for adhesion; block bleed-through with a stain-sealing primer; and correct orange peel by adjusting viscosity, tip, and distance or by light sanding and recoating.
Use these quick checks to pinpoint causes and solutions.
- Peeling/Flaking: Indicates poor bonding. Strip loose areas, degrease, scuff thoroughly, and apply a bonding primer. Avoid recoating over glossy contamination.
- Tannin or Dye Bleed: Shows as brownish or pinkish staining, especially on oak or knotty woods. Spot prime with a stain blocker before finish coats.
- Orange Peel/Texture: From heavy coats or fast drying. For spray, thin per manufacturer, use correct tip, and maintain 6–8 inches distance; for brush/roll, load less and back-brush lightly.
- Brush Marks: Use higher-quality bristle or synthetic brushes, keep a wet edge, and avoid overworking partially set paint.
- Dust Nibs: Improve masking and airflow; tack between coats. A quick 320-grit pass levels nibs before the next coat.
- Blocking/Stickiness: Doors sticking to frames signal incomplete cure or heavy film. Allow longer cure and consider soft-close bumpers.
When a kitchen sees heavy cooking, we often spot-clean daily and deep clean weekly during the first two weeks of cure. That early window is when films harden significantly and are most vulnerable to abrasion.
Case Examples from York and the GTA
York homeowners often pair repainting with minor upgrades like new pulls and soft-close hinges. With methodical prep, bonding primer, and two thin finish coats, dated cabinets transform in days. Staged batches keep kitchens usable while doors cure off-site for a smoother, dust-free finish.
Here are quick snapshots from recent projects.
- Warm white refresh: A York family with sturdy maple frames wanted brighter mornings. We staged doors off-site, sprayed satin white, and brush-rolled boxes in place. Two finish coats over a sanded bonding primer delivered a uniform sheen.
- Two-tone update: Perimeter cabinets in soft gray with a navy island modernized a semi-detached home. New pulls matched existing hole spacing to avoid patching. The island was sprayed off-site; boxes were masked and coated in-place.
- Damage recovery: Near Smythe Park, steam exposure under a kettle had lifted the prior coating. We corrected ventilation habits, spot-primed with a stain blocker, and finished with a durable enamel. No telegraphing after cure.
- Hardware + hinge upgrade: A condo close to the Toronto Public Library – Daniel G. Hill Branch needed quieter doors. Soft-close hinges reduced impact during cure, minimizing blocking and edge wear in the first week.
- Door-only solution: For a rental, we focused on door repaints while keeping boxes intact. Turnaround was faster, and the visual impact was immediate.
Want a broader transformation? Explore our kitchen cabinets makeover gallery and planning notes for color inspiration and sequencing options.
Frequently Asked Questions
Homeowners ask about compatibility, timing, and durability. In short: yes, you can repaint painted cabinets with proper prep and bonding primers; most projects stage over several days; and durability depends on film builds, cure time, and daily care. The answers below cover the most common details.
Can I repaint over any existing cabinet paint?
Yes—if the existing coating is sound, clean, and deglossed. Perform a tape adhesion test, remove any loose paint, degrease thoroughly, and use a compatible bonding primer. Avoid coating over active moisture or contamination, which leads to peeling.
Is spraying better than brushing for a smooth finish?
Spraying produces the smoothest, most uniform finish, especially on doors and drawers finished off-site. Brush-and-roll can still look excellent on boxes with careful technique. Your choice should reflect workspace, ventilation, and how “factory” you want the finish to appear.
How long should I wait before reattaching doors and hardware?
Plan staging so doors cure longer off-site, then reinstall gently—often after a day or two of dry time depending on product instructions and conditions. Use soft-close hinges and bumpers to reduce impact during the first couple of weeks of cure.
What if my cabinets are peeling or the veneer is lifting?
Address the cause first. Remove failing paint, correct moisture or heat sources, and prime with the right bonding or stain-blocking primer. If veneer is delaminating broadly, consider refinishing, refacing, or selective replacement instead of repainting.
Conclusion and Next Steps
Repainting painted kitchen cabinets works when you respect prep, primer compatibility, and thin, even coats. Choose spray or brush-and-roll based on your space and finish goals. Stage work in batches, control humidity, and allow proper cure for a durable, beautiful result.
Key takeaways
- Prep drives success: clean, degloss, repair, and prime before paint.
- Both spray and brush methods work; spraying excels for doors off-site.
- Thin coats, right conditions, and patient cure produce durability.
- Staged batches keep kitchens usable during the project.
Action steps
- Walk through the complete cabinet painting guide for planning templates.
- Compare options with our refinishing guide and respraying guide.
- Review color ideas, then decide on sheen and hardware updates.
If you’d like expert hands and a predictable timeline, we’re ready to help York homeowners plan a low-disruption refresh that looks and wears like new.
For broader context on cabinet makeovers and repainting approaches, see this cabinet makeover overview, a practical step-by-step cabinet painting piece, and a discussion of remodel versus replacement considerations.