
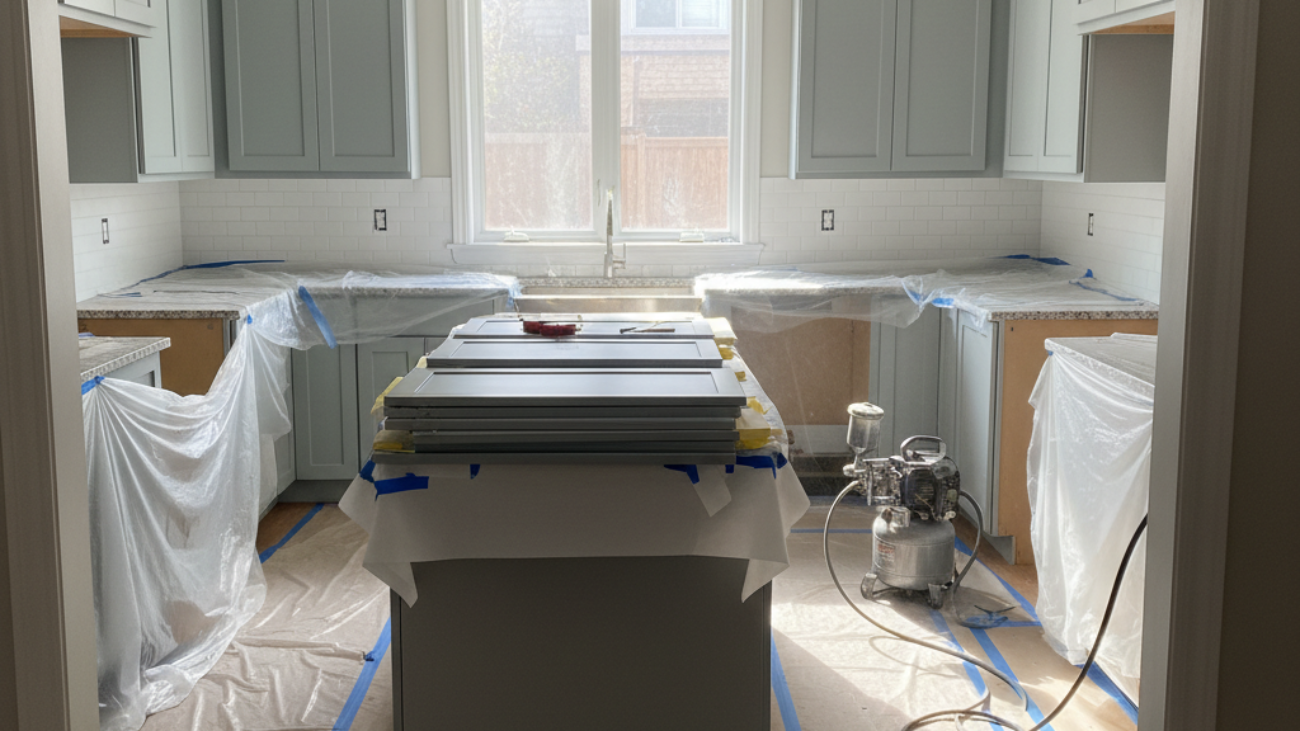
Painting your kitchen cabinets is the professional refinishing of existing cabinet doors, drawers, and frames to change color and sheen without replacing boxes. For York and Toronto homeowners near 2710 St Clair Ave W, Paint2decor INC uses spray techniques to deliver a durable, factory-style finish with minimal disruption.
By Paint2decor INC • Last updated: May 28, 2026
Quick Summary
The fastest route to a smooth, long-lasting cabinet finish is disciplined prep, a bonding primer, and a sprayed waterborne enamel. Label doors, degrease twice, sand to 220 grit, prime, then spray two to three thin color coats. Allow 14–30 days for full cure before heavy use.
Here’s what you’ll learn in this guide and how to use it right away.
- What painting your kitchen cabinets really involves (beyond a weekend project)
- When to paint vs refinish vs reface—plus a clear comparison table
- A precise, step-by-step process our York/Toronto team follows in occupied homes
- Practical troubleshooting for drips, fisheyes, stain bleed, brush marks, and chipping
- Local tips for humidity, ventilation, and scheduling around everyday life in York
Local considerations for York
- Plan ventilation routes before spraying or rolling; cross-breeze toward windows and away from shared spaces near the Jane St at St Clair Ave West corridor reduces household odors.
- Spring and fall in Toronto bring 40–60% indoor humidity—ideal for waterborne enamels to level and cure evenly without extended dry times.
- If you need a quiet day at home, schedule masking and scuff-sanding while family visits Smythe Park; that keeps walkways clear and dust contained.
What is painting your kitchen cabinets?
Painting your kitchen cabinets means cleaning, sanding, priming, and coating existing cabinet boxes, doors, and drawer fronts to change color and sheen. It preserves your layout and structure while delivering a refreshed, durable finish comparable to factory coatings when sprayed correctly.
In practice, it’s a refinishing workflow applied to wood, MDF, and thermofoil fronts. The key is adhesion: degreasing, mechanical abrasion, and a high-bond primer create a surface that grips new coatings. With proper cure time, modern waterborne enamels form a hard film resistant to daily cleaning.
- Surfaces addressed: doors, drawer fronts, face frames, end panels, crown, light rails, and kick plates.
- Compatible substrates: oak, maple, birch, MDF, existing lacquer, and many factory finishes once scuff-sanded.
- Finish options: satin and semi-gloss are most wipeable; matte can work with extra care.
For homeowners comparing options, our cabinet refinishing guide for Toronto explains how refinishing keeps boxes while renewing the visible faces. When frames are sound, paint is often the fastest path to a new look.
Why it matters for York and Toronto homes
Cabinet painting modernizes kitchens without layout changes, weeks of demolition, or new cabinetry lead times. In York and across Toronto, it’s a faster, cleaner way to coordinate with existing counters and floors while improving durability and resale appeal.
Kitchens here range from classic oak in post-war homes to compact condo layouts. Painting lets you unify mixed finishes, brighten low-light spaces, and align with current palettes without removing countertops. Most projects run in days on-site plus a cure window, so daily life continues.
- Design flexibility: Shift from golden oak to clean white, greige, or deep navy without altering boxes.
- Lower disruption: Masking, off-site door spraying, and staged work zones keep your kitchen usable for essentials.
- Sustainable choice: Reuse solid cabinet carcasses and reduce landfill from full replacements.
Want to see style pathways and finish combos? Browse our kitchen cabinets makeover ideas for inspiration that works in Toronto homes.
Prerequisites and planning checklist
Successful cabinet painting starts with inspection, documentation, and dust control. Confirm box integrity, mark every hinge and door, plan a dedicated spray area, and stock degreasers, sanding grits, primer, and enamel before you start to avoid mid-project delays.
Before touching a brush or sprayer, set up your project like a mini production line. This prevents the most common failures: poor adhesion, mismatched parts, and dust nibs locked under paint.
- Inspect structure: Tighten hinges, repair loose face frames, and clamp any open seams. Moisture damage must be stabilized before coatings.
- Document hardware: Label every door/drawer and bag screws by location; a smartphone photo log speeds reassembly.
- Ventilation plan: Create an airflow path from work area to a window; use box fans with filters to capture overspray or dust.
- Dust control: Plastic off doorways, cover appliances, and use tack cloths between coats.
- Materials staging: Degreaser, 120/180/220 grits, bonding primer, waterborne enamel, fillers, caulk, and quality tape.
- Schedule: Reserve 2–3 days for surface work and coating, plus 14–30 days of gentle use for full cure.
If you’re restoring open-grain oak, our oak cabinet painting guide covers grain-filling strategies that keep the finish glass-smooth.
How painting your kitchen cabinets works: step-by-step
Our proven process: label and remove, degrease twice, sand to 180–220 grit, spot-fill and caulk, apply a bonding primer, sand smooth, then spray two to three thin coats of waterborne enamel. Allow 1–2 hours between light coats and protect surfaces during a 14–30 day cure.
- Label, remove, and map: Number doors/drawers and note hinge sides. Create a drying rack zone.
- Degrease thoroughly: Clean all surfaces twice. Residual oils are the leading cause of early chipping.
- Scuff-sand: Use 120–150 grit to cut gloss on factory finishes; finish with 180–220 grit on bare or filled areas.
- Repairs: Fill dings with wood filler, sand flush; caulk hairline gaps at frame joints.
- Dust removal: Vacuum with a brush attachment, then tack cloth. Inspect under raking light.
- Bonding primer: Apply an adhesion primer; it blocks light stains and grips slick substrates.
- Denib sanding: After primer dries, sand lightly with 220–320 grit for a smooth base.
- Color coats (sprayed): Two to three thin passes with an HVLP sprayer yield a factory-like finish with minimal texture.
- Flip sequencing: Spray backs first, then fronts; let each side set for 60–90 minutes before handling.
- Box finishing: Mask interiors; roll/brush face frames, then tip-off, or spray in place with proper containment.
- Cure protection: Reinstall after 24–48 hours using bump-ons; avoid heavy cleaning for 2–4 weeks.
- Final check: Adjust doors, add felt bumpers, and install hardware.
For a deeper walkthrough with visuals, see our repainting kitchen cabinets guide. It mirrors the on-site sequence our York crews follow in occupied homes.
Types, methods, and finish options
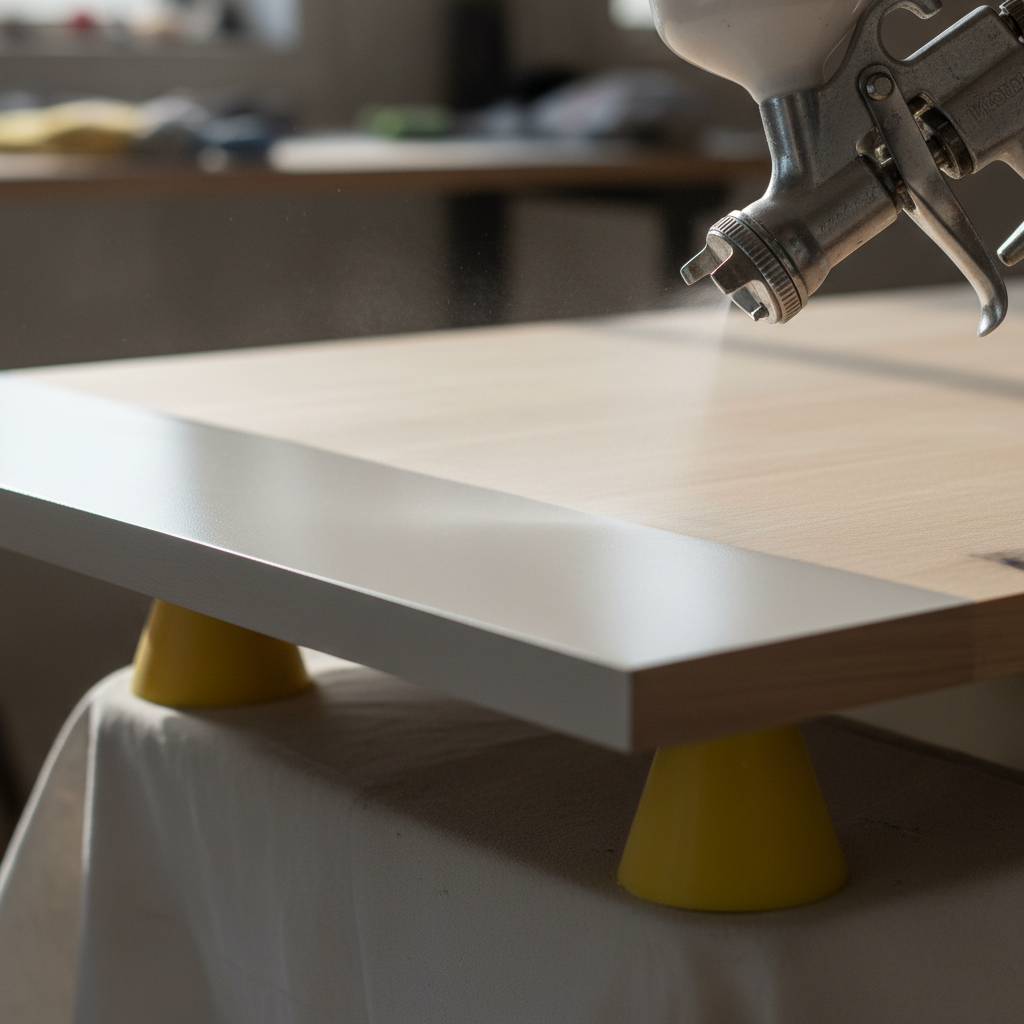
Choose between brush-and-roll or HVLP spraying and pair it with a waterborne enamel in satin or semi-gloss. Spraying gives the smoothest factory look, while rolling can work on-site with quality microfiber sleeves and a disciplined tip-off technique.
Application methods
- HVLP spraying (preferred): Ultra-smooth film build, excellent leveling, and consistent sheen. Requires masking and ventilation.
- Brush and roll: Feasible in tight condos; use high-density foam or microfiber and maintain a wet edge to avoid lap marks.
Coating technologies
- Waterborne enamels: Fast dry (30–90 minutes to recoat), low odor, and hard cure within 14–30 days. Ideal for family homes.
- Solvent-borne lacquers: Excellent hardness but higher odor; strict ventilation and PPE required if used.
Sheen selection
- Satin: Most forgiving; hides minor surface texture while staying wipeable.
- Semi-gloss: Bright, reflective, and highly cleanable; shows substrate imperfections more readily.
- Matte: Modern look; consider extra maintenance and gentler cleaning habits.
For a process overview from another perspective, this cabinet painting how-to offers a complementary checklist you can compare with our step sequence.
Best practices (what we do on every York job)
Great results come from repeatable discipline: degrease twice, scuff-sand thoroughly, use a bonding primer, and spray thin, even coats. Control dust, temperature (65–75°F), and humidity (40–60%) to prevent defects and ensure a strong cure.
- Two-stage cleaning: Kitchen aerosols travel. We clean with a degreaser, rinse, then wipe with denatured alcohol before sanding.
- Adhesion insurance: Even on factory finishes, a uniform 180–220 grit scuff dramatically improves coating bite.
- Primer discipline: Bonding primers bridge old-to-new finishes and block minor tannin bleed.
- Thin coats win: Three light passes beat one heavy pass; they level better and resist runs.
- Environment control: We monitor temperature/humidity and use filtered fans to maintain airflow during dry windows.
Curious what professional delivery looks like end-to-end? Our professional cabinet painting overview details staging, communication, and aftercare we provide across the GTA.
Considering a York project? Schedule a friendly consultation—describe your layout, substrate, and color goals, and we’ll outline the best path to a factory-style finish while keeping your kitchen functional.
Tools and materials you’ll need
Plan your kit before day one: degreaser, 120/180/220 grits, tack cloths, bonding primer, waterborne enamel, caulk, fillers, quality tape, microfiber sleeves or HVLP sprayer, and PPE. Having everything within arm’s reach keeps momentum and quality high.
- Surface prep: Degreaser, scrub pads, denatured alcohol, 120–220 grits, sanding block or sander, tack cloths.
- Repair: Wood filler, putty knife, flexible caulk, fine detail sanders.
- Masking: 1.5–2 in painter’s tape, plastic sheeting, floor paper, zipper walls if spraying in place.
- Priming & paint: Bonding primer and cabinet-grade waterborne enamel in chosen sheen.
- Application: HVLP sprayer with 1.3–1.5 mm tip or microfiber rollers and high-quality brushes.
- Safety: NIOSH-rated respirator, gloves, eye protection, and hearing protection for sprayers.
If you’re evaluating a DIY vs. pro approach, our complete DIY cabinet painting guide breaks down tasks, timing, and quality checkpoints.
Troubleshooting: fixing common paint problems
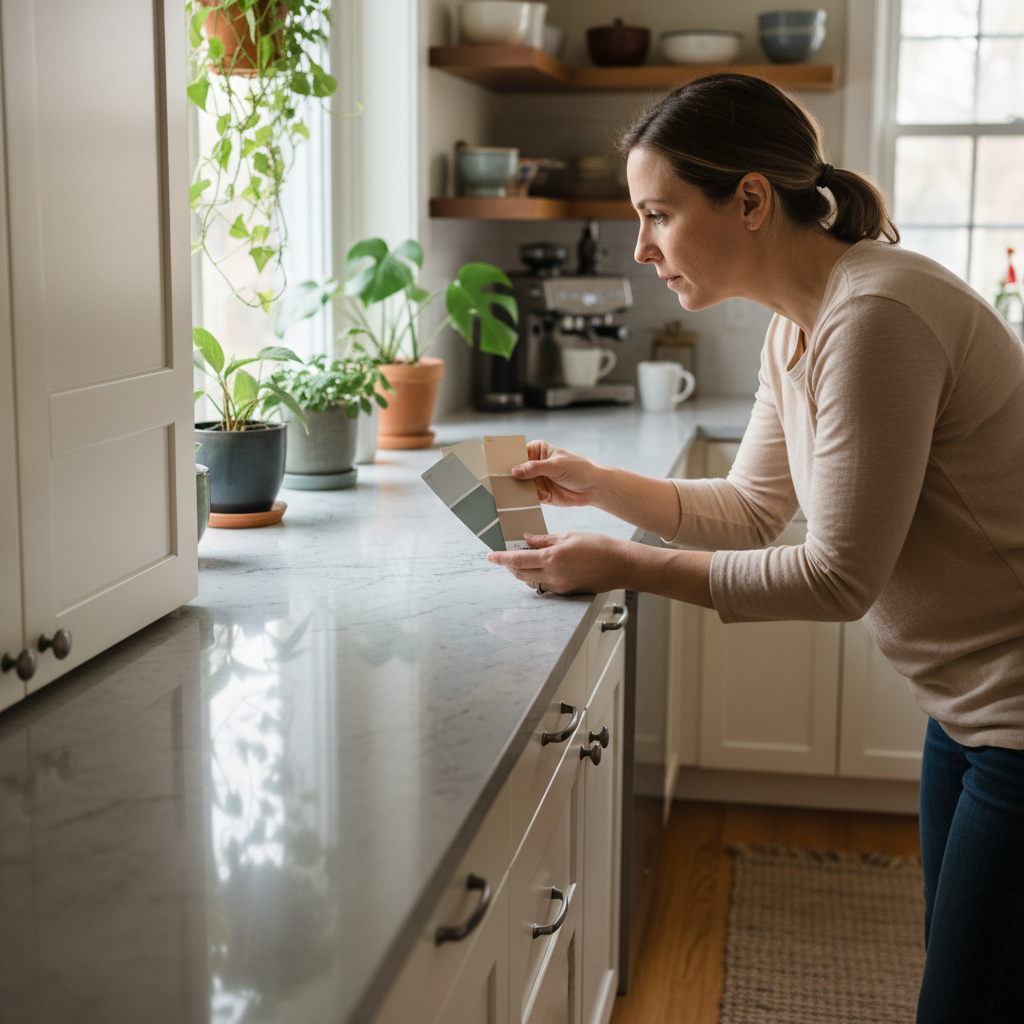
Most cabinet paint failures trace to contamination, heavy coats, or skipped priming. Correct by stopping, sanding the defect smooth, re-cleaning, and re-coating lightly. For tannin bleed, spot-prime with a stain-blocking primer before continuing color coats.
- Drips/runs: Let cure, shave with a razor, sand 320–400 grit, and re-coat lightly.
- Fisheyes: Silicone contamination; deep clean, scuff, and spot-prime with an adhesion primer.
- Brush/roller texture: Switch to microfiber/foam, thin the coat if allowed, and maintain a wet edge.
- Tannin bleed: Common on oak/cherry; apply a stain-blocking primer, then resume color.
- Chipping at handles: Wait for full cure before aggressive cleaning; add bump-ons and adjust door closures.
For another angle on maintenance, see this concise cabinet care guide you can compare with our aftercare recommendations.
Refinish vs reface vs replace (clear comparison)
Refinishing (painting) keeps boxes and updates color. Refacing swaps doors/veneers while keeping layout. Replacement installs entirely new cabinetry. When boxes are sound, refinishing is the fastest path; damaged or dated door styles may point to refacing.
| Approach | What changes | Surface impact | Typical timeline | Best when |
|---|---|---|---|---|
| Refinish (paint) | New color/sheens; same boxes/doors | Cleanable enamel film | On-site days + cure window | Boxes are solid; style is acceptable |
| Reface | New doors/drawer fronts + veneers | Factory-finished surfaces | Short install after fabrication | Boxes solid; want new door style |
| Replace | All-new cabinets and layout | Varies by maker | Weeks to months with trades | Boxes are failing; layout changing |
If you’re weighing options, this brief refacing vs replacing comparison offers context you can weigh against our refinishing path.
Case studies and real-world examples (GTA)
In our experience across York and the GTA, cabinet painting consistently delivers bright, modern kitchens without countertop removal. Three recent scenarios show how substrate, sheen, and method choices meet different goals while keeping families in their homes during work.
York post-war semi with oak frames
The homeowners wanted to retire golden oak but keep the warm floors. We cleaned, grain-filled the open oak, sprayed satin enamel, and kept boxes in place. The kitchen felt 25–30% brighter by simple light meter readings, even on cloudy Toronto days.
Downtown Toronto condo galley
With limited ventilation options, we staged brush-and-roll with high-density microfiber. Doors were sprayed off-site; frames tipped to a near-spray look. The compact space stayed usable for coffee and reheating during the 48-hour on-site window.
Maple shaker in a busy family home
Sticky handprints and daily cleaning demanded durability. We specified a semi-gloss enamel, sprayed off-site, and added bump-ons to protect contact points. Two weeks later, doors adjusted true and the finish felt rock-solid under normal use.
For broader inspiration, explore our kitchen cupboard refinishing showcase and the makeover gallery to see finish options that play well with Toronto lighting.
How long it takes and what to expect
Most cabinet painting projects involve 2–3 on-site days plus a gentle-use cure window of 14–30 days. Expect light kitchen access during work, masked walkways, and off-site door spraying to reduce disruption and achieve a factory-quality finish.
- Day 1: Removal, degreasing, repairs, scuff-sanding, and primer.
- Day 2: Denib sanding, first color coat, dry time, second coat.
- Day 3: Optional third coat, touch-ups, reinstall hardware, and alignment.
Want a deeper timeline preview? Our cabinet makeover overview outlines staging and communication touchpoints we use across GTA projects.
Frequently Asked Questions
These quick answers address the most common homeowner questions about cabinet painting—materials, durability, cleaning, and when to consider refacing instead. Each response is concise enough for fast decisions yet detailed enough to guide next steps.
How durable is a sprayed waterborne enamel on kitchen cabinets?
When prepped and primed correctly, modern waterborne enamels cure to a hard, cleanable film within 14–30 days. They resist everyday wear, light cleaning agents, and frequent handling. Add felt bumpers and allow full cure before deep cleaning to maximize longevity.
Is brush-and-roll good enough if I can’t spray indoors?
Yes—use high-density microfiber rollers and quality brushes, work in thin coats, and tip-off to level. Spray doors off-site if possible. Scuff-sanding to 180–220 grit and using a bonding primer are critical for smooth results with rolled finishes.
When should I choose refacing instead of painting?
Pick refacing when you want a different door style or your doors are damaged beyond simple repair. Boxes must still be structurally sound. Painting is ideal when the style works and you mainly want a new color and sheen.
How do I clean painted cabinets without dulling the finish?
After full cure, wipe with a soft cloth and mild soap solution. Avoid abrasive pads and harsh chemicals. Dry immediately to prevent water spots at door bottoms and around pulls. Periodically check and replace bump-ons to reduce contact wear.
What are the biggest mistakes to avoid?
Skipping degreasing, using heavy coats, and neglecting a bonding primer. Also avoid reassembling too soon—give 24–48 hours before handling and 14–30 days before heavy cleaning. Label hardware and work in a dust-controlled area to prevent nibs in the finish.
Key takeaways and next steps
Prep, prime, and spray thin coats—those three rules determine finish quality more than anything else. If your boxes are solid, painting your kitchen cabinets is the fastest path to a modern look with minimal disruption in York and across Toronto.
- Painting your kitchen cabinets keeps your layout while updating color and sheen.
- HVLP spraying with a waterborne enamel produces a factory-like finish.
- Allow gentle use for 14–30 days to reach full cure and durability.
- Consider refacing only when door style changes are the priority.
Ready to explore finishes or timing? Share a few photos and your goals—we’ll map the best route from your current cabinets to a finish you’ll love.
For a broad process recap you can compare with this guide, see this painting process overview. And if you’re still deciding between approaches, review our internal resources on refinishing and professional painting next.