
Refinishing honey oak cabinets is the professional process of cleaning, repairing, sanding, priming, and topcoating oak doors and boxes to neutralize orange tones and reveal a smooth, modern finish. In York near 2710 St Clair Ave W, our team at Paint2decor INC refinish honey oak cabinets on-site and in a spray booth for a factory-grade look that lasts.
By Paint2decor INC • Last updated: June 12, 2026
Quick Summary and Contents
To refinish honey oak cabinets, remove doors, label hardware, degrease, sand (120/180/220 grit), fill oak grain, prime with bonding primer, and spray two to three durable topcoats. Expect 5–7 working days including booth curing. Below you’ll find methods, finish options, safety tips, and York/Toronto-specific advice.
Here’s what you’ll learn and how to navigate this complete guide quickly.
- What honey oak refinishing is and when it’s better than refacing or replacing
- Why 2026 trends favor low-yellow, matte or satin finishes that tame orange tones
- Step-by-step workflow our technicians use in the GTA (doors in booth, boxes on-site)
- Methods: light re-stain, paint-grade filled oak, or hybrid stain + paint combinations
- Best practices for adhesion, dust control, and long-term durability
- Tools, materials, PPE, and safe handling basics
- Local considerations for York and the Toronto climate
For a deeper primer on options across Toronto kitchens, see our kitchen cabinet refinishing guide and our dedicated refinishing service page.
What Is Honey Oak Cabinet Refinishing?
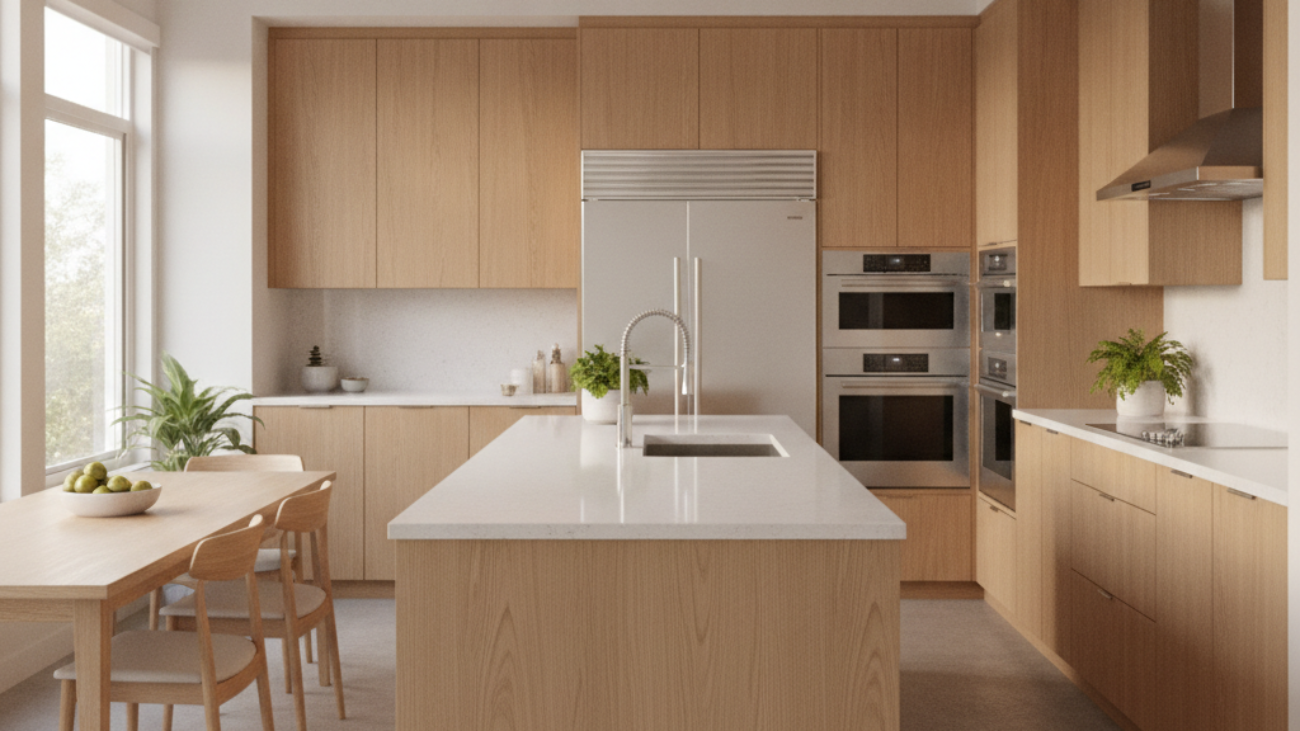
Honey oak cabinet refinishing is the targeted restoration of existing oak doors and boxes using surface prep, grain filling, primers, and durable coatings. The goal is to mute the amber cast, close heavy grain, and deliver a smooth, modern finish—without replacing sound cabinet boxes.
When we say “refinish,” we mean transforming the surface your family touches every day. For honey oak, the challenge is twofold: strong yellow-orange pigments and open, cathedral grain. Left alone, both read dated under 3000–3500K kitchen lighting.
- Scope: Doors/drawers removed and numbered; boxes masked and sprayed on-site; doors sprayed in a controlled booth.
- Durability: 2–3 topcoats in satin or matte; full cure in roughly 7 days; light use after 24 hours.
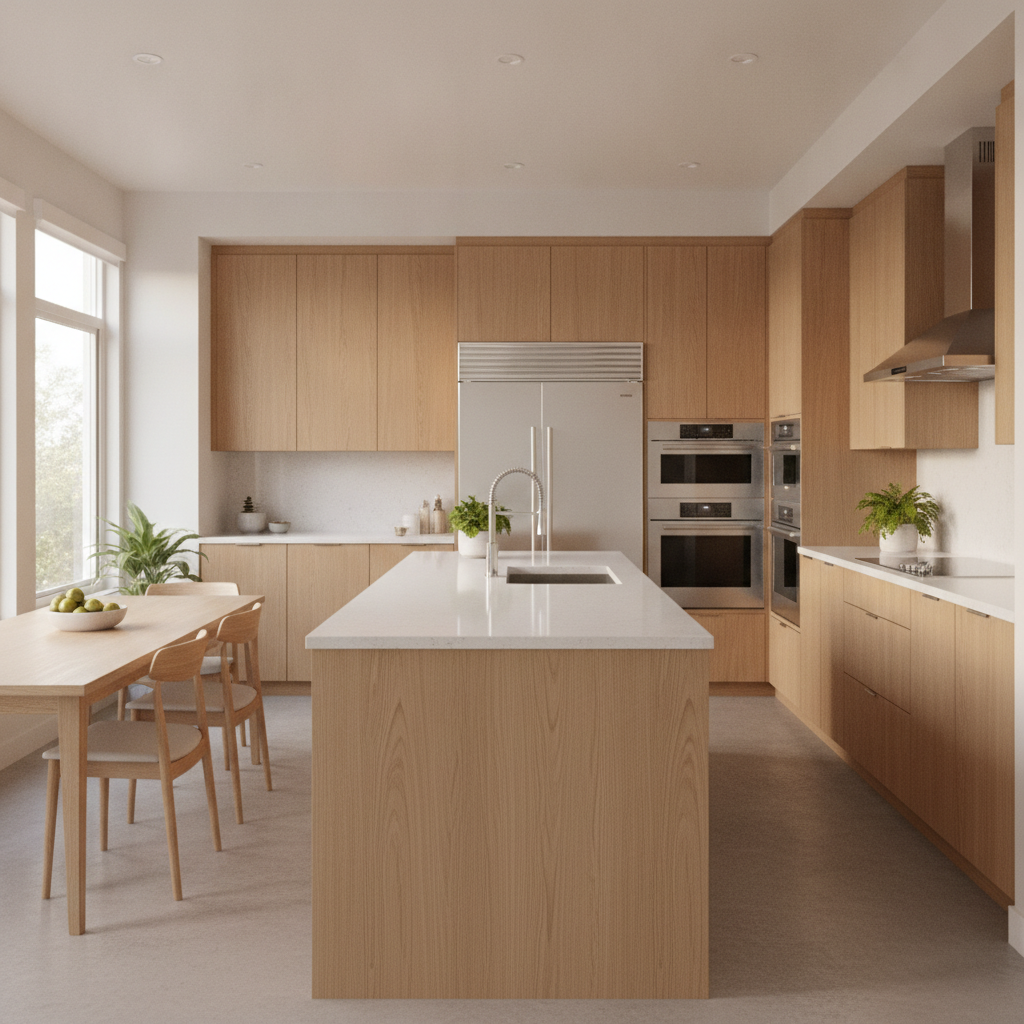
- Finish goals: Neutralize warmth, refine texture, and align with 2026 palettes (soft whites, warm grays, greige, natural oak wash).
Many Toronto homeowners first compare cabinet refinishing in Toronto with refacing. If boxes are sturdy and layouts work, refinishing is often the faster, cleaner path to a modern look.
Why Refinishing Honey Oak Matters in 2026
Refinishing honey oak cabinets modernizes kitchens quickly, supports resale, and avoids the disruption of full replacement. In York and across Toronto, matte or satin refinishes in neutral tones consistently photograph brighter, hide wear, and pair with today’s counters and hardware.
Design shifts in 2026 favor low-sheen textures and desaturated woods. That’s good news for oak owners. By filling grain and controlling undertones, we make older doors read like new millwork under LED lighting.
- Faster transformation: Typical projects run 5–7 working days end to end, including booth time.
- Lower disruption: Kitchens remain usable for essentials; we stage work to keep sinks and pathways open.
- Style alignment: Whites (LRV 80+), warm grays, and light natural stains complement quartz and brushed hardware common in the GTA.
- Sustainability angle: Reusing boxes reduces waste and keeps layout intact.
Need a quick visual of possibilities? Our article on painting oak cabinets shows how color and sheen reduce visual noise from open grain.
How to Refinish Honey Oak Cabinets: Step-by-Step
Successful refinishing follows a tight sequence: label and remove doors, degrease, sand 120/180/220, fill grain, sand again, prime with bonding primer, caulk seams, then spray two to three topcoats. Maintain 60–70°F and 40–60% RH for even leveling and predictable cure.
Here’s the proven field workflow our GTA team uses on honey oak. Use it as a checklist or to understand how we’ll manage your project.
- Label and remove (1–2 hours): Number hinges and doors. Photograph layouts. Typical kitchens have 25–45 pieces.
- Degrease thoroughly: Use a cabinet-safe degreaser. Rinse with clean water. Oils break adhesion—don’t skip.
- Repair and fill: Tighten loose hinges, epoxy minor dings. Spot-fill chips; let cure per product spec.
- Progressive sanding: 120 grit to cut finish, 180 to refine, 220 for spray-ready tooth. Vacuum and tack between grits.
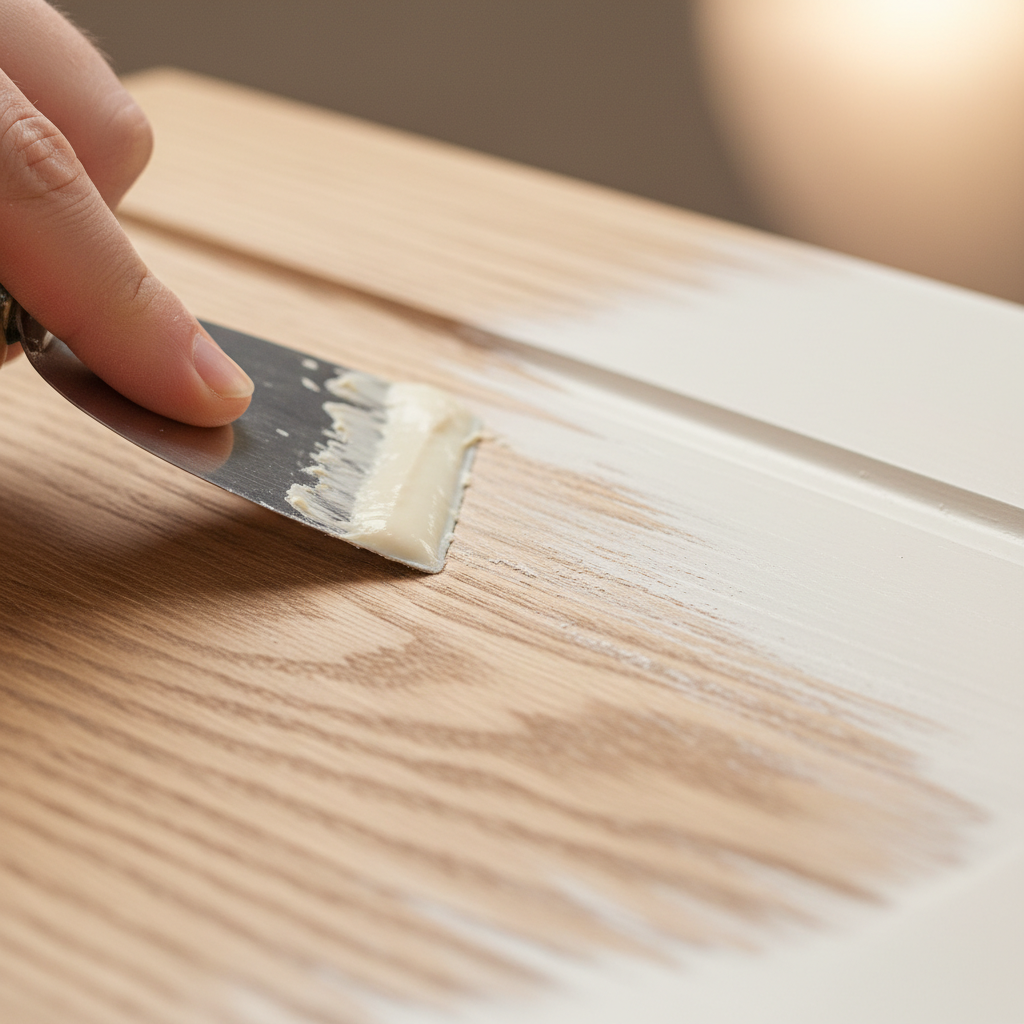
- Grain filling (oak-specific): Apply solvent or water-based filler across grain with a flexible blade. Let dry; block-sand to flat.
- Bonding primer: Spray or roll a high-adhesion primer formulated for wood; allow dry time (often 1–2 hours).
- Detail work: Caulk open seams after primer highlights gaps. Scuff with 320 grit before topcoats.
- Spray topcoats: Use HVLP with a 1.3–1.5 mm needle. Two to three thin coats reduce sags; 30–45 minutes between passes.
- Control climate: Target 60–70°F, 40–60% RH. Add makeup air and filtration to keep dust off wet film.
- Cure and reassembly: Rehang after overnight set. Full hardness develops over ~7 days; baby the finish during week one.
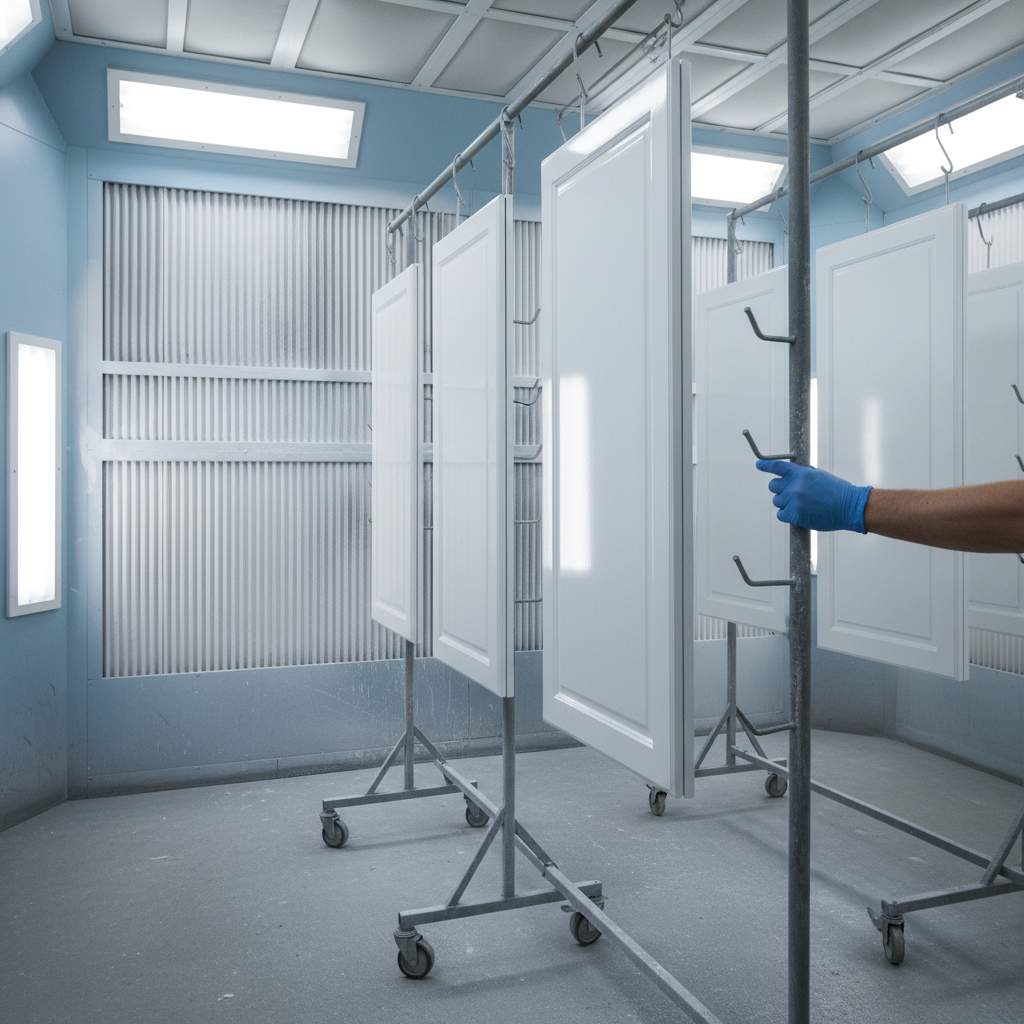
Below, you can see two critical stages—grain filling and controlled spraying—that make refinished oak look brand new.
Doors and drawer fronts cure best in a dust-managed spray booth, which delivers consistent atomization and leveling.
Want to see color direction by door style? Our post on restaining honey oak cabinets explores lighter natural washes versus deeper tones.
Methods and Finish Options (Stain, Paint, Hybrid)
You can modernize honey oak by: 1) light re-staining to a neutral oak wash, 2) paint-grade refinishing with filled grain, or 3) hybrid stain-and-paint combinations. Choose based on grain tolerance, desired texture, and how much of oak’s character you want to keep.
Option 1: Light Re-Stain (Natural Oak Wash)
- Best when: You like wood texture but want less orange.
- Approach: Strip or sand back to bare wood; use a neutral or cooler-toned stain; seal with a clear, non-yellowing topcoat.
- Result: Subtle grain remains; color shifts toward beige/greige. Pair with warm white walls (LRV 80+).
Option 2: Paint-Grade with Grain Fill
- Best when: You want a smooth, contemporary look that hides heavy grain lines.
- Approach: Fill, prime, and spray two to three coats of cabinet-grade enamel or 2K poly in satin or matte.
- Result: Quiet, modern panels that photograph cleanly and are easy to wipe down.
Option 3: Hybrid (Stained Frames, Painted Panels)
- Best when: You want contrast and depth without busy visuals.
- Approach: Re-stain stiles/rails; paint recessed panels; or reverse for lighter center with darker frame.
- Result: Designer look with controlled grain—great with mixed-metal hardware.
| Method | Grain Visibility | Undertone Control | Sheen | Notes |
|---|---|---|---|---|
| Light Re-Stain | Medium | Moderate | Matte–Satin | Keeps wood feel; requires bare-wood prep |
| Paint-Grade + Fill | Low | High | Matte–Satin | Smoothest; most modern result |
| Hybrid | Low–Medium | High | Matte–Satin | Statement look; careful masking |
If you’re weighing a major change, our broader overview of kitchen cupboard refinishing puts these paths in context for Toronto homes.
Best Practices and Common Mistakes
The best refinishes come from immaculate prep, climate control, and thin, even coats. Avoid shortcuts like poor degreasing, skipping grain fill on oak, over-brushing, and rushing cure times. A simple scuff test after 24 hours proves adhesion before reassembly.
Best Practices We Follow
- Labeling: Number every door/drawer and bag hardware; rehang to the same opening.
- Dust management: Zip walls, exhaust, and multi-stage filtration; wipe-down between coats.
- Film build: Three thin coats level better than one heavy pass; aim for consistent mil thickness.
- Color proofing: Brush-out samples under your actual lighting (3000–3500K) before committing.
- Hardware plan: Pre-drill for new pulls; use jigs to keep lines straight within 1–2 mm.
Common Mistakes to Avoid
- Inadequate cleaning: Even trace oils cause fisheyes. Degrease twice in heavy-use zones.
- Skipping filler on oak: Without fill, grain telegraphs through paint regardless of coats.
- Over-sanding profiles: Stay on flats with blocks; protect crisp edges on rails/stiles.
- Thick coats: Leads to sags and solvent trap. Multiple light passes are safer.
- Rushing reassembly: Handles and magnets can imprint soft film within 48 hours.
For a second opinion on visual direction, this industry perspective on making oak cabinets look modern shows how undertones and hardware choices influence the final read.
Tools, Materials, and Safety
Refinishing needs pro-grade tools (HVLP sprayer, dust extraction, sanding blocks), surface systems (degreaser, fillers, primers), and PPE (respirator, gloves, eye protection). Read product labels and ventilate. Maintain 40–60% RH to prevent flashing and dust nibs.
Core Tooling
- HVLP sprayer: 1.3–1.5 mm needle set; test fan pattern on sample doors.
- Extraction and filtration: Vacuum with HEPA; pre-filter + MERV 13+ for on-site spray areas.
- Sanding system: Orbital sander plus soft interface pads; grits 120/180/220/320.
- Lighting and meters: Portable LEDs and a humidity/temperature gauge to keep conditions in range.
Surface Chemistry
- Degreasers: Cabinet-safe cleaners to break down oils around handles and near ranges.
- Grain fillers: Water- or solvent-based; tinted options reduce show-through in whites.
- Primers: Bonding primers that bite slick OEM finishes.
- Topcoats: Cabinet-grade enamels or two-component polyurethanes for higher chemical resistance.
Safety Basics
- Respiratory protection: Wear a properly fitted respirator and change cartridges as directed.
- Ventilation: Exhaust to the exterior; create negative pressure to keep dust out of living spaces.
- Curing discipline: Avoid stacked items or heavy magnets on fresh doors for at least 72 hours.
If you plan any DIY prep, this general how-to on painting kitchen cabinets can help you understand sequence and tools before our crew arrives.
Case Studies and Local Examples
In the Toronto area, we commonly refinish 25–45 oak fronts per kitchen in 5–7 working days. Typical results: orange tones muted by 60–80%, grain visually softened, and a satin or matte sheen that photographs brighter with neutral walls and brushed hardware.
York Project Snapshot
Near our York base, a 30-door Shaker set read orange under warm bulbs. We filled grain, primed, and sprayed a warm white satin. Within 48 hours of rehang, the family reported the room felt “larger and calmer.” Their under-cabinet LED strips (3000K) now match the cabinet undertone.
Toronto Bungalow Refresh
A 42-piece set in a midtown bungalow had layout and boxes in great shape. We recommended paint-grade refinishing versus refacing. The smooth finish paired well with new pulls at 96 mm center-to-center, creating straight visual lines across banks of drawers.
Local considerations for York
- Schedule door pickup and return around traffic near Jane St at St Clair Ave West; it helps us stage work efficiently and reduce downtime.
- Winter and shoulder seasons are ideal for spray-booth work; we tightly control humidity when outdoor RH swings above 60%.
- If you need a quiet staging zone, many clients clear a table near Smythe Park hours; we label bags and maintain order so cooking stays functional.
Curious how refinishing compares to structural changes? Refacing vs. Replacing
Refinishing updates color and texture on existing doors and boxes. Refacing swaps doors and veneers but keeps boxes. Replacing rebuilds everything. If boxes are solid and layout works, refinishing is the least disruptive way to modernize honey oak.
| Path | Changes | Timeline | Disruption | Best For |
|---|---|---|---|---|
| Refinish | Surface color/texture | ~5–7 working days | Low | Solid boxes; modern look |
| Reface | New doors + veneer | ~1–2 weeks | Medium | New door style; keep layout |
| Replace | Full cabinet rebuild | Multi-week | High | Layout change; damaged boxes |
Evaluating options? Our Toronto refinishing overview helps you decide when to refinish, reface, or take a hybrid route.
Thinking about your oak kitchen? We can refinish doors in our booth while keeping your kitchen functional. Explore our refinishing service to see how we stage projects across the GTA.
Maintenance and Longevity
Modern cabinet coatings reach light use in 24 hours and fuller hardness in ~7 days. Clean with pH-neutral soap and microfiber. Avoid abrasives, strong solvents, and heavy magnets for the first week to protect the fresh film.
- Cleaning cadence: Wipe spills quickly; set a weekly microfiber routine in cooking zones.
- Hardware care: Tighten pulls after the first month once the finish has fully settled.
- Humidity: Keep indoor RH 40–60% to limit panel movement and seam stress.
- Touch-ups: Keep a small labeled jar of your topcoat for micro-repairs on corners.
When maintained, refinished oak holds its sheen and color for years while resisting household cleaners better than standard wall paints.
FAQ: Refinishing Honey Oak Cabinets
Homeowners ask about timeline, grain visibility, color choices, and prep they can do. In brief: plan for about a week, fill grain if you want a smooth look, sample colors under your lighting, and leave heavy sanding and spraying to a pro team.
How long does refinishing honey oak cabinets usually take?
Most kitchens take 5–7 working days. Doors and drawers are sprayed in a booth while boxes are prepped and coated on-site. You’ll have light use after 24 hours, with full hardness in roughly a week.
Will I still see oak grain after painting?
If you don’t fill oak grain, the texture will telegraph through paint. A proper grain-fill and sand-back greatly reduces visibility, creating a smooth, modern panel that photographs cleanly.
What colors work best to tame honey oak’s orange?
Soft whites, warm grays, and greige tones in matte or satin sheens neutralize orange undertones. Always sample under your actual kitchen lighting (around 3000–3500K) to confirm.
Can I do part of the work myself?
You can remove and label doors or clear countertops, but leave degreasing, sanding, priming, and spraying to pros with proper tools and ventilation. That’s how you get the durable, factory-grade look you want.
Conclusion and Next Steps
Refinishing honey oak cabinets replaces orange warmth with calm, contemporary tones—without replacing boxes. If your layout works and boxes are sound, refinishing is the quickest path to a brighter kitchen. Sampling, grain fill, and thin, even coats make the difference.
- Key takeaways: Prep drives results; grain fill controls texture; matte/satin sheens look current.
- Action: Walk your kitchen, count fronts (25–45 typical), photograph hardware, and shortlist 2–3 sample colors.
- Explore more: Our GTA refinishing guide dives deeper into methods and staging.
Ready to modernize your space in York or greater Toronto? Browse our Toronto refinishing overview and service details to plan your project.