
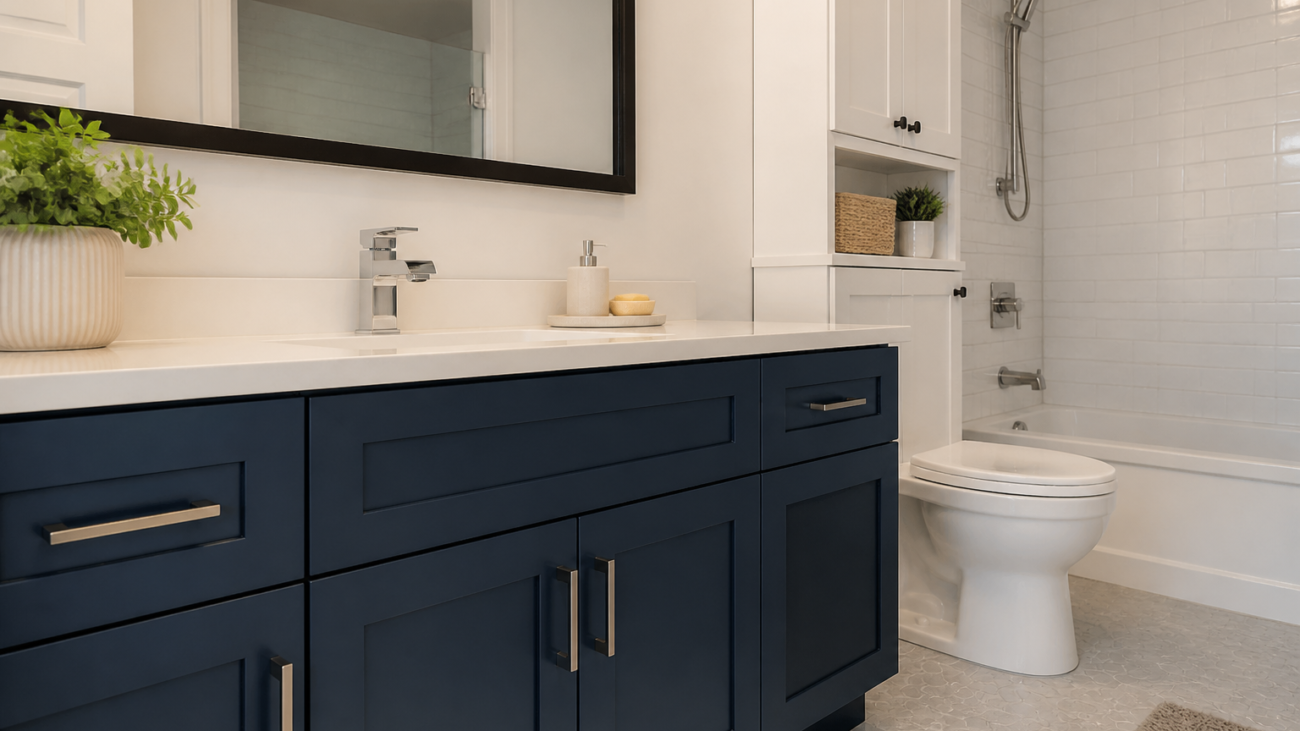
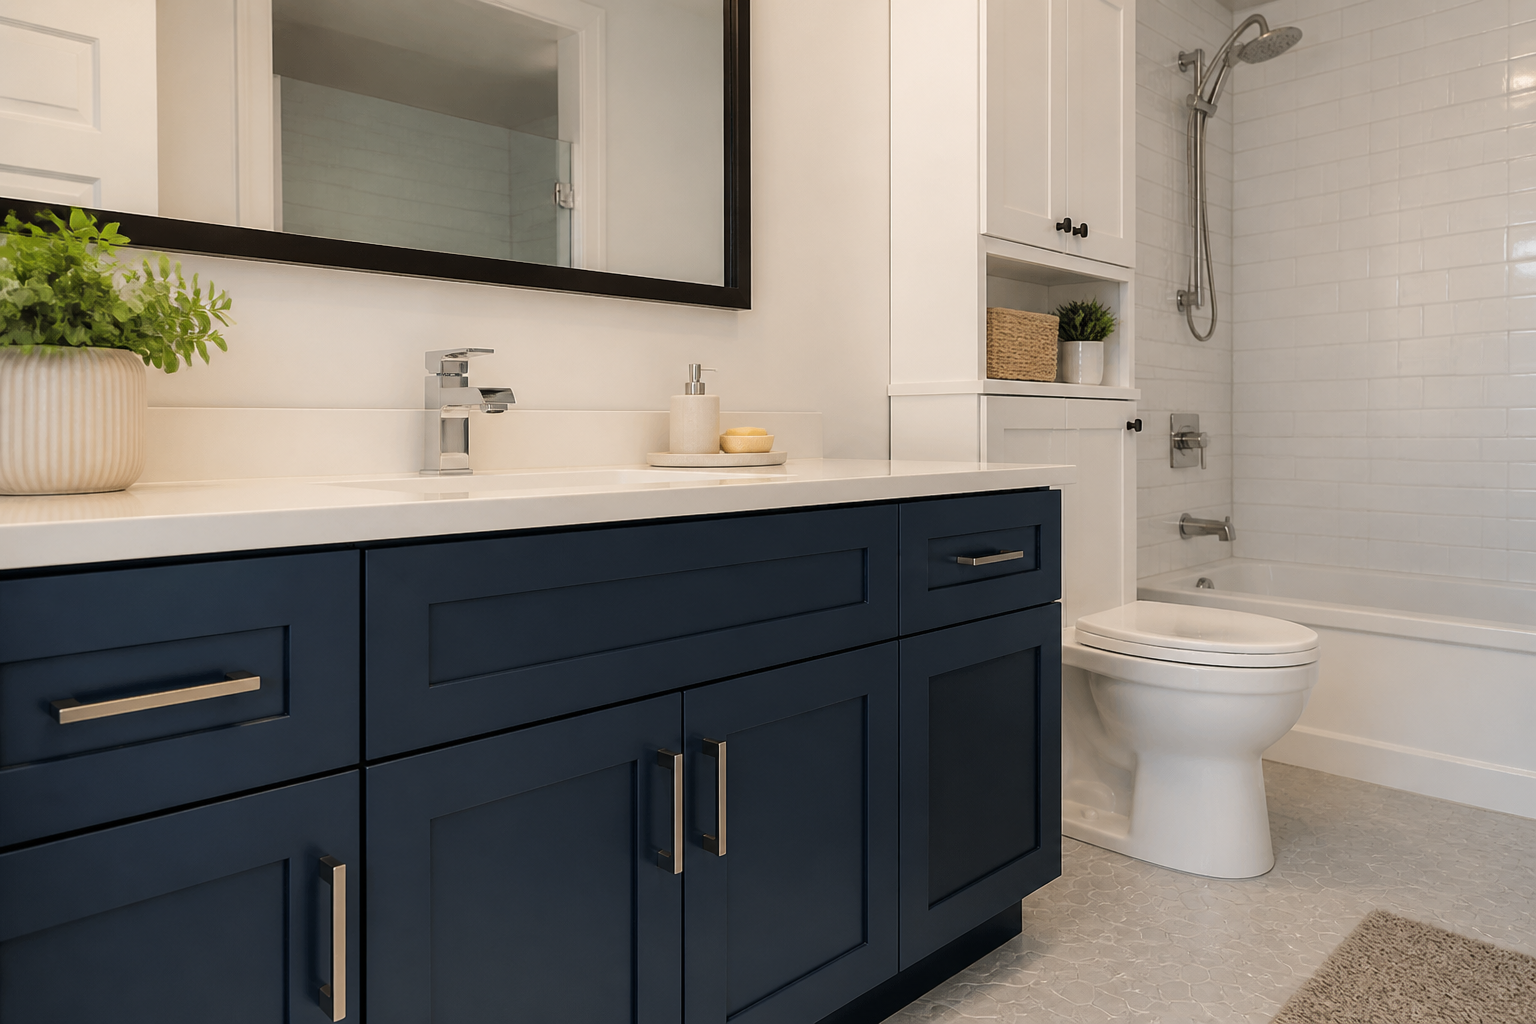
toronto bathroom cabinet updates on a budget: 18 practical ideas that last
If your bathroom vanity looks tired but a full renovation isn’t on the table, you still have plenty of ways to refresh the space—without overspending or creating weeks of disruption. This article focuses on toronto bathroom cabinet updates on a budget, prioritizing improvements that punch above their cost, survive humidity, and make daily routines easier. You’ll find a clear decision path (refinish, reface, or replace), step-by-step tips for paint and hardware, storage ideas that feel custom, and a practical sequence so you can stage work over a few weekends.
Start with what you have: assess the vanity
Before you pick colours or buy new knobs, define what you’re working with. This prevents wasted effort and steers you toward the best-value fix.
- Structure check: Open doors and drawers and press on the bottom and sides. If the cabinet box feels solid and square, cosmetic upgrades will go far. If you notice soft, swollen areas or sagging shelves, earmark repairs first.
- Door and drawer condition: Warped, cracked, or heavily chipped doors may benefit from refacing (new doors and drawer fronts) rather than extensive patching.
- Finish type: Knowing if the surface is stained wood, thermofoil, laminate, or previously painted helps you choose the right prep and coating.
- Function pain points: Sticking drawers, limited storage, and clutter are often solved with small hardware or insert upgrades—no construction required.
Paint smart for moisture and daily wear
Paint is the fastest way to modernize a vanity, but only if it’s prepped for humidity and frequent cleaning.
- Deep clean and degloss: Remove residue with a degreaser, then scuff-sand to promote adhesion. Vacuum dust and wipe with a tack cloth.
- Prime for the substrate: Use a primer compatible with your surface (e.g., wood vs. laminate) to block tannin bleed and improve durability.
- Choose a cabinet-suitable topcoat: Look for a coating made for cabinetry and trim that resists moisture and frequent wipe-downs.
- Spray vs. brush: Spraying produces a smooth, factory-like finish on doors and drawer fronts. Brushing and rolling can still look great with light coats and a high-density foam roller.
- Ventilation and cure time: Allow proper dry times between coats and adequate curing before reinstalling hardware to avoid impressions.
Colour pointers that stay flexible over time:
- Light neutrals: Off-whites, soft greys, and greige tones lift small rooms and pair well with most tile and counters.
- Moody accents: Navy, charcoal, or deep green vanities add contrast without overwhelming when the walls and floor are lighter.
- Two-tone: Keep the vanity deeper and walls lighter for balance.
Hardware swaps that matter
Small hardware is a budget staple with an immediate visual and tactile payoff.
- Knobs and pulls: Match finishes to other fixtures or deliberately contrast them for interest. If changing from knobs to pulls, check hole spacing before drilling.
- Hinges: Soft-close hinges reduce slamming and help doors sit flush. Choose overlay style to match existing doors.
- Drawer slides: Ball-bearing soft-close slides make drawers glide and increase perceived quality.
- Backplates: Useful for covering old screw holes when switching hardware styles.
Organize like a custom vanity
Organization inserts transform daily use and cut visual clutter—often for less than the cost of a new faucet.
- Pull-out trays: Convert deep, hard-to-reach bases into accessible storage for cleaners or bulk items.
- Tip-out trays: Narrow trays behind false drawer fronts store toothbrushes or small grooming tools.
- Stackable bins and risers: Use vertical space without permanent changes.
- Under-sink U-shaped caddies: Fit around plumbing to capture otherwise wasted room.
- Drawer dividers: Segment cosmetics, hair tools, and first-aid supplies so they return to the same spot.
Reface, refinish, or replace? A quick decision path
Use this simplified logic to match your cabinet’s condition to the right budget-friendly strategy.
- Refinish (paint or stain) when: The cabinet boxes are sturdy, doors are in good shape, and you like the current layout. This changes colour and sheen without altering the footprint.
- Reface when: Boxes are sound but doors are dated or damaged. You keep the boxes and swap doors/drawer fronts, often with new hardware for a like-new look.
- Replace when: Boxes are failing, layout is impractical, or water damage is extensive. Replacement is the longer path but can solve structural issues in one step.
Not sure which bucket you’re in? Start with the lowest-commitment upgrades (paint and hardware). If problems persist—like warped doors or poor function—consider stepping up to refacing.
Low-cost additions that elevate the look
Thoughtful accents can make an existing vanity feel custom.
- Decorative toe-kick: A cleaned, painted, or replaced toe-kick crisp ups the base and hides scuffs.
- Trim and panels: Add simple shaker-style trim to slab doors for subtle dimension.
- Open shelf conversion: Removing a damaged bottom drawer and adding a slatted shelf creates a spa-like towel nook.
- Furniture feet: Clip-on or screw-on feet can add a furniture look to a standard box (ensure weight-bearing stability).
- Liner and edge banding: Fresh shelf liner and edge repairs make interiors feel new.
Protect against moisture from day one
Bathrooms challenge finishes with steam and splashes. Build in protection as you update.
- Seal edges: Pay special attention to door and drawer edges, which take the most wear. Lightly round sharp edges before painting for better coating adhesion.
- Caulk and touch points: Caulk small gaps where the vanity meets walls to prevent water seepage. Use protective bumpers behind doors.
- Ventilation habits: Run the fan during showers and leave it on for several minutes afterward to reduce humidity spikes.
- Cleaning routine: Use non-abrasive cleaners and soft cloths to preserve sheen.
A weekend-friendly sequencing plan
Tackle your updates in stages to keep the bathroom functional.
- Day 1: Remove doors and drawer fronts, label hardware, clean thoroughly, and sand. Patch minor dings.
- Day 2: Prime all surfaces. While primer dries, shop for hardware and organizers.
- Day 3: Apply the first colour coat to doors/drawers and the cabinet frame. Install any soft-close hinges or slides on the box.
- Day 4: Apply a second coat. Add liners and organizational inserts inside the vanity.
- Day 5: Reinstall doors/drawers carefully after adequate dry time, then mount new knobs or pulls using a template for straight alignment.
Colour and finish ideas that pair well with common bathrooms
Because many bathrooms already feature white fixtures, stone-look counters, or neutral tile, these pairings tend to harmonize without clashing.
- Warm white vanity + brushed nickel hardware: Clean, bright, and easy to coordinate with cool or warm lighting.
- Greige vanity + matte black pulls: Adds definition and modern contrast without feeling stark.
- Navy vanity + polished chrome: A classic hotel-inspired combo that suits white walls and marble looks.
- Soft green vanity + brass pulls: A calm, nature-friendly palette, especially with wood-framed mirrors.
- Charcoal vanity + mixed metals: Works with chrome faucets and brass mirrors if the forms are simple.
Simple tools and materials checklist
Keep your toolkit focused and affordable.
- Degreaser and clean rags
- 120–220 grit sandpaper and sanding block
- Primer compatible with your substrate
- Cabinet-suitable paint or coating
- High-density foam rollers and quality brush (or spray setup)
- Wood filler and caulk
- Hardware template, drill, and bit set
- Soft-close hinges or slides (optional)
- Drawer organizers, trays, and liners
Common pitfalls to avoid
- Skipping surface prep: Even the best paint won’t adhere to residue or gloss.
- Rushing cure time: Handling doors too soon leads to fingerprints and stuck edges.
- Ignoring humidity: Without ventilation, any finish will struggle. Make the fan part of your routine.
- Random hardware placement: Use a template for level, repeatable results.
- Overloading shelves: Heavily loaded, water-damaged shelves can sag. Reinforce or replace if needed.
Maintenance that extends longevity
Consistent, light maintenance keeps budget updates looking fresh longer.
- Wipe splashes promptly and dry around sink transitions.
- Use felt pads or soft bumpers where doors meet the frame.
- Check hinges and slides annually and retighten loose screws.
- Keep a small jar of touch-up paint for nicks on high-contact edges.
FAQ
How do I know if my vanity is worth refinishing?
If the cabinet box is sturdy, doors close properly, and there’s no extensive water damage, refinishing is typically a strong budget move. If doors are warped or cracked, consider refacing. Widespread swelling or structural issues point toward replacement.
What’s the best way to get a smooth, durable paint finish on cabinet doors?
Thorough prep is key: clean, sand, and prime for your surface. Use light, even coats of a cabinet-suitable coating, allow full dry times, and minimize dust during curing. Spraying often yields the smoothest finish; careful rolling with foam can still look excellent.
Can I change from knobs to pulls without replacing doors?
Yes. Fill old holes with wood filler, sand smooth, and repaint. When installing new pulls, use a hardware template to ensure straight, consistent placement across doors and drawers.
Is refacing messy or disruptive?
Refacing focuses on doors and drawer fronts while keeping the cabinet boxes in place, so it generally involves less disruption than a full replacement. You can maintain bathroom function through most of the process.
What should I tackle first if I only have one weekend?
Start with deep cleaning, light repairs, and hardware swapping. If time allows, prime and paint the cabinet frame first, then doors and drawers in batches so the bathroom stays usable.