
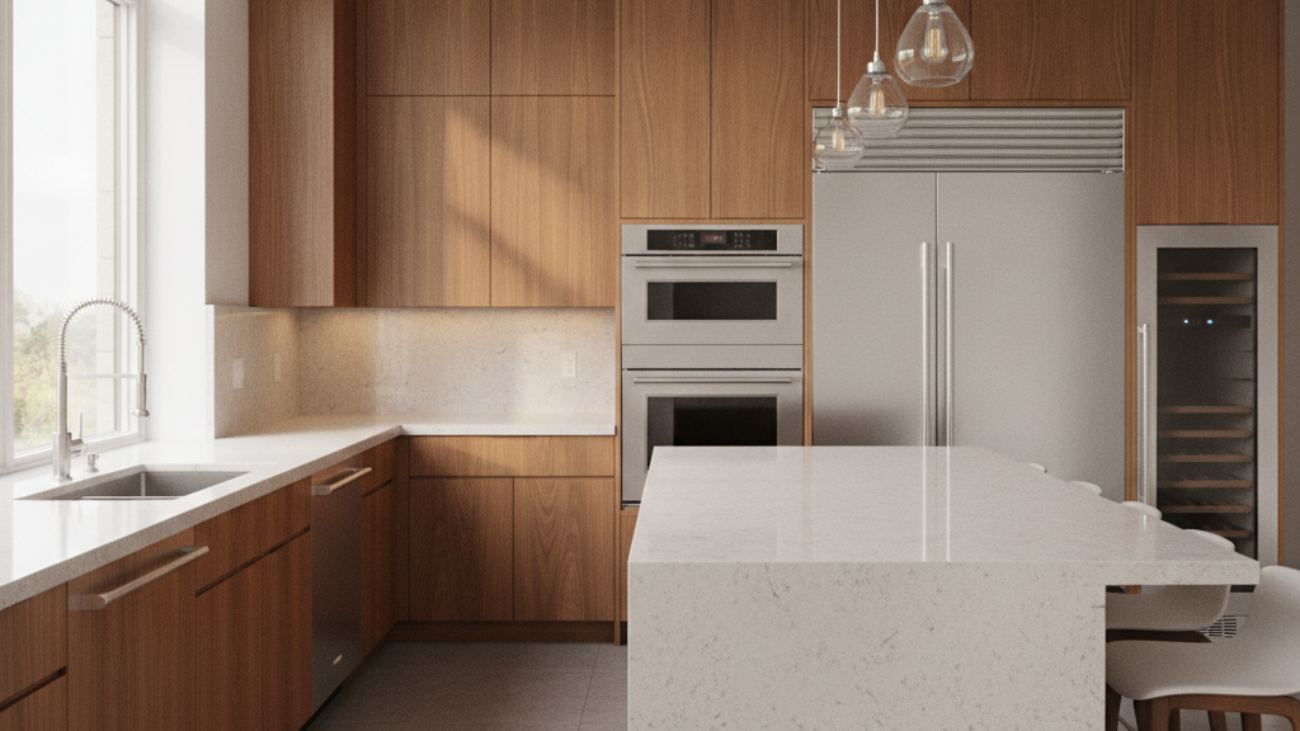
Wood cabinet finish restoration is the professional process of renewing worn or damaged protective coatings on wood cabinetry to bring back color, clarity, and sheen without replacing boxes or doors. In York homes, this work refreshes kitchens fast, improves durability, and preserves existing layouts—an ideal alternative to full-scale renovation.
By Paint2decor INC • Last updated: 2026-07-04
Above-Fold Overview
Restore a wood cabinet finish by diagnosing the current coating, deep-cleaning, scuff-sanding for adhesion, repairing defects, and applying new protective layers by spray or hand. Proper surface prep, ventilation, and curing time ensure a factory-smooth look that stands up to daily kitchen use.
You want faster transformation, less disruption, and strong protection. That’s exactly what a tuned restoration process delivers—especially when performed by a specialist who works on kitchens every day in York and across the GTA.
- What you’ll learn: the restoration paths, pro prep steps, and finish choices.
- When to refinish vs reface vs replace—so you choose confidently.
- Durability details: adhesion, cure windows, and touch-up plans.
- Local tips for York homes and seasonal timing.
Quick Summary
Wood cabinet finish restoration revives color and protection without replacing cabinets. The essential workflow: clean, degloss, sand, repair, prime (if needed), and apply two to three topcoats. Expect light hardware removal, controlled spray setup, and a cure window before heavy use.
- Typical sequence: remove doors/drawers, label, degrease, sand, fill and caulk, prime, spray topcoats, reinstall.
- Common topcoats: catalyzed lacquer, 2K polyurethane, or high-grade waterborne enamel.
- Performance cues: crosshatch adhesion passes, uniform sheen, and smooth-to-touch surfaces.
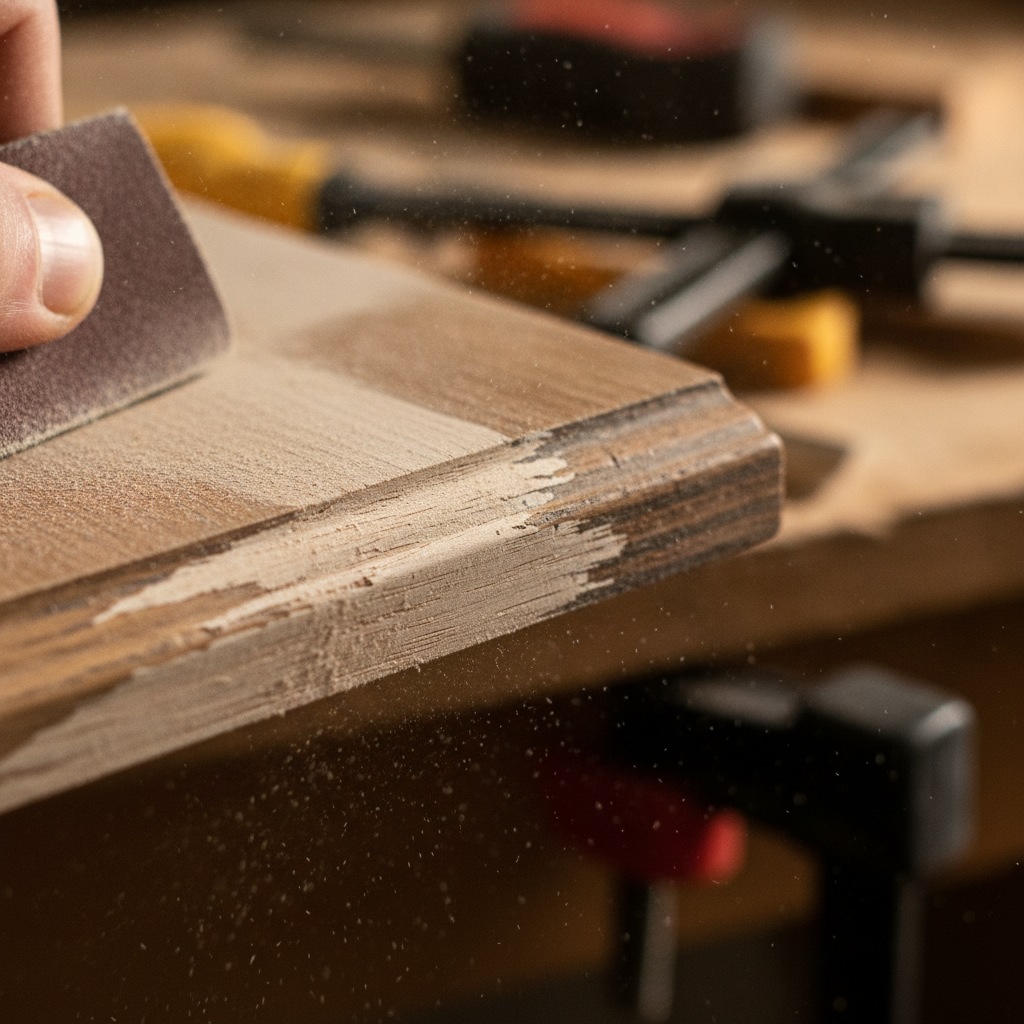
What Is Wood Cabinet Finish Restoration?
Wood cabinet finish restoration is the targeted renewal of protective films on cabinetry to repair wear, yellowing, stains, or minor damage while keeping existing boxes and doors. It preserves layout, shortens timelines, and delivers a like-new appearance using pro-grade coatings and precise prep.
In our experience restoring kitchens throughout York, “restoration” covers a spectrum—from a deep clean and recoat to a full strip, grain raise control, priming, and multi-layer topcoats. The right scope depends on the cabinet species, existing finish, and the defects you see under normal daylight.
- Refresher recoat: Scuff-sand and apply new topcoats when the old finish is intact but dull.
- Partial restoration: Spot repairs, selective priming, and full respray for even color and sheen.
- Full restoration: Strip or block tannins, repair substrate, prime, and build finish from scratch.
Homeowners often ask, “Is this just painting?” Restoration prioritizes adhesion science, film build, and cure schedules—so everyday cleaning, oils, and humidity don’t undermine your new finish.
Why Restoration Matters for York Kitchens
Restoration extends cabinet life, modernizes style, and strengthens protection against moisture, heat, and wear. It’s faster than replacement, produces less waste, and preserves functional layouts—ideal for busy York households seeking a reliable transformation without a full renovation.
Here’s the thing: kitchens are high-traffic, high-touch zones. Grease aerosols, UV exposure, and constant handling wear down coatings. A renewed finish re-establishes the protective barrier so routine cleaning doesn’t etch or cloud the surface.
- Time savings: Door/drawer removal and a controlled spray cycle take days—not weeks.
- Less waste: Keep quality boxes and hardwood doors out of landfill; refresh the surface instead.
- Design agility: Shift from ambered tones to modern satin hues or rich wood clarity.
- Daily durability: Two to three topcoats with proper cure resist fingerprints and cleaners.
When working with clients in York, we plan around cooking schedules, pet access, and ventilation to keep homes livable while coatings cure. You get a coordinated, low-stress makeover and a finish that’s easier to maintain.
Local considerations for York
- Schedule spray days when household activity is lighter; library time at the nearby Toronto Public Library – Daniel G. Hill Branch helps keep kids out of the workspace.
- Plan projects around humid spells; late spring and early fall often give steadier cure conditions near Smythe Park.
- If you cook daily, we stage doors offsite so your kitchen remains usable while finishes dry.
How Wood Cabinet Finish Restoration Works (Step-by-Step)
A proven sequence drives results: label and remove components, degrease thoroughly, scuff-sand for adhesion, repair defects, prime if needed, spray two to three topcoats, and allow a multi-day cure before reassembly. Each step controls adhesion, smoothness, and long-term durability.
Below is the practical workflow we follow for York homeowners who want a factory-level finish without replacing cabinets.
Preparation and labeling
- Photograph the layout; label hinges and doors so reassembly is precise.
- Bag hardware and note hinge adjustments for consistent reveals later.
- Ventilation plan: filtered exhaust path, makeup air, and dust control.
Deep cleaning and deglossing
- Degrease with a kitchen-safe cleaner; edges and pulls carry the heaviest buildup.
- Rinse thoroughly; residue reduces adhesion and can cause fish-eyes.
- Solvent wipe for silicone contamination; aim for a squeaky, uniform surface.
Sanding for adhesion
- Scuff-sand existing coatings with 220–320 grit to create micro-mechanical tooth.
- Feather chips and scratches; avoid cutting through veneer on corners.
- Tack-cloth and blowout dust; clean air yields a cleaner final film.
Repairs and priming
- Fill dings with a stainable filler; spot-prime to lock repairs.
- On oak or tannin-rich species, use a stain-blocking primer to prevent bleed.
- Sand primer to 320–400 grit; flat base layers produce glassy topcoats.
Topcoats and cure
- Apply two to three thin coats, 20–40 minutes between passes for flash-off.
- Target 2–3 mils total dry film for balance between protection and feel.
- Handle-dry in a few hours; functional cure typically takes several days.
For homeowners comparing options, our kitchen cabinet refinishing guide explains why thin, even coats outperform heavy one-pass applications.
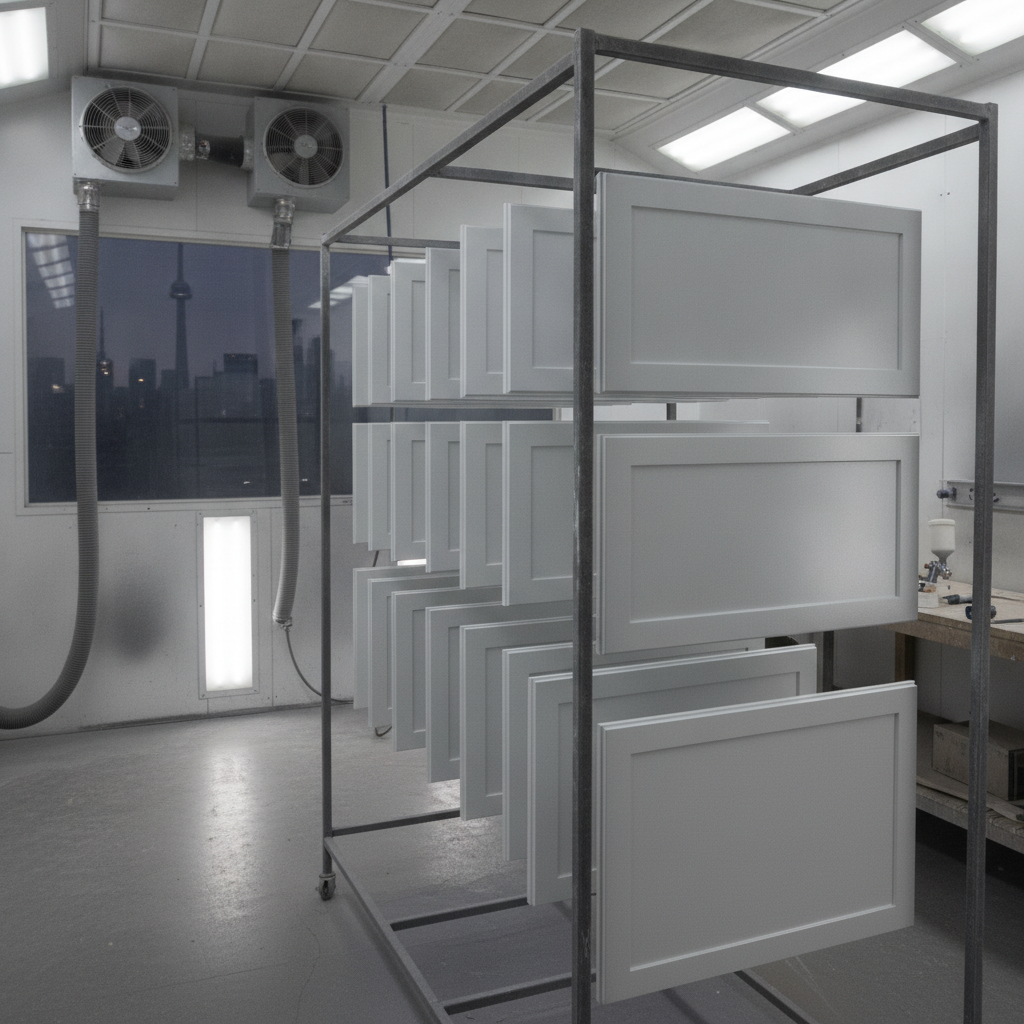
Types, Methods, and Finish Options
Choose between clear restoration (to showcase wood grain) and opaque restoration (painted look). Methods include refresher recoats, partial resprays, or full strip-and-build systems. Topcoat families: catalyzed lacquer, 2K polyurethane, and advanced waterborne enamels.
Clear restoration (keep the wood look)
- When it fits: Solid maple or walnut with cosmetic wear but sound substrate.
- Approach: Degrease, repair, scuff, and spray clear coats to revive depth and sheen.
- Numbers to know: Satin or semi-gloss at 20–35 GU (gloss units) hides handling marks.
Opaque restoration (painted transformation)
- When it fits: Uneven stain, dated color, or mixed materials (MDF frames, wood doors).
- Approach: Bonding primer + two to three color coats for a uniform, modern finish.
- Numbers to know: Common sheens—matte 5–10 GU, satin 20–35 GU, semi-gloss 45–60 GU.
Topcoat chemistry (what we spray and why)
- Catalyzed lacquer: Fast, smooth, excellent clarity; ideal for clear renewals.
- 2K polyurethane: Highest chemical resistance; great in busy family kitchens.
- Waterborne enamel: Low odor, durable; excellent for on-site cabinet respraying.
Want to go deeper on spray options and site logistics? See our cabinet respraying guide and our notes on choosing cabinet finish for Toronto homes.
Best Practices That Protect Your Investment
Great results come from disciplined prep, dust control, calibrated spray technique, and patient curing. Control humidity, apply thin passes, and verify adhesion before reassembly. A short touch-up plan keeps edges sharp and stress-free for years.
- Ventilation matters: Filtered exhaust + make-up air reduces overspray and dust nibs.
- Adhesion check: Crosshatch tape test on a hidden spot confirms bond.
- Thin is strong: Multiple light coats flow and level better than a single heavy coat.
- Edge discipline: Mist edges first, then faces—prevents dry spray build-up on corners.
- Cure window: Gentle use for several days; heavy scrubbing waits a bit longer.
In our York projects, we track temperature and RH because consistent 45–55% relative humidity and moderate room temperatures help coatings level and cure more predictably. That small control step often prevents hours of polishing later.
Tools and Resources (Pro and DIY)
You’ll need labeling supplies, degreasers, sandpapers (220–400), fillers, bonding primer, and a pro-grade topcoat. For spray work, add an HVLP system, strainers, and drying racks. A simple touch-up kit keeps future dings from spreading.
Prep kit
- Painter’s tape + markers for labeling sequences.
- Degreaser, rinse solution, and lint-free wipes.
- Sanding blocks 220–320 grit; 400 for between-coat leveling.
Application kit
- Bonding primer (for opaque systems) and compatible topcoat.
- HVLP turbine or air-assisted airless for fine atomization.
- Strainers (100–130 micron), mixing cups, and wet film gauge.
Touch-up kit
- Color-matched lacquer stick or enamel, micro-brushes, and a fine polishing pad.
- Edge guards for high-traffic door corners.
- Maintenance card with cleaning do’s and don’ts.
For a general process walkthrough that complements this guide, see this concise how to paint kitchen cabinets overview. It aligns with the prep-first mindset we apply on York projects.
Refinish vs Reface vs Replace: Which Should You Choose?
Refinish when boxes are sound and you want a color or sheen update. Reface when door styles must change and boxes remain strong. Replace when layouts, boxes, or functionality are failing. Restoration often wins for speed, waste reduction, and everyday durability.
| Path | Good When | What Changes | Timeline Feel |
|---|---|---|---|
| Refinish (restore) | Boxes solid, style mostly fine | Color, sheen, protection | Fast; minimal disruption |
| Reface | Want new door style | New doors + finish | Moderate; coordinated |
| Replace | Layout/boxes failing | All-new cabinets | Longest; full reno |
Curious how refacing compares visually? Our service notes on cabinet refinishing in Toronto and kitchen cabinet refinishing (Toronto) include before/after insights.
Common Issues and How We Fix Them
Peeling, blocking (sticking), orange peel, and bleed-through stem from poor prep, incompatible products, or humidity swings. We correct by stripping contaminated zones, using blocking primers, calibrating viscosity and fan patterns, and controlling airflow and cure windows.
- Peeling at pulls: Cleaners and oils weaken edges; we abrade to sound film and rebuild.
- Tannin bleed: Oak and cherry require true stain blockers before color coats.
- Orange peel: Adjust tip size, viscosity, air pressure, and distance for finer atomization.
- Blocking/sticking: Respect cure windows; increase airflow and avoid stacking faces too soon.
For visual inspiration on transformation scope (door styles, layouts), these before-and-after kitchens help homeowners imagine outcomes before choosing restoration, refacing, or replacement.
Maintenance and Longevity
A restored finish stays beautiful when you clean gently, protect edges, and touch up early. Use non-abrasive cloths, avoid harsh solvents, and add bumpers where doors meet frames. A five-minute quarterly check prevents small dings from growing.
- Weekly: Wipe with a damp microfiber; dry promptly.
- Monthly: Inspect high-touch corners and pulls; apply a micro touch-up if needed.
- Quarterly: Check hinge screws and bumpers; tighten and replace as required.
For a step-by-step refresher on prep logic, this process overview for cabinet painting reinforces the “clean first, coat second” principle you see throughout this guide.
Mini Case Studies: York Kitchens We’ve Renewed
Across York, we’ve restored maple, oak, and MDF-fronted kitchens by pairing disciplined prep with calibrated spray systems. The common thread: protect sound boxes, modernize style, and leave homeowners with a finish that cleans easily and resists fingerprints.
Maple kitchen, satin clear renewal
- Degreased, scuff-sanded, and corrected UV ambering with fresh catalyzed lacquer.
- Two thin clears at ~0.8–1.0 mil each delivered depth without plastic look.
- Result: warm grain clarity; owners resumed normal use after a staged cure.
Oak set, opaque transformation
- Bonding primer + tinted enamel in satin for a modern, uniform tone.
- Grain telegraph minimized via filler skim and sanding to 320 grit pre-prime.
- Result: cohesive color, easier cleaning, and crisper edges around hardware.
MDF frames with wood doors
- Hybrid system: stain-block on frames; clear repair + color coats on doors.
- Kept box integrity; aligned sheens at ~25 GU for a balanced satin look.
- Result: seamless match across mixed substrates with better scuff resistance.
Thinking about what’s possible in your space? Our refinishing and painting service overview shows how we plan logistics to minimize downtime in active homes.
Friendly, no-pressure next step: If you’re in York or the GTA and want your cabinets to look new again, request a free assessment. We’ll confirm the right restoration path and timeline for your home.
Frequently Asked Questions
Homeowners ask about timelines, compatibility, and durability. In short: most kitchens are restorable, timelines are measured in days, and modern coatings resist everyday wear when cured properly. Below are clear, direct answers.
Will restoration work on my older oak cabinets?
Yes, provided the boxes are sound. We control grain telegraph with filler skims and sanding, then use a bonding primer and durable topcoats. Tannin-blocking primers prevent yellowing and stains from bleeding through painted finishes.
How long before I can use my kitchen again?
You can typically use the space lightly within a day after final spraying, with full functionality following a short cure window. We stage doors offsite to keep your kitchen usable while coatings level and harden.
Do you always need to prime before painting cabinets?
Not always. If the existing finish is stable and you’re recoating with a chemically compatible topcoat, a thorough scuff-sand may be enough. For color changes, mixed substrates, or stain-prone woods, a bonding or stain-blocking primer is the safer path.
What’s the difference between refinishing and refacing?
Refinishing restores your existing doors and boxes with new coatings. Refacing replaces doors and drawer fronts while leaving boxes, then finishes the new parts to match. We help you choose based on door style goals and box condition.
Conclusion and Next Steps
Wood cabinet finish restoration revives style and protection fast. By matching the method to your cabinets, controlling prep and spray variables, and respecting cure windows, you’ll enjoy a resilient, easy-to-clean kitchen without replacing what already works.
- Pick the right path: refresher recoat, partial respray, or full rebuild.
- Control variables: cleanliness, humidity, thin coats, and cure time.
- Think long-term: a simple touch-up plan keeps edges crisp for years.
Ready to see what your York kitchen can become? Explore our notes on sustainable refinishing and start with a friendly assessment—no pressure, just answers tailored to your space.