
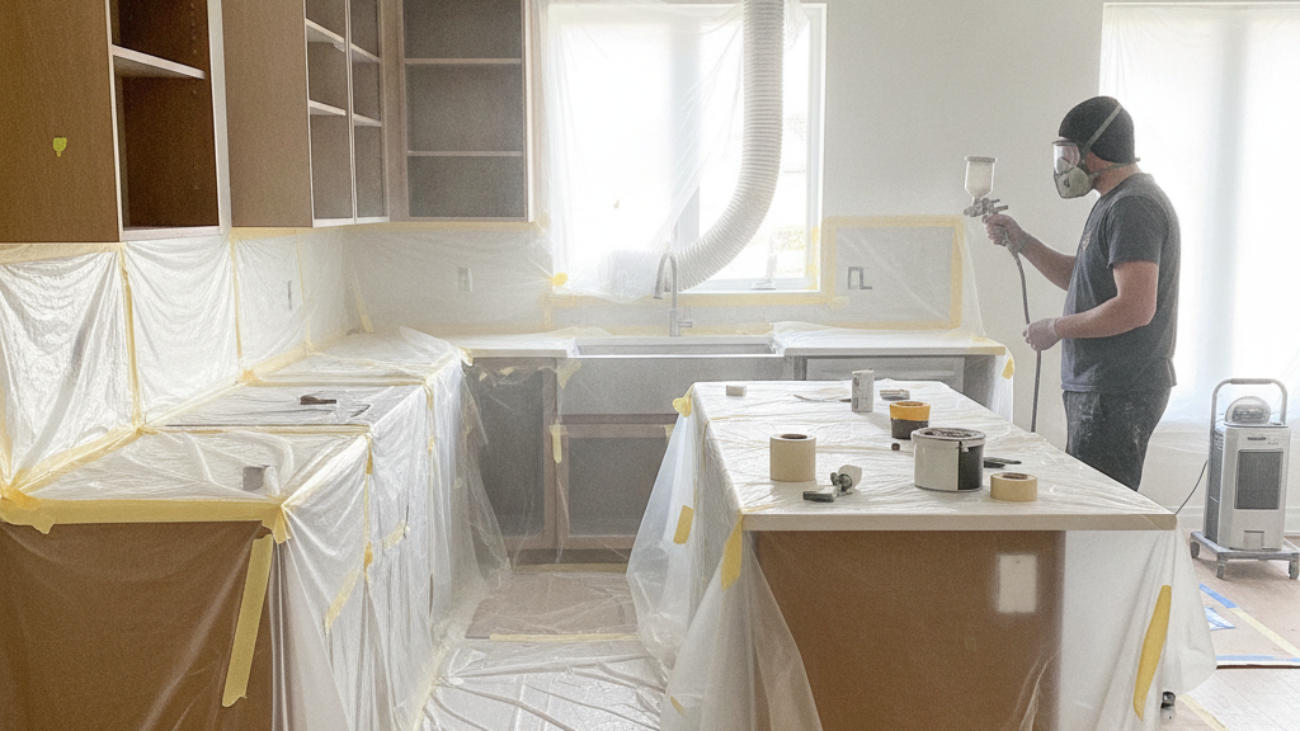
The Toronto kitchen cabinet painting process is a disciplined, pro-grade workflow that cleans, sands, bonds, and spray-finishes cabinets for a smooth, durable look. In York, we sequence on-site prep with shop spraying so your kitchen stays usable. The process adapts to Toronto humidity and the maple cabinetry common across GTA homes.
| Service area | Toronto and the GTA (York-based crew) |
|---|---|
| Core services | Kitchen cabinet painting, cabinet refinishing, cabinet refacing, cabinet respraying, cabinet spray painting, bathroom cabinet refinishing |
| Hours | Sun 7am–8pm; Mon–Sat 7am–9pm |
| Awards | HomeStars Best of Awards (2020, 2021); Voted Toronto’s Best Cabinetry & Millwood Company |
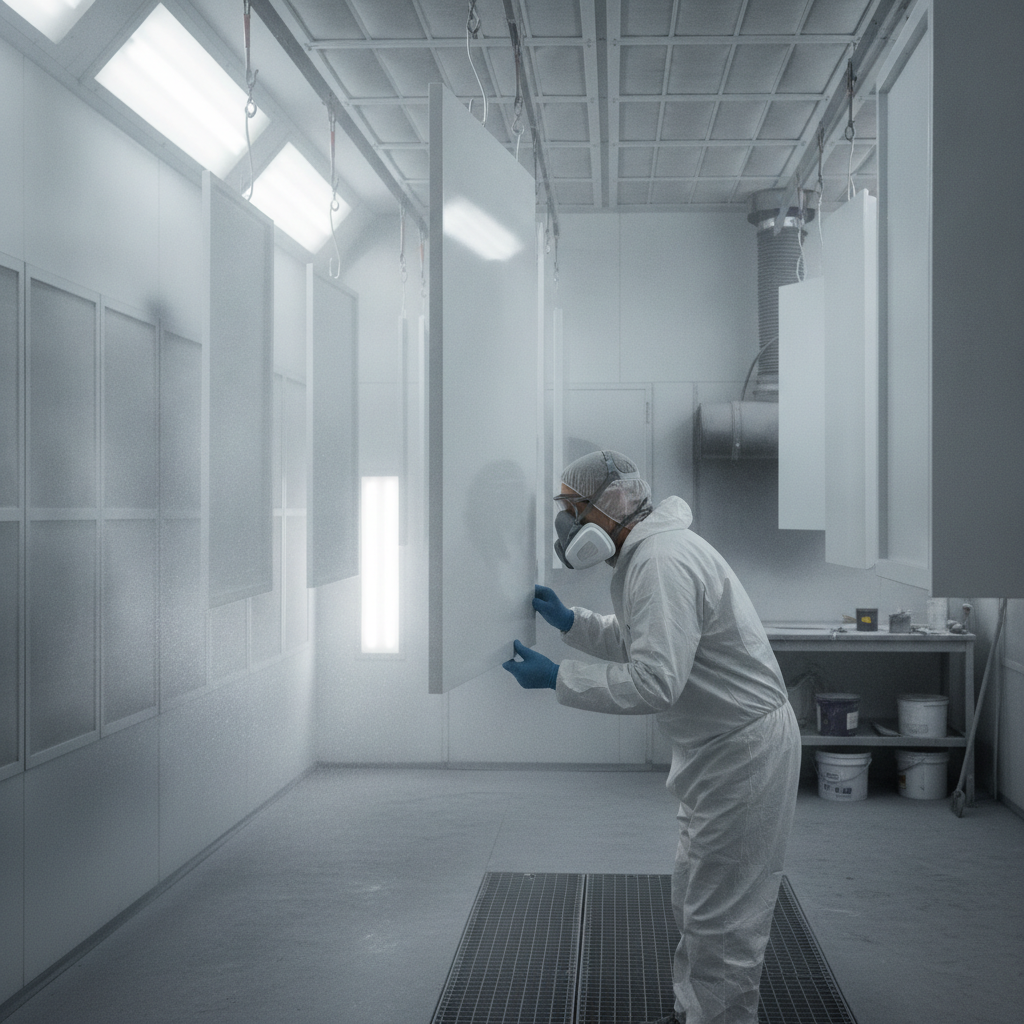
| On-site vs shop | Frames finished in-home with dust control; doors/drawers spray-finished and cured in a controlled booth |
York logistics that save time
Staging and pickups are planned around traffic near Jane St at St Clair Ave West so your doors move quickly to our spray booth and back for reinstallation. Many York homes from the 80s–90s have honey-oak or maple with factory lacquer, so we build extra bonding and cure checks into the schedule.
At a Glance: What to Expect Before, During & After
Expect a tidy, sequenced workflow: mapping and removal, in-home containment and cleaning, shop spraying of doors, on-site frame finishing, and humidity-aware curing. Most kitchens stay functional, with cooking access maintained. Daily updates and a final light-line inspection confirm color, sheen, and alignment before handoff.
- Before day one: We confirm color and sheen, discuss hardware, map every door/drawer, and protect floors, counters, and appliances. If you’re worried about downtime, we prioritize keeping your sink and major appliances accessible.
- During production: Doors head to the booth; frames are prepped and sprayed on-site under plastic sheeting with filtered airflow. Homeowners often tell us the kitchen feels less “under construction” than expected.
- Quality controls: Sample door approval, targeted sanding between coats, and light-line checks catch dust nibs before topcoat. This is the moment most clients relax—they can see and feel the finish quality.
- After completion: Reinstallation, hinge alignment, felt bumpers, and a care sheet. Most York kitchens are fully back together shortly after doors return from the booth.
For a general national overview of cabinet painting steps, this Canadian-focused process outline mirrors the high-level phases you’ll see below, though we adapt timing to Toronto humidity.
Step-by-Step: Paint2decor’s Kitchen Cabinet Spray-Finishing Process
Our York team removes and labels all parts, degreases thoroughly, sands for adhesion, spot-fills flaws, applies a cabinet-grade bonding primer, then spray-applies color and protective topcoats with HVLP equipment. Doors cure in a clean booth; frames cure on-site with airflow. We verify sheen and alignment before handoff.
- Label and remove: Create a door/drawer map, bag hardware, and stage parts for transport. Clear labeling prevents mix-ups and speeds reinstallation.
- Degrease and clean: Professional degreasers lift cooking oils and smoke film from rails and profiles. Skipping this step is why repaints sometimes peel.
- Abrade and repair: Sand to break the factory clear coat and level dings; caulk hairline seams where needed. On maple, we add a second pass to ensure uniform scratch for primer bite.
- Bonding primer: We spray a cabinet-grade bonding system on doors in the booth and on frames on-site. Maple and older lacquer often warrant an extra light primer coat to seal and promote adhesion.
- Spray color coats: HVLP guns lay down even film build on panels, rails, and edges. Two measured passes usually achieve full coverage without burying crisp profiles.
- Protective topcoat: A durable cabinet topcoat locks in color and improves cleanability. We stage cure with steady airflow to avoid dust settling.
- Cure, reinstall, align: Doors hang to cure in the booth; frames cure in place. We reinstall hardware, adjust soft-close hinges, and run a final touch audit.
For another pro perspective on sequencing, this step-by-step write-up echoes the same fundamentals: rigorous prep, strong bonding, controlled spray, and patient curing.
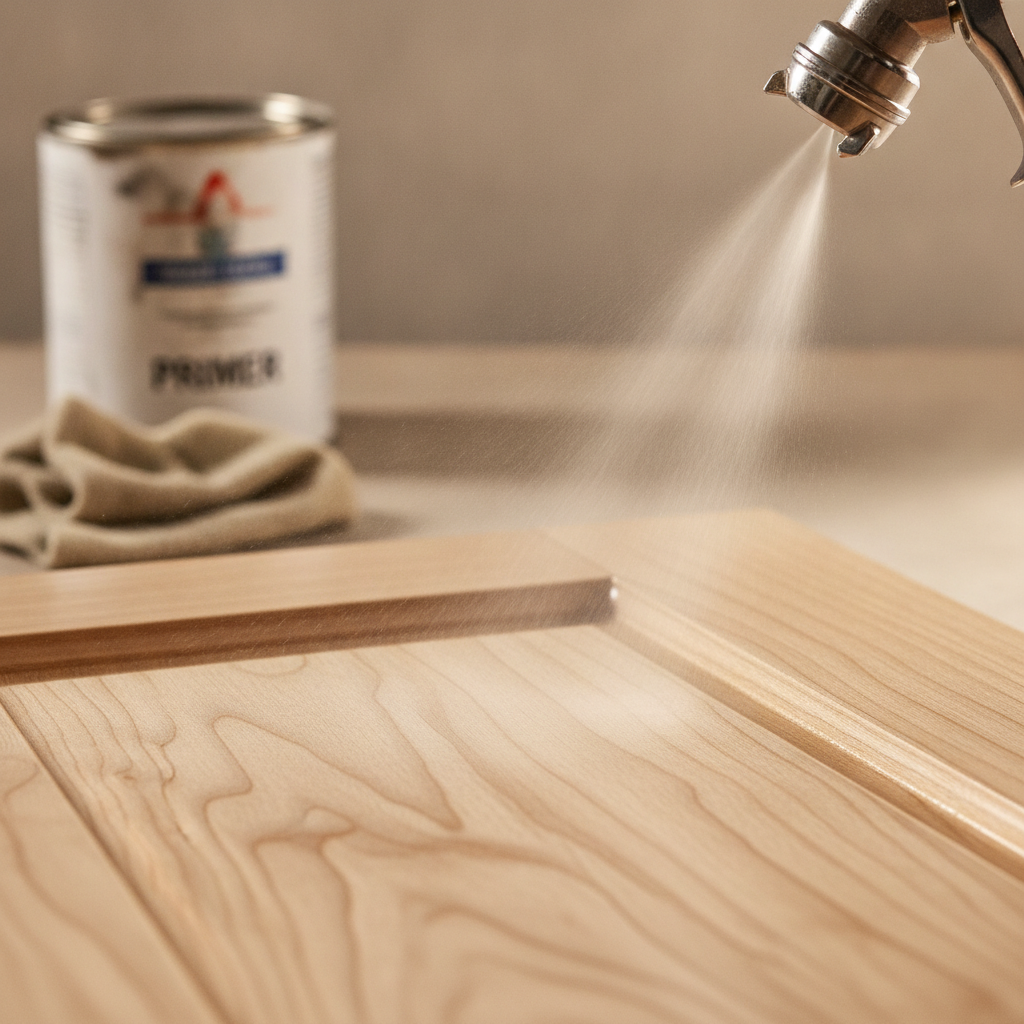
Why Maple Cabinets (Toronto’s Most Common) Need Extra Prep
Maple’s tight grain and factory lacquer resist absorption, so adhesion depends on deep cleaning, thorough abrasion, and a strong bonding primer. The surface also shows every flaw, which is why dust control, nib sanding, and careful sheen selection matter for a flawless finish in Toronto kitchens.
- Degreasing is non-negotiable: Oils lodge in shaker profiles and around pulls. We clean first so sanding doesn’t drive contaminants deeper.
- Extra abrasion on maple: The dense surface needs consistent scratch for uniform primer bond. We check adhesion on hidden edges before moving to color.
- Previously repainted maple: If doors were rolled with wall paint, we spot-strip and re-establish a sandable surface. It adds time, but skipping it risks premature failure.
- Sheen and lighting: Satin or semi-gloss hides minor nibs better than high-gloss under typical Toronto kitchen lighting.
We see this weekly across York: once maple is properly cleaned, abraded, and bonded, the sprayed finish looks uniform edge to edge and stays that way.
Spray Painting vs Brush-Rolling: Our Firm Stance
We don’t brush-roll full kitchens. HVLP spray delivers a uniform, brush-free finish and even edge coverage that hand tools can’t replicate at scale. Brushes and rollers are reserved for tiny touch-ups only—never for door faces or frames when the goal is a factory-smooth result.
| Factor | HVLP Spray | Brush/Roll |
|---|---|---|
| Finish texture | Factory-smooth, no brush marks | Visible texture and lap lines |
| Edge coverage | Even film on profiles/miters | Prone to ridges and sags |
| Consistency | Controlled passes and film build | Highly operator-dependent |
| Best use | Entire kitchens, premium finish | Micro touch-ups only |
If you’re scanning mainstream tips, these practical cabinet painting pointers reinforce why even coverage and clean environments matter—principles that spray systems hit reliably.
Local Tip: How Toronto’s Climate Affects Cure Time and Finish Quality
Toronto’s humid spells stretch cure time and can soften sheen if airflow is poor. We stage coats earlier in the day, lengthen between-coat windows during muggy weeks, and cure doors in a booth with steady ventilation. Winter’s dry air shortens cure time but demands dust vigilance.
- Humidity-aware timing: Summer storms can raise indoor humidity quickly, so we plan cure windows around forecasts and evening dew points.
- Ventilation and filtration: Temporary fans and filters manage overspray and dust on frames; shop booths keep doors pristine while they harden.
- Light use guidance: Doors may be handled gently after initial dry, but we suggest avoiding harsh cleaners until the finish reaches full hardness.
Local considerations for York
- Plan pickups and drop-offs outside peak traffic near Jane St at St Clair Ave West so doors reach the booth and return on schedule.
- Many York kitchens built in the 80s–90s use honey-oak or maple with factory lacquer—expect extra bonding checks before color.
- Winter projects cure faster but kick up more dust; we increase filtration and inspections to keep the finish clean.
Ready for a cleaner, brighter kitchen? Our York-based crew handles prep, spray finishing, and careful reinstallation while keeping your space usable. Reach out for a no-obligation assessment and a clear plan for your home.
FAQs About Kitchen Cabinet Painting in Toronto
Homeowners ask most about schedule, disruption, and durability. We keep the kitchen usable, stage doors in a booth, and adjust cure timing for humidity. The result is a smooth, hard-wearing finish that stands up to daily cleaning when cared for with non-abrasive products.
How long does a typical project take?
Most York kitchens involve a few site days for frames and shop time for doors. We maintain access to key appliances and provide daily updates. Humid weeks may extend cure windows, but we plan around forecasts to keep your timeline tight.
Will my kitchen be out of commission?
No. We contain the work area, control dust and airflow, and keep your sink and major appliances accessible. Doors cure off-site, which reduces odors and keeps the space comfortable.
Do you brush or roll any sections?
We spray doors and frames for a factory-smooth look. Small brushes are reserved for micro touch-ups only. Full sections aren’t brush-rolled because the texture and lap lines don’t meet our standard.
What if my cabinets were painted before?
Previously rolled maple often needs extra prep. We spot-strip failing coatings, re-establish a sandable surface, and confirm adhesion on hidden edges before moving to color so the new finish lasts.
Key takeaways
- The Toronto kitchen cabinet painting process pairs on-site frame work with shop-sprayed doors to balance quality and speed.
- Maple demands deeper cleaning, abrasion, and strong bonding for durable results.
- We don’t brush-roll full kitchens—HVLP spray is our standard for a factory-smooth finish.
- Humidity in Toronto affects cure windows; we stage ventilation and timing accordingly.
If you’re comparing approaches, review mainstream resources like CertaPro, Arsh Art, SH Painters, and Home Depot Canada. Then use the specifics here—humidity-aware scheduling, maple prep, and spray-only finishing—to evaluate any proposal for your Toronto home.