
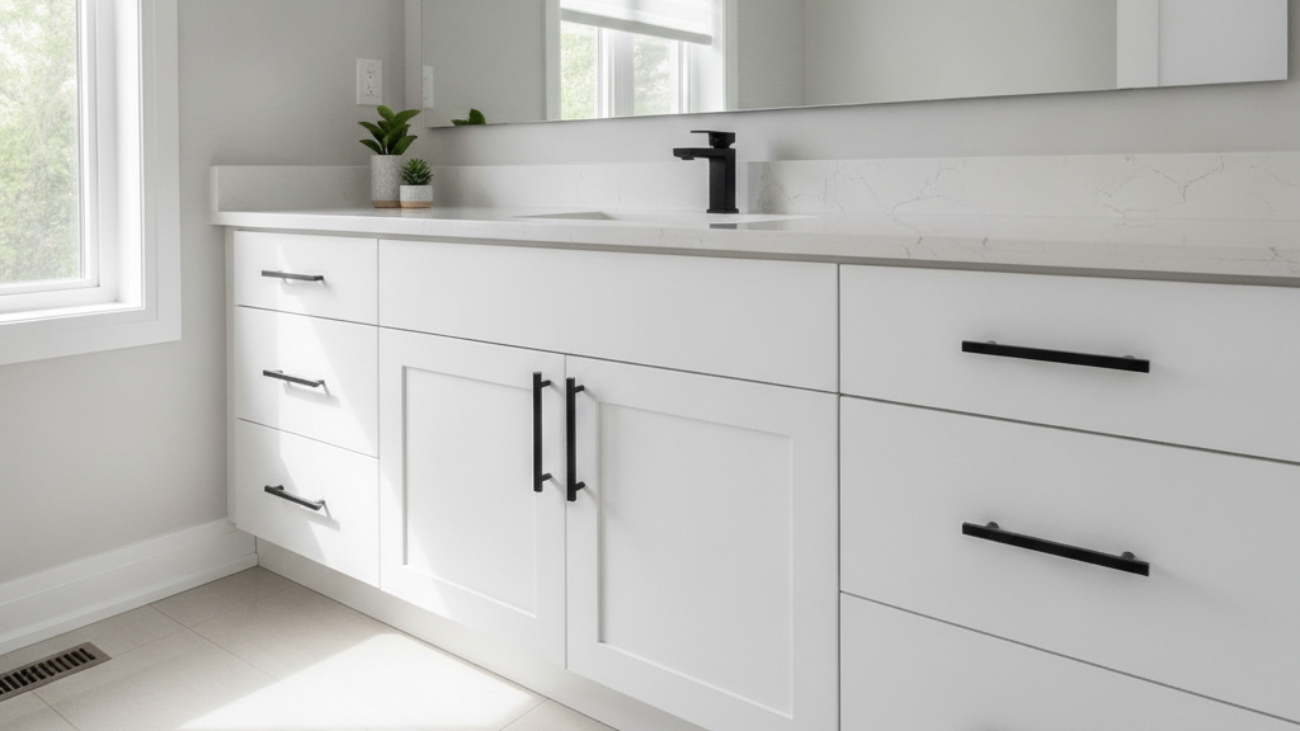
Toronto cabinet update options for bathrooms include cabinet refacing, refinishing, repainting/respraying, hardware swaps, and selective replacement. For York homeowners, refacing and professional spray finishing deliver a fast, durable refresh without the disruption of a full remodel. The best choice depends on your cabinet structure, humidity control, and the finish quality you want to live with.
By Masoud Kakar — Paint2decor INC
Last updated: 2026-07-04
At a Glance: Overview
Bathroom cabinet updates fall into five paths: refacing, refinishing, repainting/respraying, hardware-only refresh, and selective replacement. In York, refacing plus a pro spray finish often balances speed, durability, and style. Choose based on cabinet condition, ventilation, and the design change you want—from wood grain to modern painted Shaker.
Here’s what you’ll learn in this complete guide for York and Toronto homes:
- Clear definitions of every bathroom cabinet update path
- Step-by-step refacing workflow used by professionals
- Moisture-resilient finish systems and maintenance habits
- A practical comparison table to pick the right method
- Local considerations for York bathrooms and older homes
What are Toronto bathroom cabinet update options?
Toronto bathroom cabinet updates include refacing (new doors and veneer), refinishing (restore existing wood), repainting/respraying (new sprayed coating), hardware-only swaps, and selective replacement. The right option depends on cabinet box integrity, layout satisfaction, and the finish texture you prefer—wood grain, matte paint, or high-gloss.
Let’s define the five common paths we help homeowners weigh across the GTA:
- Refacing: Keep your cabinet boxes, replace doors/drawer fronts, add matching veneer/edge-banding, and upgrade hardware.
- Refinishing: Strip, sand, repair, and re-clearcoat existing wood to revive natural grain.
- Repainting/Respraying: Clean, degloss, prime, and spray a factory-like coating for new color and sheen.
- Hardware-only refresh: Swap pulls, knobs, and hinges to modernize quickly.
- Selective replacement: Replace damaged components or a vanity while retaining plumbing runs and layout.
In our experience, most York bathrooms benefit from a moisture-aware approach—stable substrates, pro-grade primers, and controlled-cure topcoats. For example, a 36-inch vanity with sound boxes but dated doors is ideal for refacing combined with a sprayed finish in satin or matte.
Why bathroom cabinet updates matter
Updating bathroom cabinets boosts daily usability, resists humidity damage, and modernizes the space without a major renovation. A resilient, sprayed finish defends against steam and splashes, while new door styles and hardware improve function and visual calm in busy family baths.
Why this matters for York households:
- Moisture control: Bathrooms see frequent steam; poor finishes telegraph wear quickly.
- Function upgrade: Soft-close hinges, better pulls, and interior organizers reduce daily friction.
- Design continuity: Matching vanity style to tile and paint calms small rooms and improves perceived size.
- Project efficiency: Box-preserving methods avoid demolition, plumbing moves, and long downtime.
Here’s the thing: most finish failures trace back to prep shortcuts in high-humidity zones. Deglossing, adhesion priming, and measured cure windows are non-negotiable if you want a finish that still looks crisp after heavy use.
How cabinet refacing works (bathroom edition)
Refacing replaces doors and drawer fronts, applies matching veneer to face frames and exposed panels, and finishes everything for a unified look. It preserves cabinet boxes, limits disruption, and enables dramatic style shifts—like slab to Shaker—without redoing plumbing or tile.
We follow a disciplined workflow in occupied homes, with dust control and predictable sequencing:
- Assessment: Confirm box integrity, moisture exposure, ventilation, and layout satisfaction.
- Style selection: Choose door profile (e.g., Shaker), edge details, and hardware in hand.
- Surface prep: Clean with degreaser, scuff-sand (120–150 grit), vacuum, and tack-cloth.
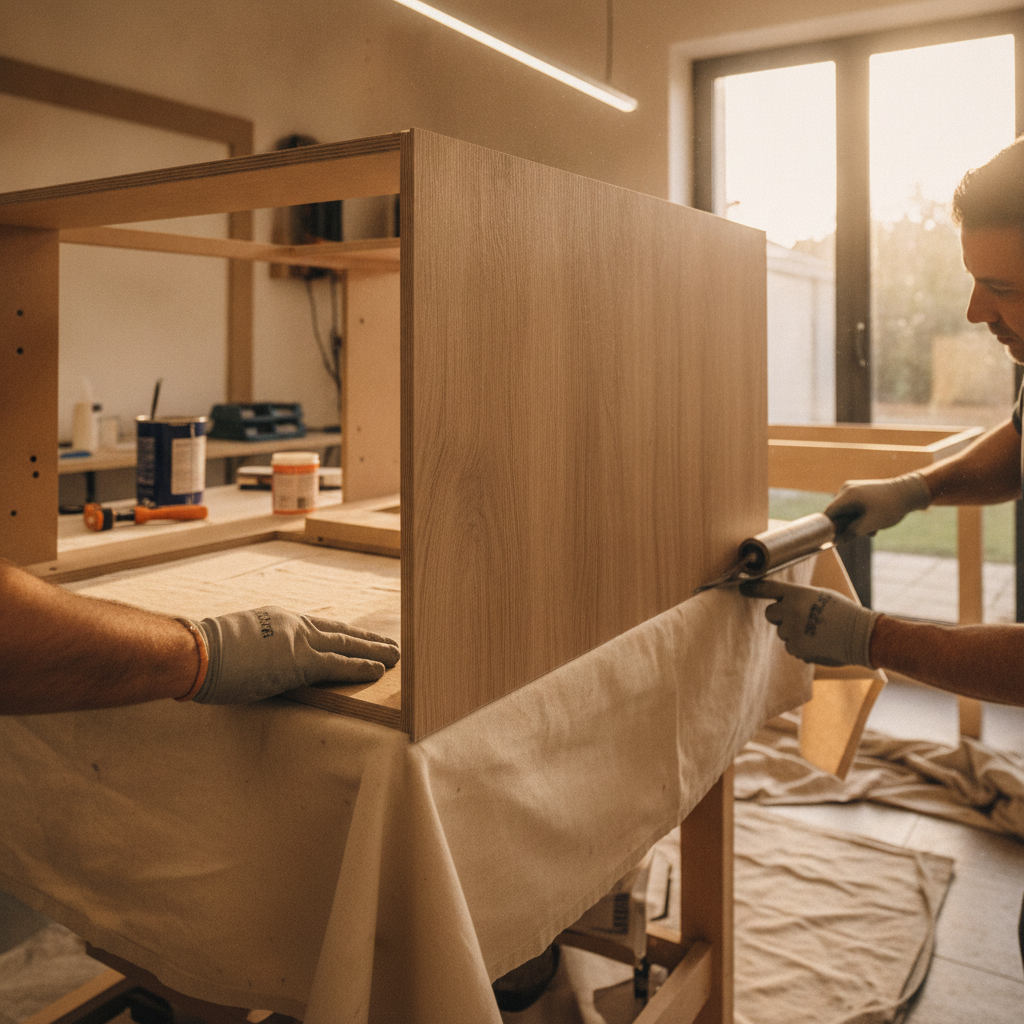
- Veneering: Add wood-look or painted veneer to face frames & exposed ends; roll with firm pressure.
- Door/drawer swap: Install new fronts, align reveals to within 1–2 mm, add soft-close hinges.
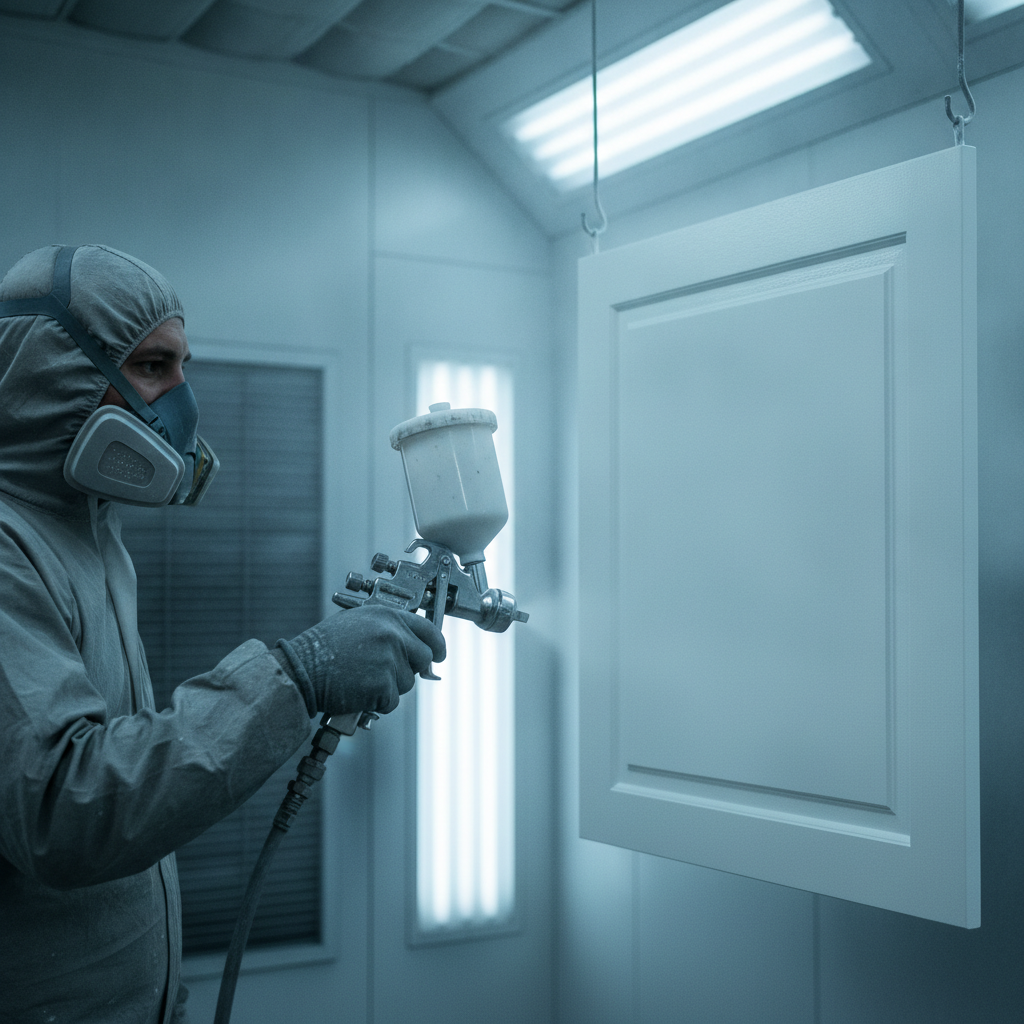
- Spray finishing: Prime with bonding primer; spray 2–3 topcoats in controlled conditions (target 40–55% RH).
- Hardware fit-out: Drill to template, install pulls/knobs, and adjust hinges for even gaps.
- Final cure & handover: Light use within 24–48 hours; full cure typically follows manufacturer guidance.
Practical tip: bathrooms benefit from satin or matte sheens, which diffuse light and hide touch marks. Gloss highlights surface imperfections in tight spaces and can feel “wet” visually.
Types and approaches: choosing your path
Choose refacing for style shifts with sound boxes, refinishing for quality wood you want to preserve, respraying for color-driven makeovers, hardware-only for quick refreshes, and selective replacement when boxes are compromised. Match the method to structure, humidity, and design goals.
Snapshot comparison
| Option | What it involves | When to choose | Durability focus | Disruption | Finish variety |
|---|---|---|---|---|---|
| Refacing | New doors + veneer, sprayed finish, hardware | Boxes are solid; want new style | Adhesion primer + pro topcoat | Low–medium | High (profiles, paints, faux-wood) |
| Refinishing | Strip/sand wood, repair, clear or stain | Solid wood you love | Moisture-tolerant clear systems | Medium | Moderate (stains, clears) |
| Repainting/Respraying | Degloss, prime, spray 2–3 coats | Color change on sound doors | Bonding primer + enamel/urethane | Low | Very high (full color deck) |
| Hardware-only | New pulls, knobs, hinges | Fast visual tidy-up | Quality hardware + jig accuracy | Very low | Moderate (styles, finishes) |
| Selective replacement | Swap a vanity or damaged sections | Compromised boxes, layout OK | Match finishes to room | Medium | High (new unit options) |
If you’re leaning toward a color-led makeover, see our repainted bathroom cabinets guide for surface prep and sheen selection. For deeper door-style changes, our cabinet refacing guide outlines profiles and edge details homeowners favor across Toronto.
Best practices for humidity and durability
The best bathroom finishes start with meticulous prep: degrease, scuff-sand, and use a bonding primer. In high-humidity rooms, target 40–55% relative humidity during spraying and early cure. Satin or matte topcoats hide touch marks, while soft-close hardware reduces stress on doors and boxes.
- Prep matters most: Clean with a dedicated degreaser; sand 120–150 grit; vacuum and tack.
- Prime smart: Use adhesion primers built for slick substrates and bathroom-grade topcoats.
- Control environment: Keep RH around 40–55% and temps stable during application and initial cure.
- Mind the edges: Seal veneer edges and door perimeters; edges are first to telegraph wear.
- Hardware alignment: Use drilling templates; uneven pulls are noticeable in tight rooms.
- Ventilation: Add or service fans; run 20 minutes after showers to shed moisture.
Local considerations for York
- Plan spray sessions around busy hours near Smythe Park to minimize door-open cycles that affect temperature and humidity.
- Winter projects: allow extra cure time and limit drafts; summer humidity near Jane St at St Clair Ave West corridors can require dehumidification.
- Older York homes often have charming but uneven walls—expect minor scribe and shim work for tight, shadow-free reveals.
Want a deeper primer-to-topcoat walkthrough? Our cabinet renovation guide explains why each layer earns its keep in a bathroom.
Step-by-step: Bathroom cabinet refacing in Toronto
Bathroom refacing follows eight disciplined steps: evaluate boxes, confirm style, prep, veneer, swap doors/drawers, pro prime, spray 2–3 topcoats, and fit hardware. Protect surfaces, control humidity, and verify reveals. The result is a near-factory look without relocating plumbing.
- Site protection: Mask floors, counters, mirrors, and fixtures; set up dust collection.
- Remove doors/drawers: Label and stage; plug hinge holes if changing hardware pattern.
- Prep boxes: Clean, degloss, scuff-sand; fill dings; caulk seams where needed.
- Apply veneer: Dry-fit, then adhere; use a J-roller for even pressure and flat seams.
- Prime: Spray a bonding primer tuned for bathrooms; check adhesion with a light cross-hatch test after dry.
- Topcoat: Spray 2–3 coats of enamel/urethane in satin or matte; respect recoat windows.
- Reinstall doors: Fit soft-close hinges; tune gaps to 1–2 mm; add bumpers.
- Hardware + finishing touches: Drill using jigs; install pulls/knobs; wipe, inspect, and hand over care notes.
For color inspiration and common door profiles we complete across the GTA, explore our kitchen cupboard refinishing overview and Toronto refacing page. The same craftsmanship applies to bathrooms—just with tighter moisture controls.
Tools and resources homeowners find helpful
Thinking about a bathroom refresh? Let’s assess your vanity’s structure, moisture exposure, and style goals—then recommend the right path. Paint2decor INC focuses on refacing, refinishing, and pro spray finishing across the GTA.
Request your consultation and get a clear, actionable plan.
Maintenance and care after an update
Protect your finish with simple habits: run the exhaust fan during showers and 20 minutes after, wipe standing water immediately, and clean with mild soap and a soft cloth. Avoid harsh cleaners and abrasives. Check hinge screws quarterly and replace worn bumpers to keep doors quiet.
- Daily use: Dry wet edges; use pulls rather than grabbing door corners.
- Weekly clean: Mild soap, soft cloth, front-to-back strokes; no scouring pads.
- Monthly check: Inspect hinge screws, adjust reveals, replace missing bumpers.
- Seasonal tune-up: Service exhaust fan; aim for quick humidity drop after showers.
Most wear we see in bathrooms starts at sink-base doors and bottom edges—areas that catch water and toothpaste. A few seconds with a towel after routines extends finish life and keeps satin sheens looking even.
Timeline and value factors (no pricing)
Project timing hinges on scope, cure windows, and site conditions. Refacing with spray finishing moves faster than replacement because boxes stay put and plumbing remains undisturbed. Value comes from preserving structure, gaining a fresh style, and achieving a near-factory sprayed finish.
- Scope: Door count, veneer coverage, and hardware changes influence duration.
- Cure windows: Respect manufacturer recoat and handle-times to avoid print-through.
- Site realities: Narrow rooms and constant use require tight staging and protection.
- Coordination: Align with tile/paint schedules if you’re updating more than the vanity.
If you’re weighing “refinish vs reface,” our Toronto-focused refinishing guide and refacing page outline tradeoffs beyond aesthetics—prep depth, disruption, and how each path ages in humid spaces.
Case examples in York homes
York bathrooms often have solid cabinet boxes but dated doors. We routinely reface to Shaker, veneer exposed ends, and spray in satin white or warm gray. Soft-close hardware, aligned reveals, and tidy caulking elevate the room—usually without touching tile, counters, or plumbing.
- Compact condo bath: Boxes sound; we refaced to slim-rail Shaker and sprayed matte warm gray. Satin nickel pulls eased grip for small hands.
- Family home near parkland: Older vanity with dings; we veneered ends, replaced doors, and sprayed a humidity-tolerant satin. Post-shower fan use improved sheen consistency.
- Rental refresh: Owner needed durable, neutral style. We installed new slab fronts, sprayed a washable satin, and used robust hinges to minimize callbacks.
For inspiration on color and finish feel, our cabinet renovation guide and cupboard refinishing overview show how small sheen and hardware choices change the room’s light and rhythm.
Toronto cabinet update options for bathrooms: quick answers
If your boxes are sturdy and you want a fresh style quickly, choose refacing plus a pro spray finish. Preserve quality wood with refinishing, change color fast with respraying, or do a hardware refresh for minimal disruption. Selective replacement suits damaged boxes when layout still works.
Want more design perspective while you decide? Skim this homeowner-friendly bathroom improvement overview and this step-planning renovation guide for context as you weigh your vanity path.
Frequently Asked Questions
Homeowners ask about durability, prep, timing, and whether bathroom cabinets can really look “factory-finished.” Yes—when prep, primers, and spray technique are dialed in, the results are crisp and resilient. Here are direct answers to the most common questions we hear in York.
What’s the difference between refacing and refinishing?
Refacing swaps doors and drawer fronts and applies matching veneer to exposed cabinet surfaces, then finishes everything. Refinishing restores existing wood by stripping, sanding, repairing, and recoating. Choose refacing for a style change; choose refinishing to preserve quality wood grain.
Will a sprayed bathroom finish hold up in humidity?
Yes—when surfaces are deglossed, primed with an adhesion primer, and topcoated with bathroom-suitable enamel or urethane. Keep humidity around 40–55% during application and early cure, and run the exhaust fan for about 20 minutes after showers to protect the finish.
Do I need to replace my vanity to change the style?
Not necessarily. Refacing changes door style, edge details, and hardware while keeping your cabinet boxes in place. It’s ideal when the layout works and boxes are sound. If boxes are swollen or failing, selective replacement may be the better route.
Which sheen is best for bathroom cabinets?
Satin or matte sheens are popular in bathrooms because they hide touch marks and diffuse light in tight spaces. Gloss can emphasize surface flaws and feel visually “wet.” Match sheen to your tile, countertop, and lighting for a cohesive look.
Conclusion and next steps
Bathroom cabinet updates succeed when you match the method to your cabinet structure, humidity realities, and design goals. Refacing plus a pro spray finish often delivers the fastest style shift with durable results. Plan humidity control, choose resilient coatings, and align hardware for a clean, lasting look.
- Key takeaways:
- Refacing, refinishing, respraying, hardware-only, and selective replacement are the five core paths.
- Humidity control and prep quality determine long-term results.
- Satin or matte sprayed finishes look refined and resist daily wear.
- Action steps:
- Assess box integrity and ventilation.
- Decide if you want wood grain or painted Shaker.
- Book a pro assessment to confirm the right path for your vanity.
Ready to transform a York bathroom without a gut renovation? Schedule a friendly consultation with the Paint2decor team to discuss options and timelines.