
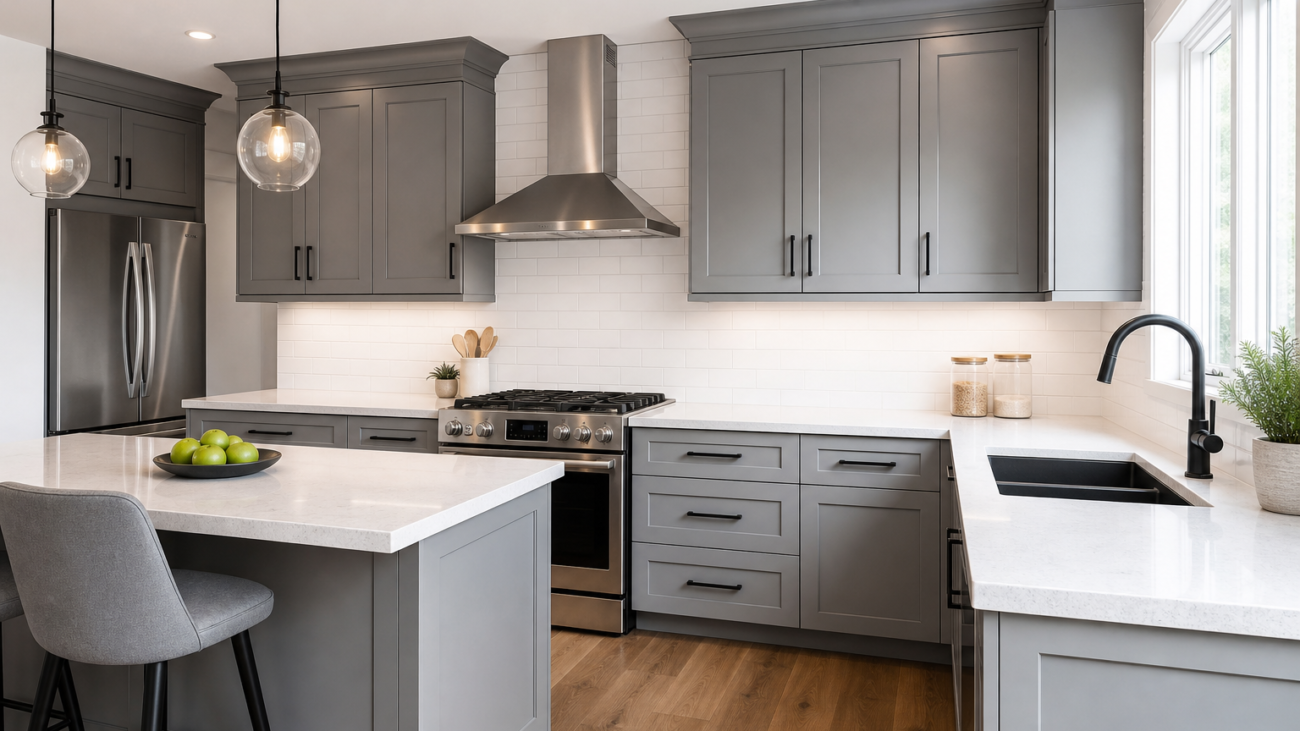
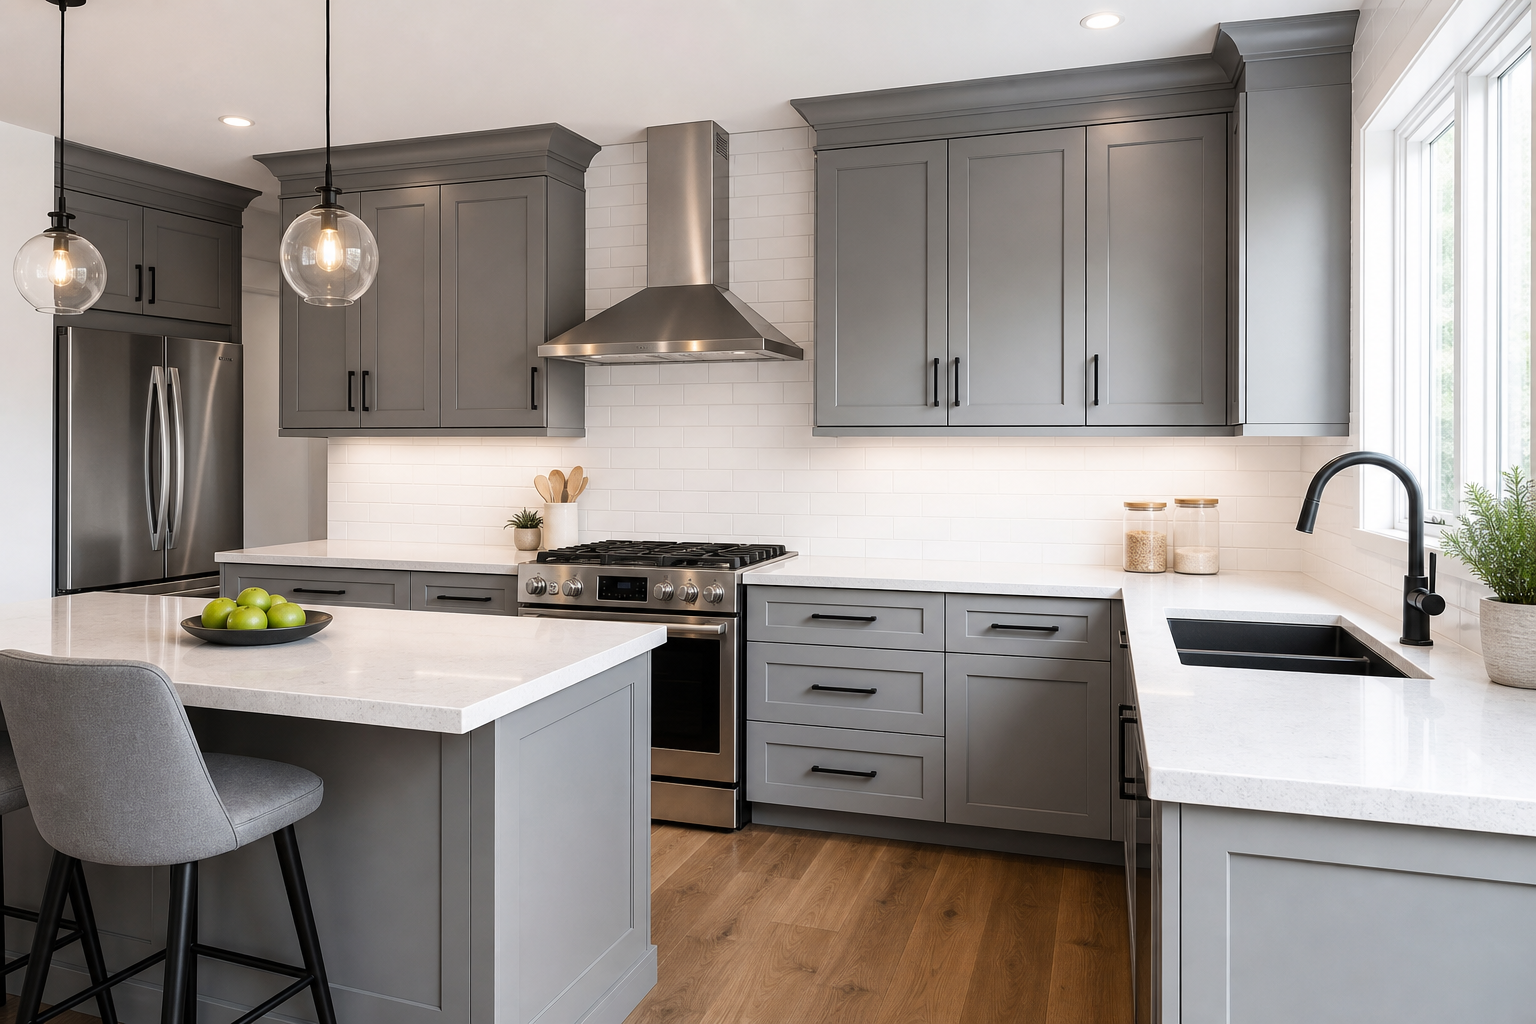
A Practical Guide to Toronto Cabinet Painting for Kitchens
Painting kitchen cabinets can refresh your space, extend the life of your existing boxes and doors, and align the room with your current style—often with less disruption than a full renovation. This practical guide explains how to plan, prepare, and execute cabinet painting for kitchens in Toronto, from selecting materials and finishes to choosing a paint application method and caring for the finished surface.
Start with a scope and surface assessment
Good outcomes start with a realistic plan. Before you price materials or schedule time, define what will change and what stays the same.
- Full repaint vs. partial: Decide whether you will paint doors, drawer fronts, cabinet boxes (face frames and sides), and any visible interiors. Many projects focus on exteriors and leave interiors as-is.
- Hardware plan: If you will replace pulls, knobs, and hinges, confirm hole spacing and whether you need to fill old holes before painting.
- Countertops and backsplash: Painting around fixed elements is common. Protect adjacent surfaces thoroughly and plan colour harmony across all finishes.
- Appliance clearances: Note door swing and drawer travel so you can remove and reinstall parts without obstruction.
Next, assess what you are painting. Different cabinet materials influence prep and product choice.
- Solid wood and wood veneer: Typically straightforward to sand, prime, and paint after degreasing and deglossing.
- Factory-finished MDF or laminate: Needs meticulous cleaning and a bonding primer designed for slick, non-porous surfaces.
- Thermofoil: Painting is possible only if the foil is well-adhered. Peeling sections must be removed; underlying MDF needs repair and priming.
- Previously painted cabinets: Test adhesion. If paint is sound, clean and scuff-sand; if failing, strip or sand to a stable layer before priming.
Gather materials that suit cabinets and usage
Cabinets endure frequent handling, grease, moisture, and cleaning. Choose a system (cleaner, primer, and topcoat) intended for high-traffic woodwork.
- Degreaser: A kitchen-safe cleaner removes oils that interfere with adhesion—especially around handles and near cooktops.
- Surface deglosser (optional): Helps dull shiny factory finishes ahead of scuff sanding.
- Abrasives: A progression such as 120–150 grit for initial scuffing and 180–220 grit for smoothing between coats.
- Filler and caulk: Wood filler for dings and old hardware holes; a paintable caulk for hairline seams on face frames (avoid caulking moving joints).
- Bonding primer: Select primer compatible with your substrate (wood, veneer, laminate, or MDF) and your topcoat.
- Cabinet-grade enamel or urethane-fortified paint: Formulations labeled for trim and cabinets provide hardness, flow, and scuff resistance.
- Applicators: High-density foam rollers or microfiber rollers for smooth finishes; quality angled brushes for profiles; or an HVLP/airless setup for spraying.
- Dust control and protection: Masking film, painter’s tape, rosin paper or drop cloths, and zippered plastic or temporary barriers if spraying.
- Numbered bags and labels: Keep hinges, screws, and door/drawer IDs organized for efficient reassembly.
Plan your colour, sheen, and finish details
Cabinet colour and sheen affect maintenance and perceived space. A few considerations help narrow the options.
- Undertones: Compare paint swatches against countertops and backsplash under your actual kitchen lighting to catch warm/cool shifts.
- Two-tone layouts: Combining a light upper with a deeper lower colour adds dimension. If you choose this, tape and label carefully during reassembly.
- Sheen selection: Satin and semi-gloss are common for cabinets. Satin softens reflections while resisting stains; semi-gloss highlights profiles and is easier to wipe. Match sheen across doors, drawers, and frames for consistency.
- Durability balance: Very glossy finishes can show fingerprints and surface imperfections; flatter finishes can burnish under frequent cleaning. Test a small panel to confirm look and cleanability.
Map the sequence and timeline
Cabinet painting moves faster with a clear order of operations and space staging. Here’s a proven sequence you can adapt to your kitchen:
- Set up a labeling system: Number each door and drawer, and mark hinge locations discreetly on the cabinet box.
- Remove hardware: Bag and label all parts. Consider a dedicated bin per cabinet run.
- Degrease thoroughly: Clean every surface you plan to paint—twice in high-use zones—to ensure primer bonds.
- Scuff-sand: Dull the existing finish uniformly. Vacuum, then tack-cloth or damp-wipe dust.
- Repairs: Fill dents and unused holes; sand smooth after curing. Caulk fine, fixed seams as needed.
- Mask and protect: Tape off walls, counters, floors, and appliance edges. If spraying, build a contained area with ventilation and filtration suited to your space.
- Prime: Apply an even, thin coat of bonding primer. Address edges and profiles first, then broad faces.
- Sand and inspect: Lightly sand the primer to remove nibs. Spot-prime repairs.
- Finish coats: Apply two or more thin coats of cabinet-grade enamel, sanding lightly between coats for smoothness.
- Cure time: Respect the manufacturer’s recoat and cure windows before reassembly and normal use.
- Reinstall: Hang doors, align reveals, adjust hinges, and add hardware carefully to avoid marring fresh paint.
Build buffer time for cleaning, masking, and drying. Rushing recoat or cure stages can lead to print-through from hardware, sticking doors, or premature wear.
Spray vs roller/brush: choosing an application method
Both approaches can deliver attractive results with the right prep and technique. Weigh the trade-offs based on your space and tools.
- Spraying: Produces a very smooth, factory-like look on doors and drawer fronts. Requires careful masking, a controlled area, good ventilation, and equipment setup and cleaning.
- Roller/brush: Easier to set up in lived-in homes; great for frames and edges. Use fine-nap or foam rollers and high-quality brushes to minimize stipple and brushmarks. Maintain a wet edge and tip off lightly.
- Hybrid: Spray removable parts (doors/drawers) in a controlled zone and roll/brush frames in place. This balances finish quality and on-site practicality.
Avoid common pitfalls
Small missteps can compound into adhesion issues or visible flaws. Watch for these:
- Inadequate degreasing: Residual oils repel primer and cause fisheyes. Clean, rinse if required, and allow to dry fully.
- Skipping scuff-sanding on glossy surfaces: Even the best bonding primer benefits from a mechanical tooth.
- Heavy coats: Thick applications sag, telegraph texture, and extend cure time. Multiple thin coats level better.
- Handling too soon: Paint may be dry to the touch but not cured. Use spacers or drying racks and avoid stacking parts.
- Hardware contact: Place soft pads under freshly painted doors during reassembly. Tighten hardware gradually to avoid imprinting.
Maintenance and care after painting
Protect your work with simple habits:
- Gentle cleaning: Wipe spills promptly with a soft cloth and mild, non-abrasive cleaner. Avoid harsh solvents and scouring pads.
- Support at pulls: Encourage family members to use handles rather than door edges.
- Touch-ups: Keep labeled touch-up paint sealed. Address chips early to prevent moisture intrusion on wood or MDF edges.
- Hinge adjustments: If doors rub, readjust hinges to relieve friction on painted faces.
Refinishing, refacing, or replacing: which is right for you?
Cabinet painting is one path. Use this decision framework to compare alternatives:
- Refinishing/painting: Keep existing doors and boxes; change colour and sheen. Best when boxes are sound, the layout works, and you want a cosmetic update.
- Refacing: Keep boxes; replace doors/drawer fronts and apply new veneer or panels to frames. Consider if you want a new door style or to fix worn edges while avoiding a full tear-out.
- Replacement: New boxes and doors. Choose this when the layout changes significantly, storage needs differ, or the structure is compromised.
Ask yourself these questions before deciding:
- Are cabinet boxes square, plumb, and structurally solid?
- Do you like the current layout and storage, or do you need changes?
- Is the door style aligned with your target look, or would refacing unlock a bigger style shift?
- Will new counters or appliances be installed soon, affecting timing or protection needs?
Project checklist: printable overview
Use this condensed list to keep your project on track.
- Label every door and drawer; create hardware bags.
- Degrease, rinse/dry, and scuff-sand all paintable surfaces.
- Fill dings and old holes; sand flush and spot-prime.
- Mask counters, floors, walls, and appliances.
- Prime with a bonding primer suitable for your substrate.
- Apply two or more thin finish coats; sand lightly between coats.
- Allow proper dry and cure times; use spacers on drying racks.
- Reinstall carefully; adjust hinges and add protective pads.
- Adopt gentle cleaning and handle-at-the-hardware habits.
Frequently asked questions
How long does cabinet paint take to cure?
Dry-to-touch often occurs within hours, but full cure typically takes longer. Follow the manufacturer’s schedule for light use, regular use, and full hardness. During the first weeks, avoid harsh cleaners and minimize heavy contact to reduce impressions and sticking.
Do I have to sand if I’m using a bonding primer?
Scuff-sanding is still recommended. Even with a bonding primer, dulling glossy finishes with fine-grit paper improves mechanical adhesion and helps the coating level. Thorough cleaning comes first, followed by a uniform scuff sand, dust removal, then primer.
What’s the best sheen for kitchen cabinets?
Satin and semi-gloss are popular because they balance washability with appearance. Satin reduces glare and helps hide minor imperfections; semi-gloss highlights profiles and is easy to wipe. Test boards in your lighting to confirm the look and maintenance feel.
Can I paint laminate or thermofoil doors?
Yes, with the right prep. Clean meticulously, use a suitable bonding primer, and check adhesion on a test area. For thermofoil, remove any loose foil first. Exposed MDF edges must be sealed and sanded smooth before priming and painting.
Is spraying always better than rolling?
Spraying can deliver a very smooth finish on removable parts, but rolling and brushing can also look excellent with fine-nap or foam rollers and quality brushes. Choose based on your setup, masking tolerance, and comfort with equipment. A hybrid approach—spray doors, roll frames—is common.
What if my doors stick after painting?
Sticking often stems from reassembling before sufficient cure or from tight clearances. Allow more cure time, add thin felt or bumpers, and adjust hinges to create a small, even reveal so painted faces don’t rub.