
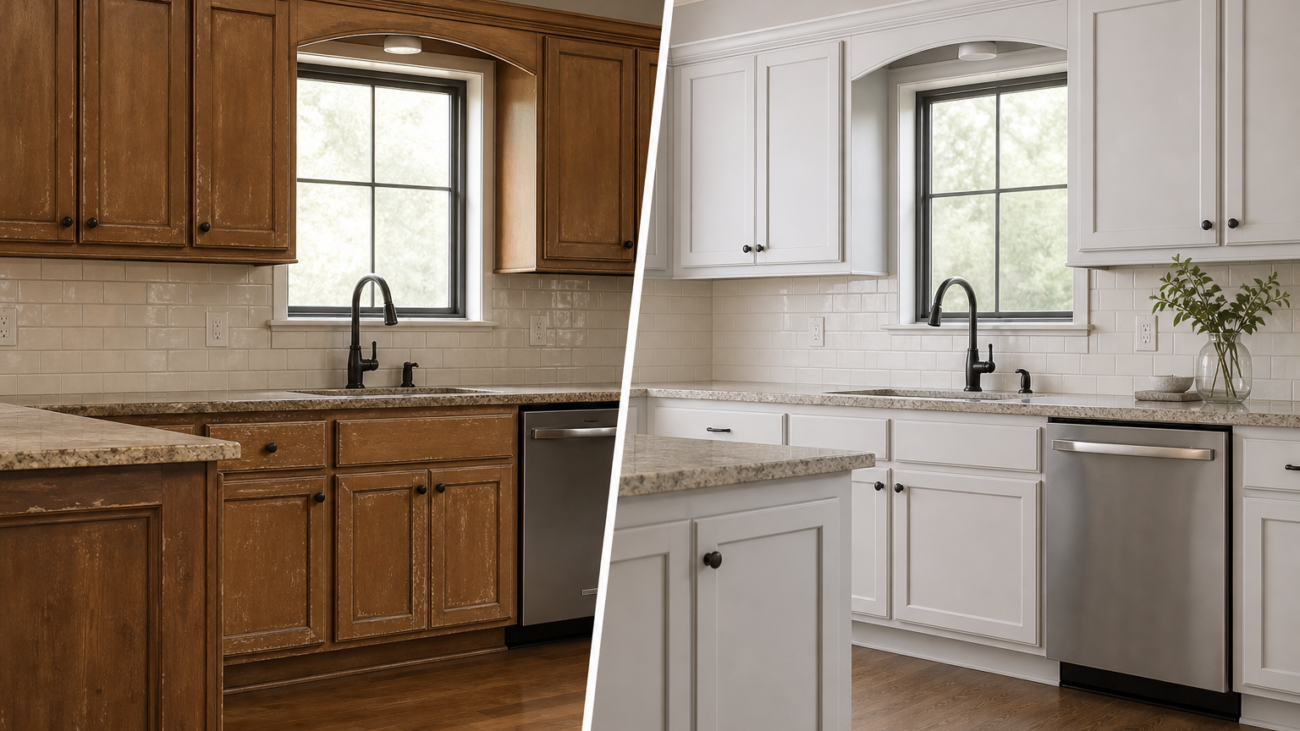
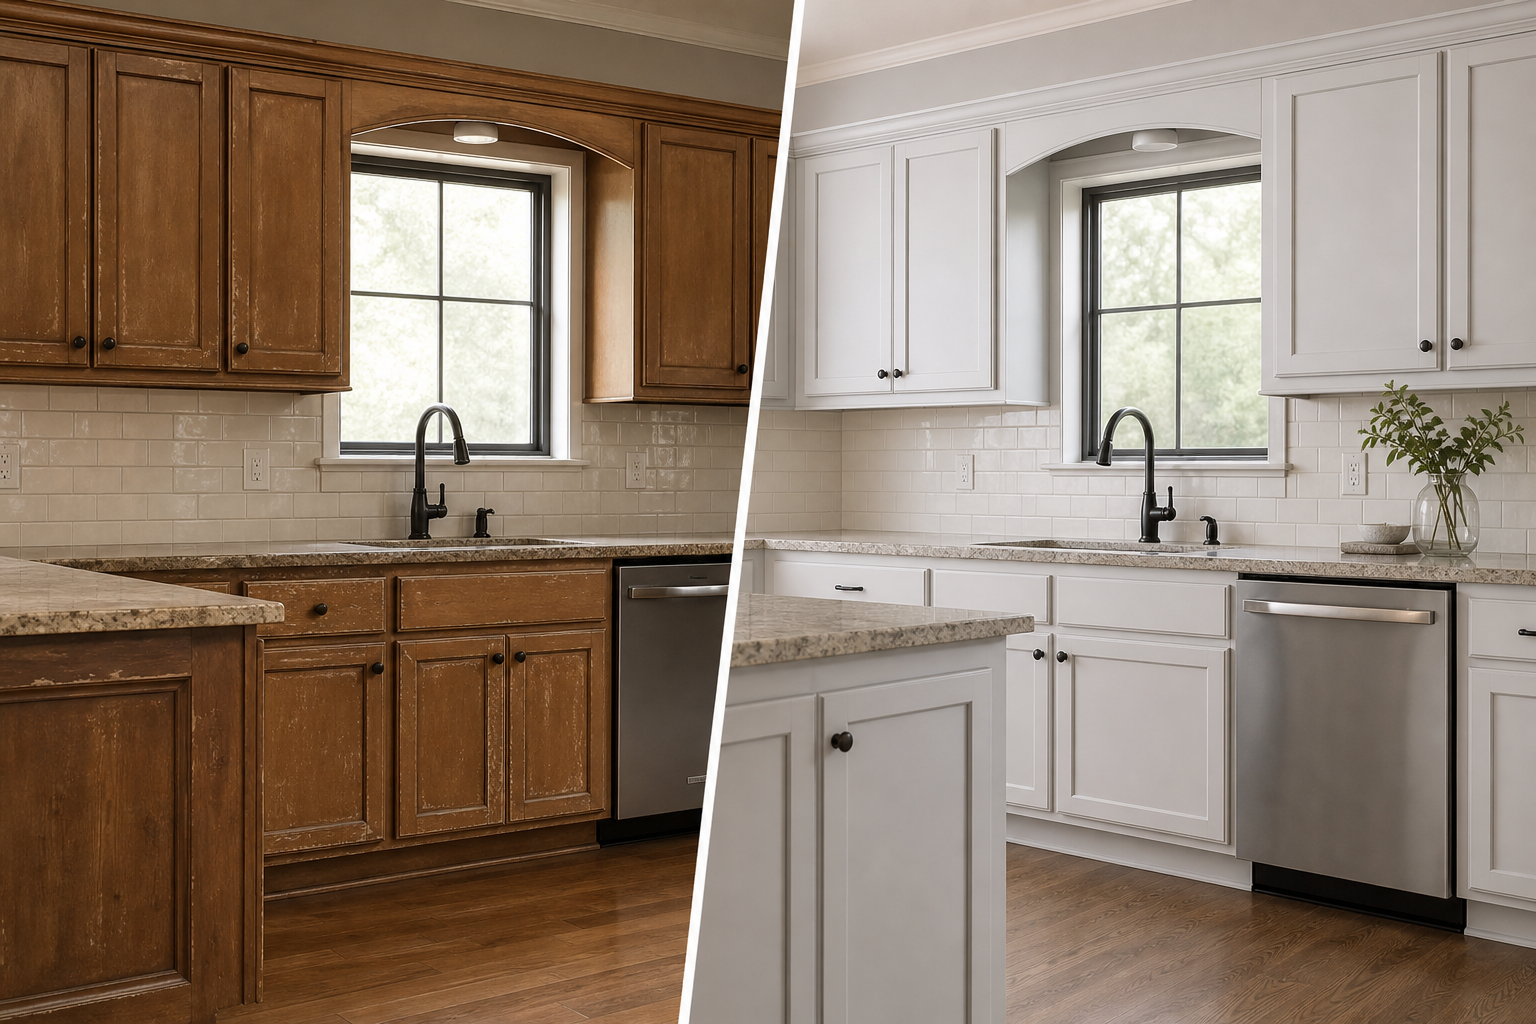
A Practical Guide to Cost of Kitchen Cabinet Refinishing
If you’re comparing options to refresh your kitchen, cabinet refinishing is often the most budget-conscious and least disruptive path to a new look. Yet many homeowners struggle to pin down what cabinet refinishing actually costs. This guide explains the variables that move pricing up or down, outlines a straightforward way to scope and estimate your project, and shares checklists you can use to control costs while setting realistic expectations.
What “refinishing” includes
Refinishing restores or changes the appearance of your existing cabinet boxes and doors without replacing the boxes. While exact methods vary, most refinishing projects include some or all of the following steps:
- Project setup and protection: masking floors, counters, appliances, and walls; ventilation and dust control.
- Cleaning and degreasing: removing built-up kitchen oils so finishes adhere properly.
- Surface preparation: sanding or scuff-sanding, de-glossing, filling minor dents, caulking gaps, and spot repairs.
- Priming and sealing: using substrate-appropriate primers to block stains and enhance adhesion.
- Color or clear finish application: spray, brush, or roll techniques with paints, lacquers, or stains plus topcoats.
- Drying and curing: controlled conditions so coatings level and harden as intended.
- Reassembly and adjustments: reinstalling doors and drawers, aligning hardware, and final touch-ups.
Because these stages require time, materials, and skill, the mix of steps your kitchen needs directly affects your final price.
Core cost drivers
Several factors influence the overall cost of kitchen cabinet refinishing. Understanding these variables allows you to predict where your project will land on the price spectrum and where you have levers to save.
- Kitchen size and door/drawer count: More surfaces mean more prep, product, and labor. Door styles with deep profiles or glass inserts add complexity.
- Current cabinet condition: Heavy grease, peeling finish, water damage, or previous DIY coatings require additional prep and repairs before new finishes go on.
- Material and construction: Solid wood, veneer, MDF, and thermofoil each call for different prep and primers. Some substrates accept finishes more readily than others.
- Finish system selected: Painted, stained, or clear-coated looks can require different numbers of coats, different products, and different curing times. Specialty colors or multi-step finishes (e.g., glazing, distressing, two-tone) add steps.
- Application method: On-site brushing/rolling, on-site spraying, or shop spraying of doors/drawers involve different labor and setup requirements.
- Repairs and modifications: Patching holes, replacing damaged doors, adding trim, or converting to soft-close hinges create extra line items beyond standard refinishing.
- Hardware updates: New pulls or knobs can be a separate material cost and may require drilling and filling to move hole locations.
- Access and logistics: Tight spaces, high ceilings, or significant masking needs influence setup time. Transporting doors to a spray shop (if used) also affects labor.
Finish choices and their budget impact
Not all finishes carry the same preparation and application requirements. Here’s how common choices can influence cost without quoting specific prices:
- Solid-color paint systems: Typically involve thorough prep, a bonding primer, and multiple color coats with a protective topcoat. Dark-to-light color shifts can require additional coats.
- Stain-and-clear systems: Often require more invasive prep to expose wood grain uniformly. Color corrections and blotch control add steps.
- Clear-only refresh: When the existing stain is in good shape, a light prep and fresh clear coats may be sufficient, reducing the scope.
- Specialty or multi-step looks: Glazing, color washing, distressing, or two-tone island-and-perimeter schemes add passes and detail work.
- Sheen level: Higher sheens highlight imperfections and often demand finer surface prep; lower sheens can be more forgiving.
Ask for the specific product system and number of coats proposed for your project so you can compare apples to apples across quotes.
Scoping your project like a pro
A clear scope is the foundation of a reliable estimate. Use the following steps to document your kitchen so any refinisher can price it consistently.
- Inventory doors and drawers: Count each door and drawer front. Note special items: glass doors, end panels, crown molding, island panels, and open shelving.
- Document materials: Identify whether components are solid wood, veneer, MDF, or thermofoil. If uncertain, take close-up photos of edges and interiors.
- Note existing finish and color: Indicate whether surfaces are stained, painted, glossy, or matte. Record any chipping, peeling, or water-damaged areas.
- Define your target finish: Choose color family, stain depth, or clear recoat, and your desired sheen. Consider whether island and perimeter will differ.
- Decide on hardware: Keep current pulls/knobs, replace in the same hole spacing, or change positions (which may need filling and drilling).
- List repairs or changes: Soft-close hinge upgrades, new door styles, filler strips, or trim additions belong as separate scope items.
- Clarify application location: Will doors/drawers be removed and sprayed off-site? Will boxes be sprayed in place? Note any access constraints.
Share this scope with each contractor so the quotes you receive reflect the same work plan.
How to build a sound estimate
Even without exact pricing, you can organize an apples-to-apples estimate structure. Request itemization in the following categories so you can compare bids transparently:
- Project setup and protection
- Cleaning and degreasing
- Surface prep (sanding, filling, caulking)
- Priming (type and number of coats)
- Finish coats (product line, number of coats, application method)
- Doors/drawers removed and reinstalled (on-site vs. shop)
- Hardware changes (materials and labor)
- Repairs and woodwork modifications
- Touch-ups and final adjustments
- Waste disposal and cleanup
For each category, ask for a short description of what’s included and excluded. That clarity prevents add-ons later and makes cross-bid comparisons much easier.
Common optional line items
Some costs don’t apply to every kitchen but can appear depending on condition and preferences:
- Significant door or veneer repairs
- Replacement doors to match existing boxes
- Converting Euro hinges or updating visible hinges
- Adding end panels, light rail, or crown molding
- Filling and redrilling hardware holes for a new pull style
- Specialty finishes or two-tone color schemes
- After-hours or accelerated timelines
When you see these on a proposal, confirm whether they’re optional or required to meet your goals.
Ways to control cost without cutting quality
The most reliable savings come from simplifying scope while protecting durability and appearance. Consider these strategies:
- Keep hardware locations: Reusing existing hole spacing avoids filling, sanding, and drilling time.
- Choose a single color: One color across island and perimeter reduces coating changes and masking steps.
- Limit modifications: Avoid adding trim or converting door styles if your budget is tight.
- Focus prep where it counts: High-visibility doors and end panels benefit most from meticulous finishing.
- Plan a realistic timeline: Rushed schedules can increase labor intensity; schedule to allow proper curing.
- Provide a clean start: Clearing counters and emptying cabinets speeds masking and reduces on-site time.
Refinishing vs. refacing vs. replacement
Homeowners often weigh refinishing against two other paths:
- Refinishing: Keeps your existing boxes and doors, altering color or wood tone with new coatings. Best when boxes are structurally sound and you like your current door style.
- Refacing: Keeps boxes but replaces doors/drawer fronts and applies new veneer or panels to exposed box faces. This changes the door style and can include hardware and hinge updates.
- Replacement: New boxes, doors, and often layout or appliance moves. Highest disruption and usually the largest investment.
Refinishing typically involves fewer materials and less demolition than the other options, which is why many homeowners investigate it first when targeting a lower total project spend. Your choice should reflect cabinet condition, desired style change, and tolerance for disruption.
Timeline and living through the project
Time is part of cost. A thoughtful schedule minimizes return trips and idle periods between coats:
- Confirm whether the finisher removes doors and sprays off-site, which can keep your kitchen more functional.
- Ask how long boxes will be masked and what access you’ll have during curing.
- Discuss drying and curing times for the selected products before normal use resumes.
When timelines compress, labor demands can rise. Planning ahead helps maintain efficiency and finish quality.
Avoid surprises with these questions
Use this interview list with any refinisher you’re considering:
- What cleaning, sanding, and priming steps will you use on my specific cabinet materials?
- How many coats are included for primer and finish, and what products do you recommend for kitchens?
- Will doors and drawers be sprayed in a controlled environment? How will boxes be finished on-site?
- How will you manage dust and overspray protection? What masking and ventilation methods are included?
- What repairs are included versus billed as extras? How are unforeseen repairs handled?
- How are color samples and sheen levels confirmed before full application?
- What is the expected work sequence and approximate duration for a kitchen of my size?
- What care guidance do you provide for the first weeks after refinishing while the finish cures?
Sample estimate template you can use
Copy this structure into a document and fill it with line items from each proposal. It helps you compare scope and value without relying solely on a single bottom-line figure.
- Project overview: kitchen size, door/drawer count, material types
- Preparation plan: cleaning, sanding, filling, caulking
- Priming system: product names, coats
- Finish system: paint/stain/clear, sheen, coats, application method
- Doors and drawers: on-site vs. shop finishing, transport steps
- Boxes and panels: on-site method, masking approach
- Repairs and modifications: included vs. optional
- Hardware: reuse vs. replace; drilling/filling details
- Protection: plastic, paper, tape, ventilation, dust control
- Schedule: start date range, estimated working days, curing notes
- Cleanup and disposal: what gets hauled away and what remains
- Exclusions: items not covered (e.g., countertops, backsplash)
DIY or hire: what to consider
Refinishing can look straightforward but requires careful surface prep, product selection, and clean application conditions. When comparing do-it-yourself with hiring a pro, consider these cost-related realities rather than relying on generic assumptions:
- Tools and materials: Beyond paint, you may need degreasers, fillers, specialty primers, sprayers or high-quality brushes and rollers, sanders, abrasives, protective equipment, and masking supplies.
- Learning curve: Achieving a factory-like finish demands practice; trial-and-error adds time and material use.
- Space and setup: Doors need dust-free finishing and drying space. Makeshift areas can slow work and affect results.
- Time investment: Prep, coating, and curing stages can occupy kitchens for days. Consider your schedule and tolerance for disruption.
- Rework risk: Adhesion or leveling issues can require sanding back and recoating, adding unplanned effort and materials.
DIY can be practical for small or utility spaces. For a kitchen—the most handled surfaces in a home—many homeowners prefer professional processes designed for durability and consistency.
Maintenance and longevity factors
How long a refinished finish looks its best depends on product choice, preparation quality, and everyday care. To protect your investment:
- Wipe spills promptly and clean with non-abrasive, finish-safe products.
- Avoid harsh scouring pads and heavy chemicals that can dull or soften finishes.
- Use door and drawer bumpers to soften closures.
- Allow recommended cure times before heavy kitchen use.
- Address minor chips early with touch-ups to prevent moisture intrusion.
FAQ
Is refinishing always less expensive than refacing or replacing?
Refinishing generally involves fewer new materials and less demolition than refacing or replacing, so many homeowners find it to be the most budget-sensitive route to a refreshed look. However, if your cabinet boxes are damaged or you want a completely different door style, refacing or replacement may align better with your goals, even if that means a larger total project spend.
What makes quotes for the same kitchen vary between companies?
Differences typically come from scope and process details: the thoroughness of surface prep, the primer and finish system specified, whether doors are shop-sprayed, the number of coats, the masking and ventilation approach, inclusion of repairs and hardware work, and scheduling considerations. Ask for itemization and product details so you can compare proposals fairly.
How long will a refinished finish last?
Longevity depends on preparation quality, compatible product systems, proper curing, and day-to-day care. Kitchens with heavy use, moisture, and heat benefit from durable, kitchen-appropriate coatings. Follow the care guidance provided with your chosen finish system to support long-term appearance.
Can laminate or thermofoil cabinets be refinished?
Some non-wood substrates can accept coatings with the right cleaning, de-glossing, and bonding primers, but not all conditions are suitable. Peeling thermofoil, for example, may need repair or replacement of affected components before finishing. Confirm substrate and product compatibility during your estimate process.