
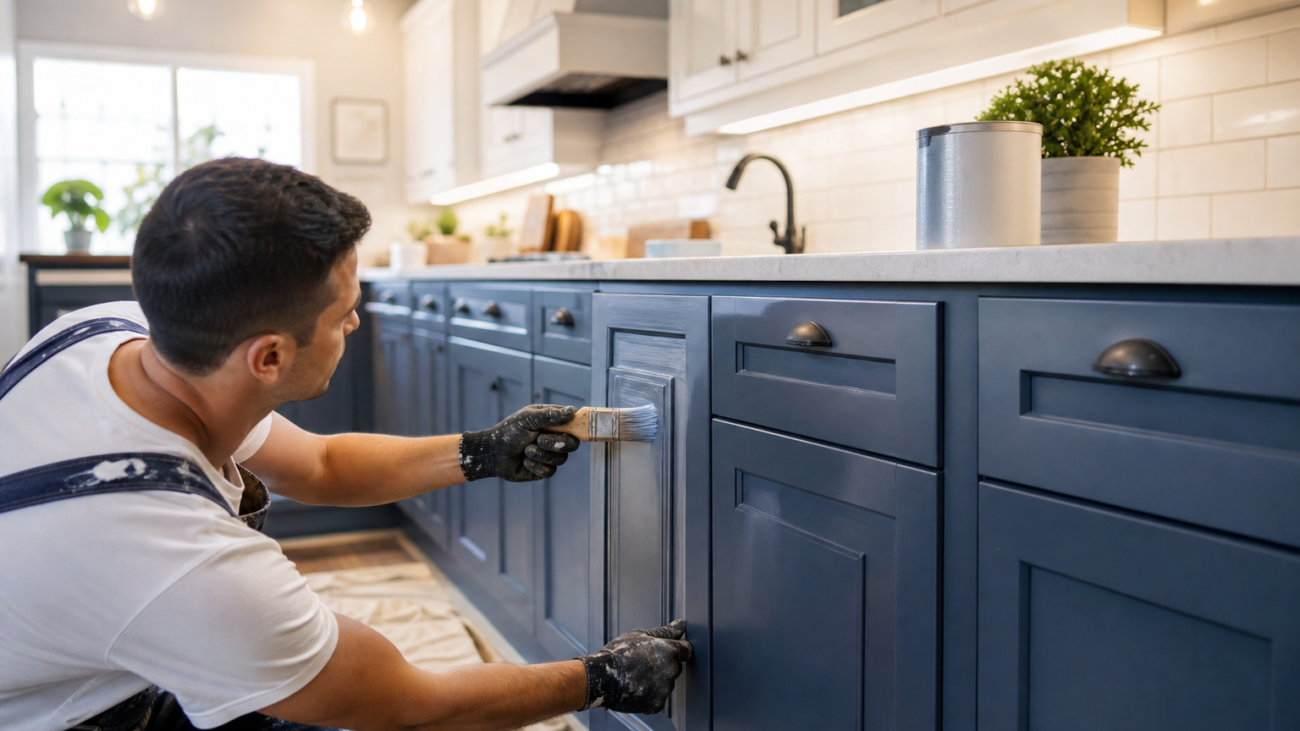

A Toronto Homeowner’s Roadmap to Kitchen Cabinet Refinishing
Prerequisites and inspection checklist before you refinish
Before you begin, confirm cabinets are structurally sound and viable candidates for a refinish rather than refacing or replacement. Inspect for soft or discoloured areas near sinks and dishwashers (water damage), loose or missing screws, separation at joints, veneer delamination, and warped doors that won’t sit flat. This assessment helps set realistic expectations and avoids wasted effort—refinishing is best when the underlying structure is intact (This Old House, BobVila).
Quick inspection checklist you can use now:
- Press exposed areas near sinks and appliances to check for softness (rot).
- Open and close doors and drawers to check alignment and hardware function.
- Look for peeling or bubbling veneer; peel a small corner where safe to test adhesion.
- Note any wide gaps at joints or hinges that indicate structural repair needs.
If multiple doors are warped or there is extensive delamination, refinishing may not be the most cost‑effective solution—consider refacing or replacement instead; refinishing is an affordable option when damage is mainly cosmetic (Angi).
7 essential kitchen cabinet refinishing tips (step-by-step)
-
Tip 1 — Make a clear plan and run a colour test:
Decide style, sheen and exact colour before you start. Painting a small test panel or a removed door helps confirm colour, adhesion and how light affects the finish in your space (This Old House).
-
Tip 2 — Remove doors, drawers and hardware and label everything:
Full disassembly produces the most consistent finish and avoids paint on hinges and hardware. Photograph assemblies, label each piece and store screws in clearly marked bags so reassembly is straightforward (The Spruce, BobVila).
-
Tip 3 — Clean, repair and degloss carefully:
Remove grease and grime with a dedicated degreaser before sanding or priming. Repair loose joints with glue and clamps, fill small dents and gouges with wood filler, and address any veneer issues. Proper cleaning and repair are the foundation for a long‑lasting finish (Consumer Reports).
-
Tip 4 — Sand progressively; don’t over‑abrade:
Start with medium grit to level repairs, then switch to fine grit for a smooth surface. Sand between coats to remove dust nibs and ensure each layer bonds to a keyed surface. Patient, progressive sanding creates a durable, professional result (This Old House).
-
Tip 5 — Choose the right primer and paint for kitchen traffic:
Use a bonding primer suited to the substrate (wood, MDF, thermofoil). For topcoats, cabinet‑grade or high‑quality acrylic/alkyd paints in satin or semi‑gloss provide a good balance of cleanability and appearance. Manufacturer guidance and professional sources recommend cabinet‑rated products for frequent use areas (The Spruce, Consumer Reports).
-
Tip 6 — Apply thin, even coats and respect dry times:
Thin coats reduce runs and pooling. Whether brushing, rolling or spraying, apply multiple light coats and follow the manufacturer’s recommended dry and recoat times—rushing coats is a common cause of visible flaws and adhesion failures (BobVila).
-
Tip 7 — Protect high‑use surfaces with a compatible topcoat:
In high‑traffic kitchens consider a compatible clear topcoat or a tougher enamel designed for cabinetry to improve scratch and moisture resistance. Confirm compatibility to avoid yellowing or clouding of the finish (The Spruce).
Spray versus brush/roller: when to use each and an equipment checklist

Spraying usually yields the smoothest, factory‑like finish and can be faster for many doors, but it requires extensive masking, good ventilation and dust control. Family Handyman describes step‑by‑step spray techniques (HVLP or airless systems) and notes the speed and finish advantages when done correctly (Family Handyman).
Brushing or rolling is simpler for small jobs and tight budgets. Use a quality angled brush for detail and a small foam roller for smooth panels to reduce visible strokes. If a perfectly smooth sprayed finish is a priority across many pieces, hiring a pro with spray equipment is often the most efficient route (The Spruce).
Essential equipment and PPE checklist: respirator rated for paint vapours, eye protection, disposable gloves, drop cloths, tack cloths, medium and fine sandpaper, quality primer and cabinet paint, painter’s tape and masking film, and an HVLP or airless sprayer if you plan to spray. For a visual comparison of spray and brush outcomes on modern cabinetry, see an example of kitchen cabinet refinishing for modern look.
Troubleshooting: fix adhesion, sanding marks, flaking and other common problems
Poor adhesion is most often caused by inadequate cleaning, painting over contaminants, or failing to degloss a glossy surface. Correct by removing loose paint, cleaning thoroughly with a degreaser, sanding to a keyed surface, applying a bonding primer and repainting (This Old House).
Visible brush or spray marks: avoid heavy single coats—apply multiple thin coats and sand lightly between coats with fine‑grit paper to remove nibs. If runs occur, let them dry fully, sand smooth and recoat the area (The Spruce).
Flaking or peeling: typically indicates adhesion failure or incompatible products. Strip or sand back to a stable edge, feather surrounding areas, prime with an adhesion primer and use a compatible topcoat. Family Handyman and This Old House both stress careful prep and correct product pairing as the repair route for flaking finishes (Family Handyman).
When to DIY and when to hire a pro (and how to request a free quote)

DIY is a reasonable choice when damage is cosmetic, the cabinet structure is sound, you have time for careful prep, and you’re working with a limited number of doors. Hire a professional if you discover widespread rot or delamination, many warped doors that won’t align, complex colour matching needs, or when you want a sprayed, factory‑smooth finish across a large set of pieces. Professional help reduces risk for large or complex projects (The Spruce, This Old House).
When requesting quotes, prepare a clear brief: number of doors and drawers, cabinet substrate (solid wood, plywood, MDF, thermofoil), photos showing damage, preferred colour and sheen, and whether hardware will be refinished or replaced. Including photos and a concise scope helps contractors provide faster, more accurate estimates (BobVila).
Frequently asked questions
How can I tell if my cabinets need repair before refinishing?
Look for soft spots near plumbing fixtures, loose or gapped joints, doors that don’t close flat and areas where veneer peels. If you can press through with a fingernail or see separation along seams, repair those issues before painting—This Old House and BobVila recommend repairing structural and veneer problems first (This Old House, BobVila).
What type of paint and sheen is best for kitchen cabinets that see heavy use?
Use a cabinet‑grade or high‑quality acrylic/alkyd trim paint and choose satin or semi‑gloss for easier cleaning and greater scuff resistance. These finishes strike a balance between durability and appearance, per guidance from The Spruce and Consumer Reports (The Spruce, Consumer Reports).
Do I need to remove doors and hardware to get a professional finish?
Yes. Removing doors, drawers and hardware gives full access to all surfaces and produces the most consistent finish. Full disassembly is the recommended method for the cleanest, most durable result (The Spruce, BobVila).
How long should I wait between coats and before reinstalling doors?
Follow the paint manufacturer’s recommended dry and cure times—these vary by product, temperature and humidity. Allow the full cure time specified before heavy use or reinstallation; rushing reassembly risks scuffs and adhesion problems (see product directions and professional guides referenced above).
Ready to refinish? Request a free GTA quote
Their Blogs page positions them as a Greater Toronto Area cabinetry refinishing specialist and references HomeStars Best of Awards in 2020 and 2021 as local social proof. Use the blog page to request a no‑obligation quote and attach photos and a brief scope to help speed an accurate response.