
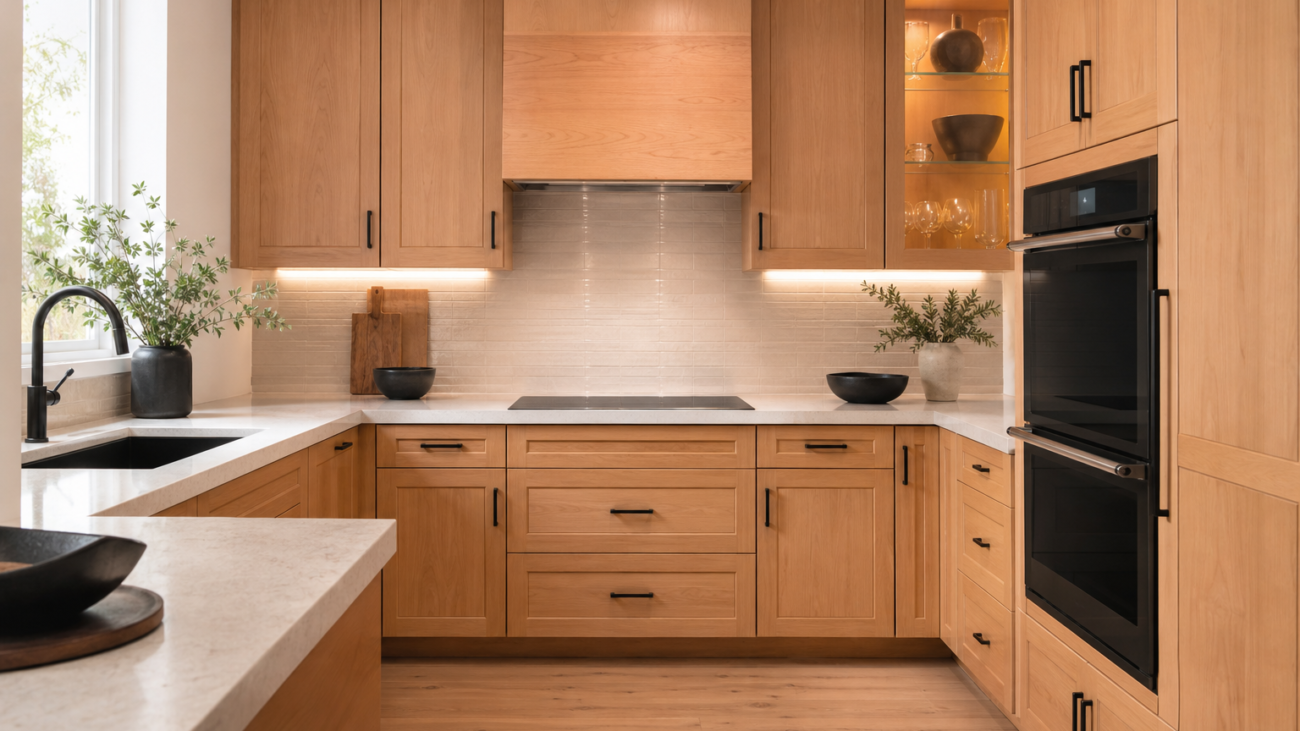

7 Maple Cabinet Refinishing Tips for Toronto Homes
If you own maple cabinets in the Toronto area and are considering a refresh rather than a full replacement, these seven focused tips will help you plan a refinishing project that respects maple’s distinctive grain and colour. Each tip explains what to check, practical options to consider, and questions to ask a contractor or supplier so you can verify choices for your home.
1. Evaluate maple wood and surface condition
Start with a careful inspection. Maple ranges from tight, even grain to slightly more pronounced figuring depending on cut and age. Look for these surface conditions that affect refinishing:
- Existing topcoats, wax, or polymer films that can block new coatings.
- Stains, water marks, or areas where exposure has darkened the wood.
- Damaged edges, chips, or veneer lifting on door faces.
Why this matters: maple is a dense hardwood with a fine grain that can look blotchy if finishes and preparatory steps aren’t chosen to control absorbency and colour. When you inspect, note variations in colour across doors and drawers to plan test areas.
2. Test stain and colour on sample areas
Before committing to a full refinish, test your chosen stain or paint on an inconspicuous door or a removable sample. Maple reacts differently than open-grained species; the same stain can appear lighter or warmer on maple than expected.
Testing checklist:
- Use a sample door or the inside edge of a door to see both raw and top-coated reactions.
- Try both stain and paint options if you’re undecided—stain shows the grain, paint covers it.
- Allow full cure between layers so you see the final colour under your kitchen lighting.
When you test, photograph results in the room lighting you’ll live with. That helps avoid surprises caused by Toronto’s variable daylight over the seasons.
3. Cleaning and chemical prep: remove contaminants first
Proper adhesion begins with cleaning. Grease, cooking residues, and old wax or polish interfere with primers and coatings. Use a degreaser or cleaner recommended for cabinetry and follow label guidance for rinsing.
Key actions:
- Degrease hinges, corners, and cavities where oils collect.
- Use a tack cloth or similar product to remove fine dust before priming.
- Document what you remove so you can describe it to a professional if you later request a quote.
Note: some cabinets have a factory sealer. If you find a factory film, include this in any conversation with a contractor—sealed surfaces may require different primers or adhesion tests.
4. Sanding and feathering edges: prepare, don’t overstrip
Maple’s smooth grain means aggressive stripping often isn’t necessary and can flatten subtle figuring. Focus on a consistent surface rather than trying to remove every trace of the old finish.
Practical approach:
- Feather edges where old finish meets damaged areas so primer and topcoat lay smoothly.
- Remove loose veneer or glue that will interfere with adhesion; note areas needing repair before coating.
- Keep dust containment in mind—sanding generates fine particles that settle into hinge pockets and hardware.
If you’re unsure whether to fully strip or lightly sand, test both on a sample door and compare how primer and finish look after curing.
5. Primer and application: consider spray versus brush
Priming is central to controlling final colour and adhesion on maple. Application method affects the look: spray systems give a thin, even coat that can preserve grain appearance under stain or paint; brush and roller leave different textures and may require extra sanding between coats.
Questions to weigh:
- Do you want a painted, uniform finish (which hides grain) or a stained finish that shows wood character?
- Will spray application be feasible in your space, or will doors be removed and sprayed in a controlled environment?
- Ask any contractor about drying and ventilation practices so you can verify safe application in Toronto homes.
When comparing methods, request to see cured samples for each technique so you can confirm texture and sheen under your kitchen lighting.
6. Sealing, topcoats and durability considerations
Finish choice affects cleanability and visual depth. Clear topcoats can deepen a stain, while opaque paint requires durable topcoats to resist kitchen wear. When choosing, consider maintenance and how the finish responds to household cleaners.
Decisions to make:
- Do you prefer a satin, eggshell, or higher-sheen finish? View cured samples in your kitchen light.
- Discuss recommended cleaning methods for the chosen topcoat and whether the finish needs occasional refreshes.
- Confirm that any product suggestions come with manufacturer instructions you can verify (for example, cleaning recommendations and warranty details).
Avoid definitive longevity claims without product data; instead, gather manufacturer guidance and match it to your household use patterns.
7. When to hire a professional and local checks
Refinishing can be a DIY project, but maple’s character and the preparation steps mean many homeowners prefer professional help for consistent results. Consider a pro when:
- There’s widespread veneer damage or structural issues with doors and frames.
- You need a spray-finished, seamless look and don’t have a controlled spray area.
- You want to ensure colour consistency across multiple doors and drawers.
When interviewing a contractor, ask for before-and-after photos of maple cabinet projects and the specific steps they use for maple (test areas, primers, and topcoat choices). If you want further examples of different approaches, see an external resource on kitchen cabinet refinishing for comparison: kitchen cabinet refinishing for modern look.
FAQ
Will refinishing maple hide the grain or make it look blotchy?
Refinishing can either reveal or mask maple grain depending on whether you choose stain or paint and how you prepare the surface. Stains highlight grain and may deepen natural variations, while opaque paints conceal grain but require careful priming to avoid uneven colour. Testing on a sample area under your kitchen lighting helps you evaluate whether the result meets your expectations.
Can I refinish maple cabinets myself, or should I hire a pro?
Many homeowners complete small refinishing projects, especially when sanding and painting a few doors. However, if your project requires spray application, extensive veneer repair, or you want uniform factory-like results across many pieces, a professional may be more efficient. Decide based on your comfort with surface preparation, access to appropriate tools, and the visual standard you expect.
How do I choose between stain and paint for maple cabinets?
Choose stain if you value visible wood character and natural grain; choose paint if you want a consistent, updated colour or to match cabinetry to other design elements. Use sample doors to confirm how each approach performs on your maple and to check colour under your kitchen’s light. If unsure, consult a contractor and request physical samples or a small test area before committing.
Final steps and local resources
If you plan a refinishing job, keep a simple project folder with photos of test patches, product data sheets, and contractor notes. That documentation makes it easier to confirm materials and methods and reduces the risk of surprises during the work.