
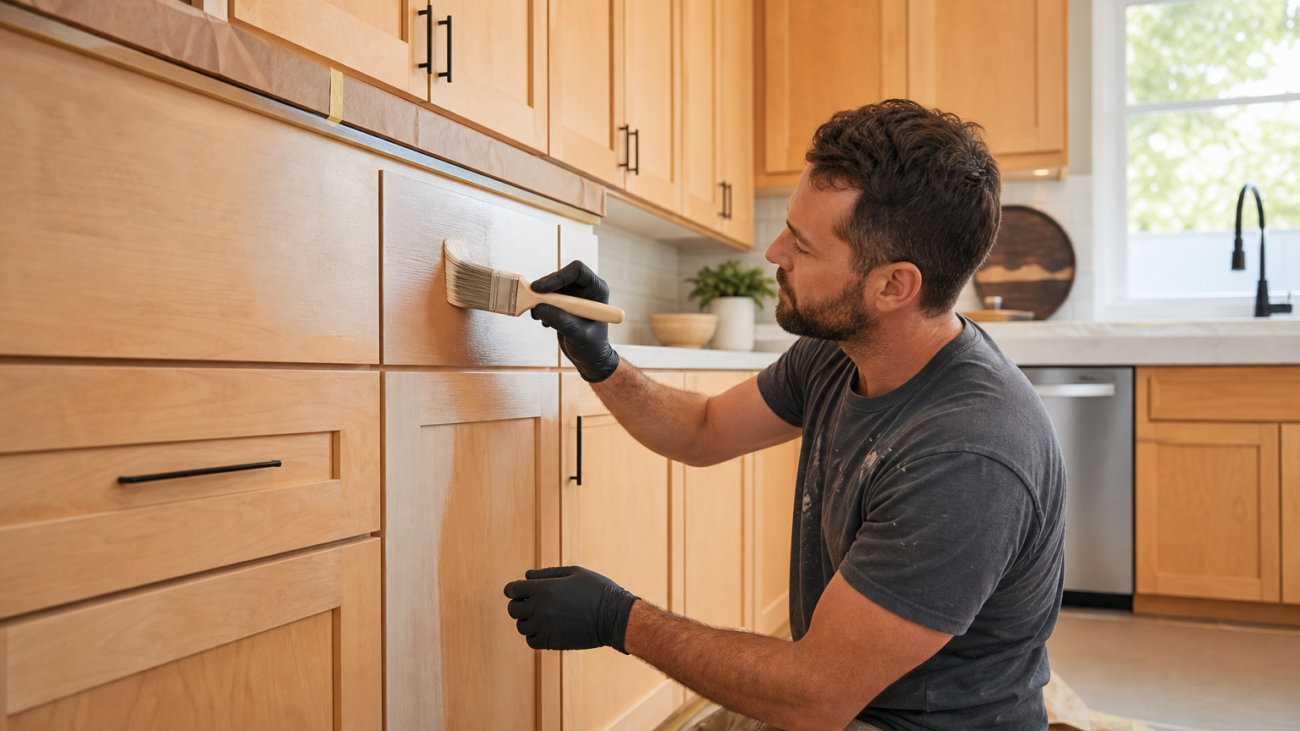
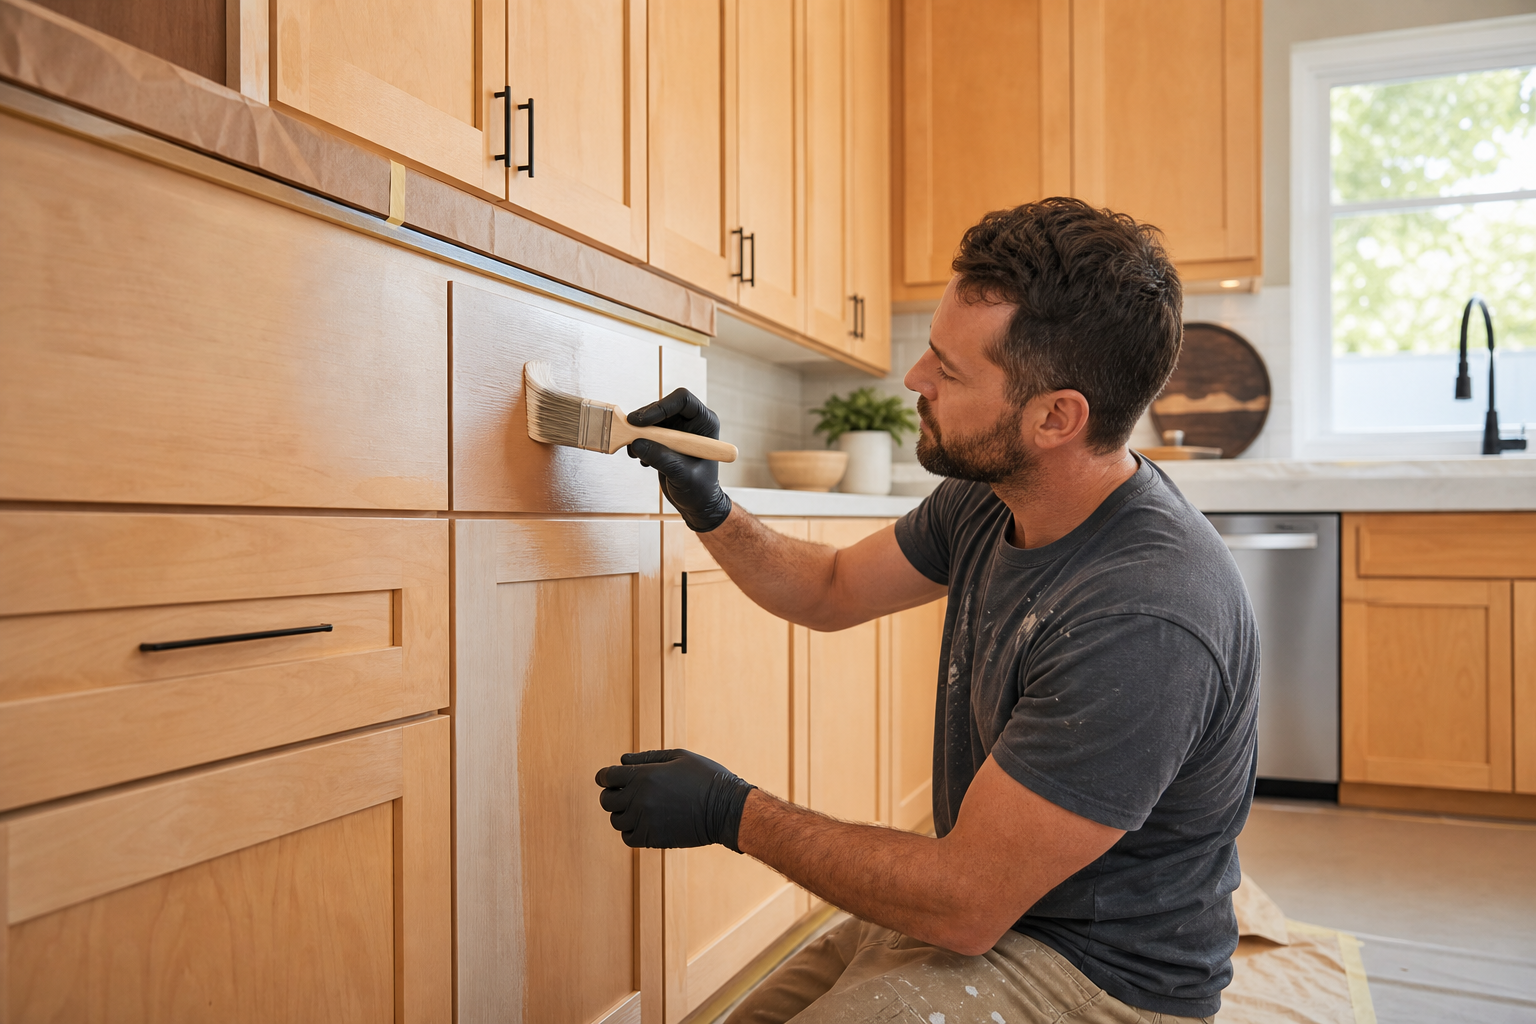
Maple cabinet refinishing guide: What should Toronto homeowners know?
If your kitchen or bathroom has maple cabinets and you want a fresh look without replacing them, this maple cabinet refinishing guide explains what makes maple different, which finishes work best, and how to decide whether to refinish the cabinets yourself or hire a GTA specialist. The guidance below is designed for Toronto and Greater Toronto Area homeowners who want practical, maple-specific steps they can follow or discuss with a pro.
Is your maple cabinetry a good candidate for refinishing
Refinishing works best when cabinet boxes and doors are structurally sound. Use this short checklist to decide if refinishing matches your goals and the cabinet condition.
- Inspect for water damage, warped doors, or broken drawer slides. Structural repairs often come first.
- Identify material: solid maple and maple veneer look different after refinishing. Solid maple takes stain more uniformly with correct prep, while veneers need gentle sanding to avoid sanding through the thin layer.
- Check the existing finish. Thick factory coatings may require deglossing or stripping before a new finish will adhere.
- Decide whether you want stained grain or a painted solid colour that hides the grain entirely.
- Compare budget and disruption. Refinishing is usually more economical and faster than full replacement while offering major visual impact.
For a fuller overview of refinishing phases and practical considerations, review step-by-step refinishing guidance such as the refinishing how-to from This Old House or practical maple-focused tutorials.
Maple-specific prep: why maple behaves differently and how to avoid blotchiness
Maple has a tight, closed-pore grain which makes it prone to uneven absorption of penetrating stains. That is why maple often looks blotchy with ordinary liquid stain unless you use a tailored approach. Practical finishing guides explain the science and recommend a conditioning step to reduce blotchiness before you stain or coat your cabinets.
Key maple prep actions
- Test on a hidden panel before full application so you know how maple will accept the product.
- Use a pre-stain wood conditioner or switch to surface-level methods such as gel stains which sit on top of the wood rather than penetrating deeply.
- Avoid aggressive sanding that opens the grain unevenly. Sand lightly with progressively finer grits for smoothness without overexposing soft grain pockets.
- Degloss or strip any existing film finish so the new material bonds properly.
For step-by-step techniques and product notes specific to unfinished maple, see a focused cabinet finishing guide for unfinished maple cabinets.
How to prevent blotchy stain on maple
Practical techniques to reduce blotchiness include using a pre-stain conditioner, choosing gel stains, and always testing in an inconspicuous area. Many finishers recommend blending small amounts of pigment into a clear finish to control absorption, or applying a thin sealer coat and sanding it back before staining. If you prefer a stained look but want greater predictability, try a gel stain and a topcoat system designed for cabinets.
Finish choices for maple: stained vs painted and topcoat recommendations
Your choice between stained and painted finishes should reflect the look you want and the level of maintenance you accept. Stained maple preserves and highlights the wood grain while painted finishes hide the grain and offer a wide palette for modern kitchens.
- Gel stains and surface stains are commonly recommended for maple because they reduce blotchy results compared to penetrating stains.
- For painted cabinets, professional spray respraying produces the smoothest, most durable appearance and avoids brush marks.
- Topcoat selection is crucial. Waterborne and solvent-borne cabinet topcoats both offer durable results, but waterborne finishes have lower odour and faster dry times, which can matter in Toronto residences.
- Choose a clear topcoat rated for cabinetry and kitchen use to resist heat, moisture, and frequent cleaning.
For technical sequences and professional-level coat recommendations, consult authoritative refinishing resources and manufacturer guides.
Appearance and durability: what to expect from each finish
Stained maple keeps the wood character visible. Expect a warm natural look with grain variation highlighted when prep is done correctly. Painted maple gives a uniform surface that hides grain and is easy to refresh later. Spray-applied paint systems with the correct topcoat provide the best resistance to chips and cleaning in a busy kitchen environment.
Step-by-step maple refinishing checklist you can follow or review with a pro
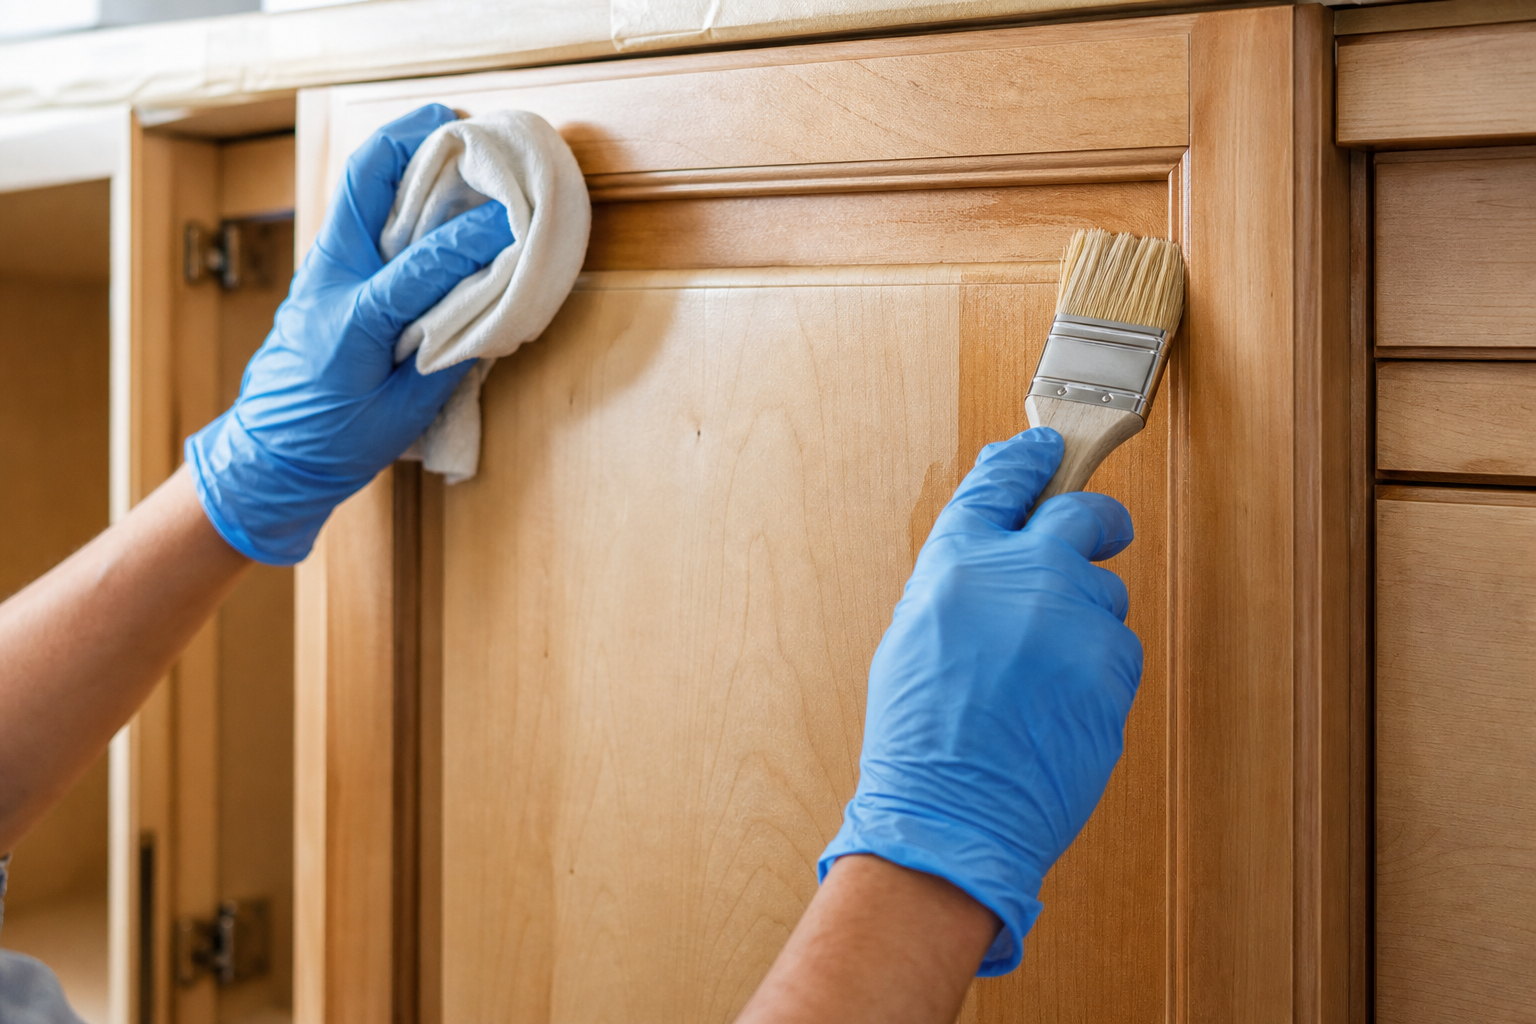
Below is a practical checklist covering inspection to reassembly. Use it as a DIY roadmap or as a discussion checklist for a contractor visit.
- Inspection and repairs: confirm boxes are square, doors fit, and hardware works.
- Remove or mask hardware, hinges, and mouldings. Label doors and drawers to keep placement exact.
- Clean and degloss surfaces to remove grease and the existing film finish.
- Sanding strategy: start with an appropriate grit for the finish, avoid over-sanding veneers, and finish with a fine grit for a smooth surface.
- Condition or prime: apply a maple-appropriate pre-stain conditioner, or a quality primer when painting.
- Stain or paint application: follow manufacturer drying and film build recommendations and test first.
- Topcoats: apply two to three coats of a cabinet-grade topcoat with recommended sanding between coats for adhesion and durability.
- Reassemble after full cure and test for functionality and finish integrity.
Professional references add safety and environmental tips if you plan longer onsite spray operations. See refinishing how-to walkthroughs for procedural detail and containment advice.
Common maple refinishing mistakes and how to fix them
- Blotchy staining. Fix by removing the stain, apply a conditioner, and retry with a gel stain or surface-level approach.
- Insufficient degloss. If the new coating peels, remove failed areas, degloss properly, and reapply primer.
- Wrong primer or adhesive failure. Use primers specified for cabinets and the selected topcoat system.
- Skipping test panels. Always test to confirm colour, blotch control, and adhesion before committing to the whole job.
If you encounter problems during a DIY job, many refinishing guides include recovery steps and product recommendations for correcting common failures.
Should you DIY or hire a pro in the GTA
Decide based on time, equipment, risk tolerance, and the finish quality you expect. DIY suits smaller projects, simple paint jobs, and homeowners comfortable with careful prep. Hire a pro when you want a flawless sprayed finish, need dust or VOC containment in a condo or occupied home, or when doors and frames require complex repair or matched colour work.
Professional refinishing specialists bring spray equipment, professional topcoats, dust control measures, and a warranty or service promise. For Toronto homeowners who value convenience and long-term finish performance, having a pro do the work can reduce disruption and produce more predictable results.
Real objections homeowners raise and concise answers
- I can save money by DIY. True for labour cost, but factor in tool rental, product learning curve, and potential rework if problems arise.
- I do not have space for a spray operation. Many professionals use mobile containment and will transport doors to a controlled shop to avoid onsite dust and odour.
- I am worried a pro will be expensive. Get multiple quotes and compare the scope, coatings, and warranty rather than only price.
How to evaluate and choose a GTA cabinet refinisher
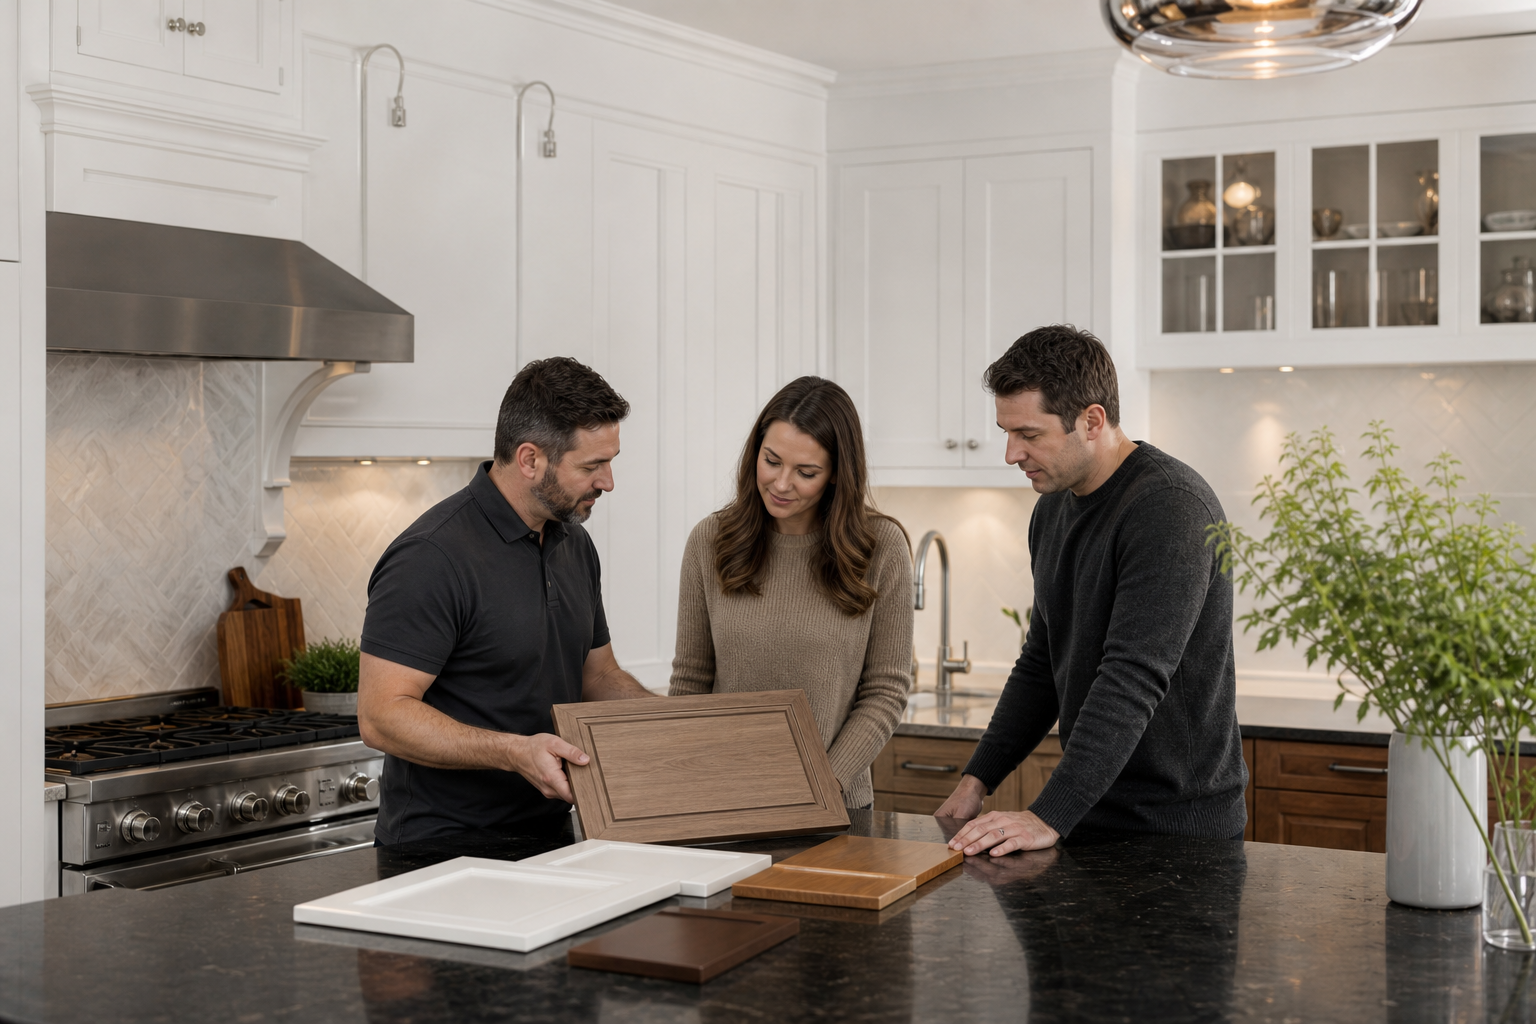
Ask these questions when you call for a free quote. A local contractor should answer each clearly and confidently.
- Can you show before and after photos of maple cabinet projects?
- Do you spray in a controlled shop or onsite and how do you control dust and VOCs?
- What exact prep steps do you follow for maple to avoid blotchiness?
- Which topcoats do you use and what care instructions come with the finish?
- Do you provide a written estimate, timeline, and a warranty or touch-up policy?
Paint2decor INC serves the Greater Toronto Area with cabinetry refinishing, refacing, painting, and respraying services and highlights HomeStars recognition including Best of Awards in 2020 and 2021 as local credibility signals. Contacting a reputable GTA refinisher for a free quote is a sensible next step when you prefer a professional result.
Maintenance after refinishing and expected lifespan
After refinishing, clean with mild, non-abrasive cleaners and avoid harsh chemicals. Use felt pads for heavy items that sit on cabinet surfaces and address small chips promptly with supplied touch-up kits or a professional touch-up to prevent moisture intrusion. A quality topcoat and proper prep will extend the finish life, but lifespan varies by use and environment so confirm expectations with your contractor during the quote.
Resources and further how-to reading
For additional step-by-step techniques consult these practical resources:
- How to Refinish Maple Cabinets: Best Local DIY Pro Guide
- How to Refinish Your Kitchen Cabinets: This Old House
- How to Refinish Maple Cabinets: Easy Step-by-Step Guide
- Cabinet finishing guide for unfinished maple cabinets
Frequently asked questions
Why are maple cabinets prone to blotchy staining and how do I avoid it?
Maple has a tight, closed-pore grain that resists even penetration of liquid stains, which causes blotchiness. Avoid this by testing first, using a pre-stain conditioner, or choosing gel stains or surface finishes that sit on the wood.
Can I refinish maple cabinets myself or should I hire a professional in the GTA?
DIY is possible for confident homeowners on small projects. Hire a pro if you want a spray-applied factory look, need dust and VOC containment, or prefer a warranty and faster, predictable results. Review the decision checklist in this article before you decide.
What finish and topcoat choices work best on maple cabinets for a kitchen?
Gel stains and surface stains reduce blotch issues for stained looks. For painted finishes, a sprayed paint system with a cabinet-grade waterborne or solvent-borne topcoat gives the best durability and cleanability in a kitchen setting. Confirm product types with your contractor.
What are the most common mistakes when refinishing maple and how can they be fixed?
Common mistakes include inadequate prep, skipping test panels, and using penetrating stains without conditioning. Fixes range from re-sanding and conditioning to stripping failed stain and reapplying using gel stains or appropriate primers and topcoats.
How do I evaluate cabinet refinishing companies in Toronto and what should I ask before a free quote?
Ask for maple-specific before and after photos, the company process for sanding and conditioning, whether spraying is done in a shop or onsite, what topcoats they use, warranty terms, and references. Confirm they service the GTA and offer a written free quote.
Costs, timelines, and final appearance vary by project and should be confirmed with a site visit or a free quote.
Ready to discuss maple cabinet refinishing or request a free quote from Paint2decor INC in the Greater Toronto Area? Visit Paint2decor INC to get started?