
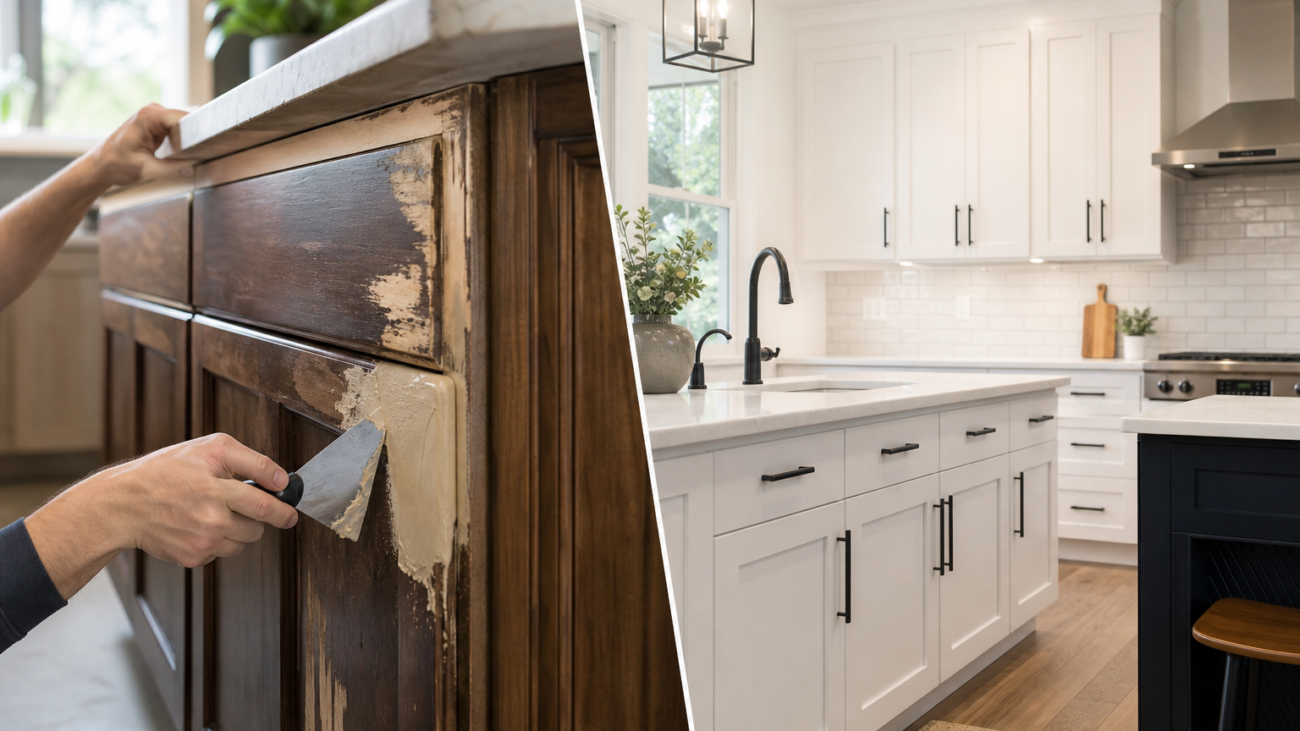
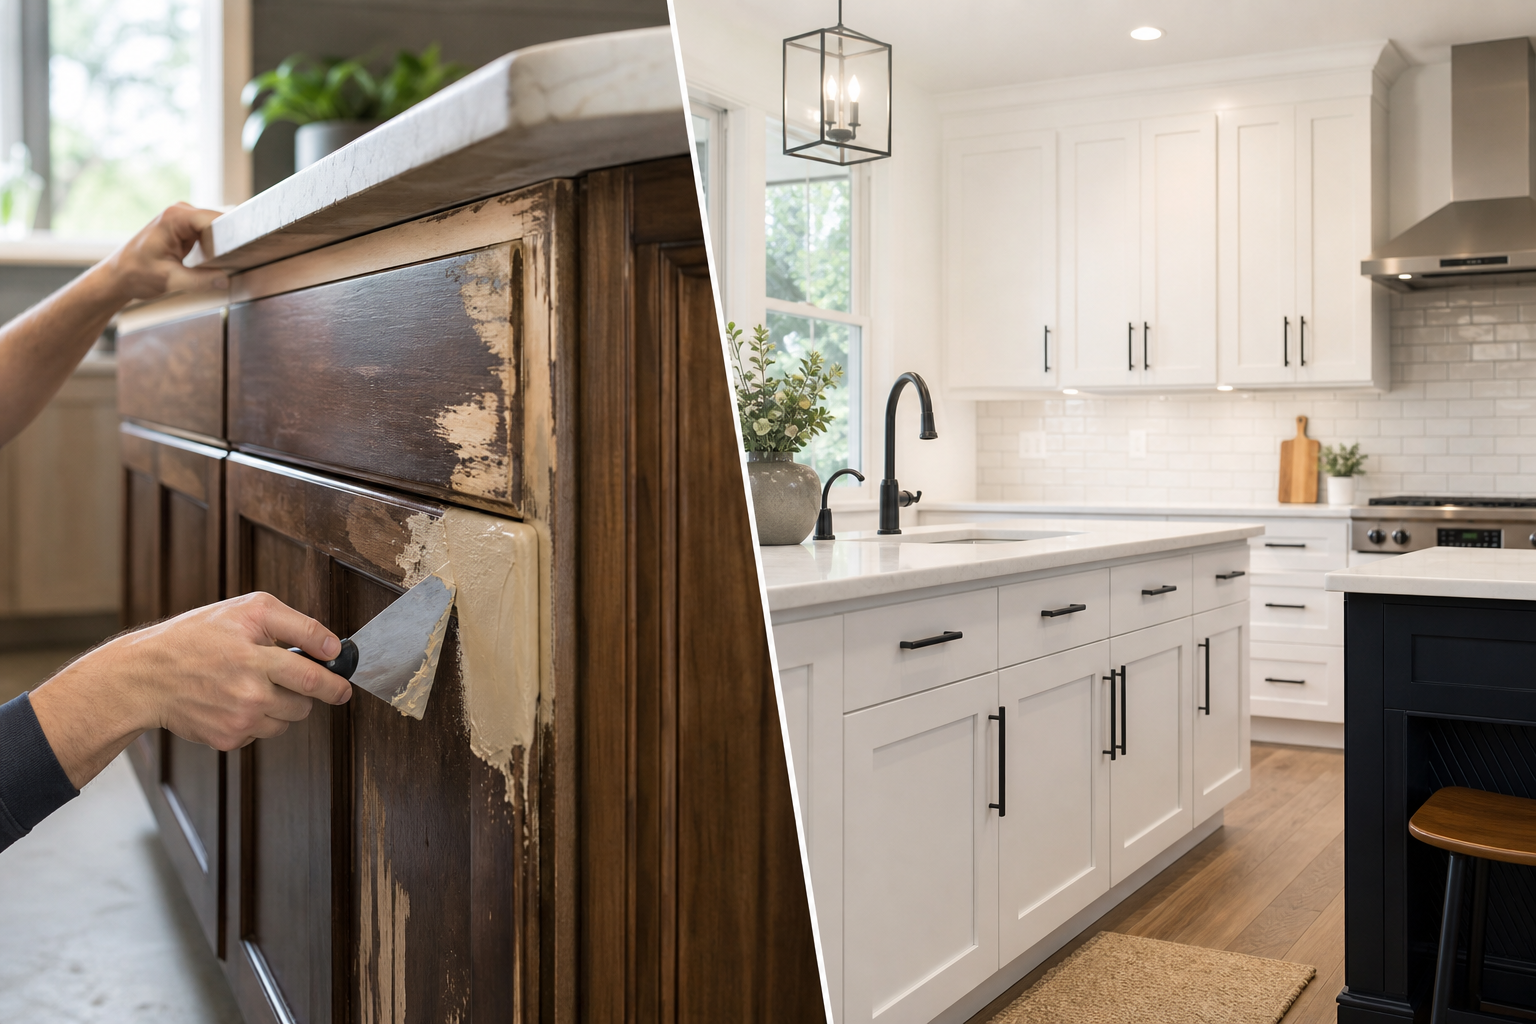
Cabinet repair before refinishing vs replacement: how to decide
If you searched for “cabinet repair before refinishing,” you are likely weighing whether repairing worn or damaged cabinets first will make refinishing a durable, cost-effective option or whether full replacement is the smarter route. This article gives Toronto and GTA homeowners a clear decision checklist, an itemised repair list, the common repair steps contractors perform, and exact questions to ask during a free quote inspection.
When refinishing is a viable option
Refinishing is usually worth considering when the cabinet carcasses remain structurally sound, doors close properly, and damage is mainly cosmetic or limited to small veneer or hardware issues. A basic structural and material check is the first step because unstable substrates or broken boxes usually rule out refinishing as a long-term solution. For a homeowner-facing explanation of these criteria, see Lighthouse Kitchens.
Regional refinishing specialists also advise an on-site inspection to confirm the underlying material, whether solid wood or stable veneer, is intact. When that is true, repairs plus refinishing can restore a factory-quality look without the disruption and cost of full replacement, as explained in local refinishing guides.
Checklist: cabinet problems that must be repaired before refinishing
Before any paint, stain, or respray, contractors expect these problems addressed. Each item below affects final finish quality and durability.
Structural damage and boxes
What to check: cracked, split, or sagging cabinet boxes, broken shelves, loose glue joints, or missing backing. Surface paint will not hide a carcass that is failing. If boxes are unstable, you may need to rebuild the carcass or replace the cabinet. See why structural checks determine whether refinishing is appropriate.
Veneer delamination, scratches and gouges
What to check: peeling veneer edges, deep scratches, and gouges. Unrepaired veneer delamination will telegraph through new paint or stain unless glued, clamped and sealed. Typical repairs are re-gluing delaminated areas, filling gouges with appropriate filler, and sanding to a smooth surface so the new finish sits evenly. Practical repair steps are summarised by experienced finishers and how-to resources.
Water damage and mould
What to check: water stains, swollen doors, soft or crumbly particleboard, or visible mould. Water damage can invalidate refinishing unless the root cause is fixed first and any mould is remediated by a qualified specialist. Refinishing over active leaks or mould risks recurrence and poor adhesion. See guidance on refinishing options after water damage.
Hinges, drawer runners and hardware
What to check: loose hinges, stripped screw holes, worn drawer runners, and uneven door alignment. Small hardware and alignment problems will ruin the look and function of a freshly refinished cabinet. Common pre-refinish tasks include replacing worn hardware, re-plugging stripped holes, and adjusting doors so gaps are consistent. Many guides recommend labelling doors and hardware before removal to ensure accurate reassembly.
Repairs explained: what contractors typically do and how each repair affects the finish
- Label and remove doors and hardware, so doors and drawer fronts can be finished separately for smooth, continuous results. Labelling prevents reassembly errors.
- Clean and strip surfaces, removing grease and old finishes to improve adhesion. Cleaning alone sometimes reveals whether refinishing will be sufficient.
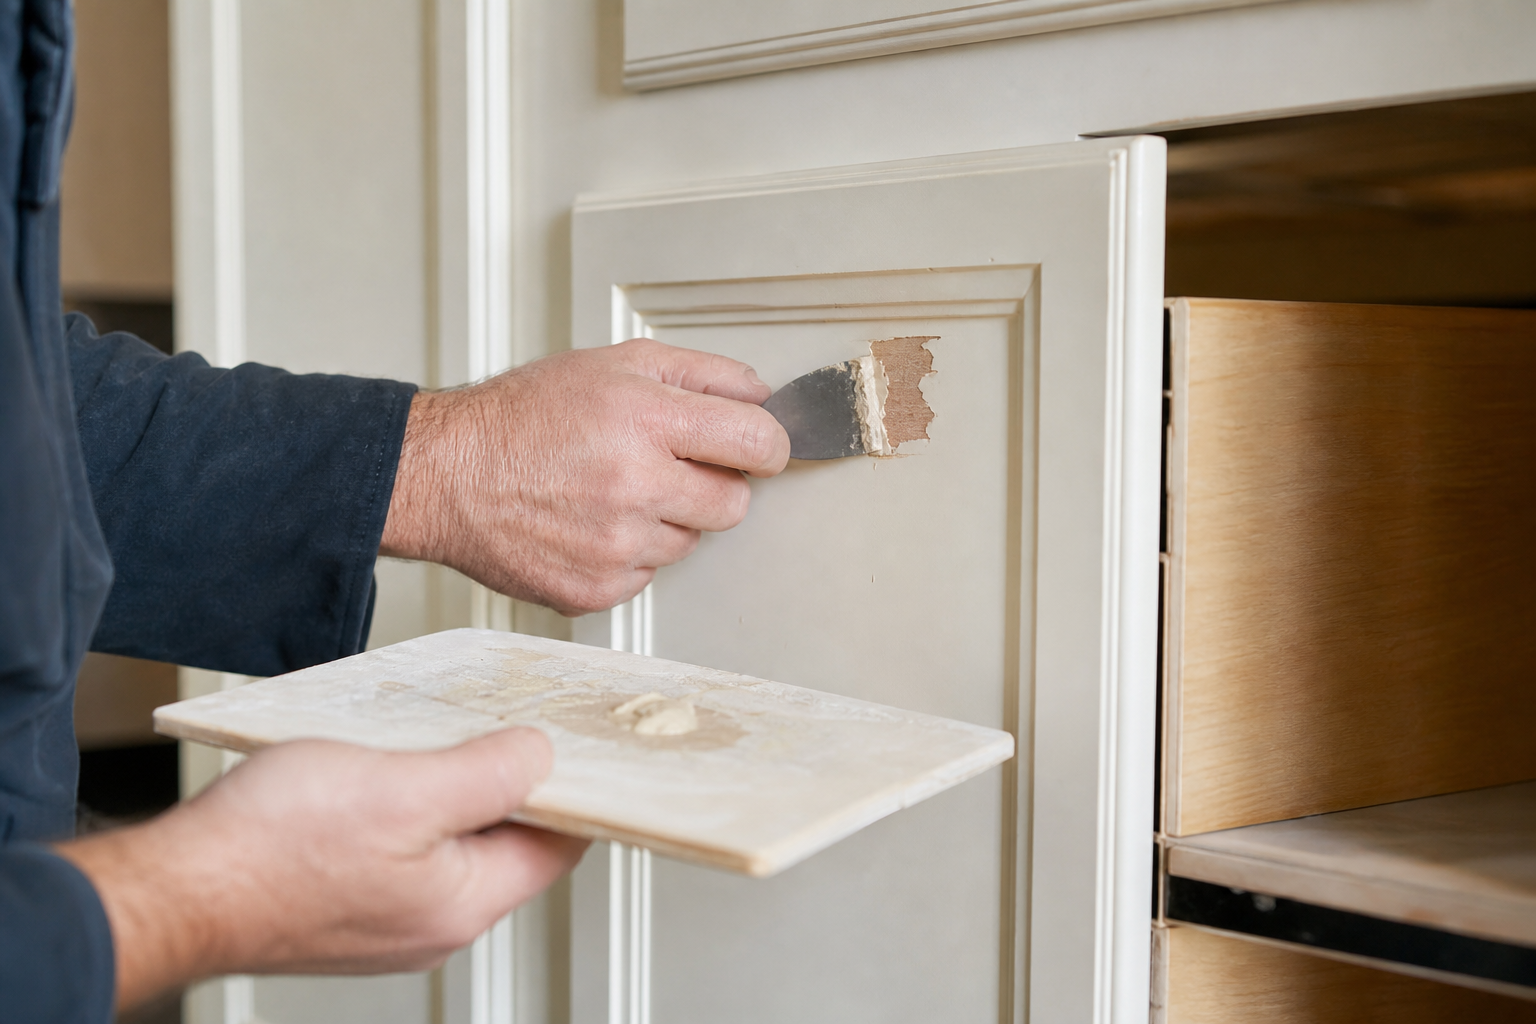
- Veneer repair and filling, where delaminated veneer is re-glued and clamped and dents are filled and sanded. Proper repair prevents bumps and seams from showing through new coatings.
- Hardware and functional fixes, replacing or repairing hinges, catches, and runners so doors close square and drawers run true. Alignment is essential for a professional result.
- Final sanding and priming, followed by multiple finish coats with sanding between coats for adhesion and an even texture.
These standard steps are described in regional refinishing and home improvement how-to resources. Repair work is often performed before the final coating stage to preserve finish quality and longevity.
Red flags: when replacement or specialist remediation is the right call
Certain conditions typically disqualify cabinets from being good candidates for refinishing:
- Extensive water damage that has softened particleboard, collapsed shelves, or produced persistent mould. Refinishing does not replace structurally failed materials; plumbing and mould remediation are required first, or full replacement if damage is severe.
- Broken or missing carcass components, collapsed drawer boxes, or lost structural parts that would require rebuilding the cabinet from the inside out.
- Unstable substrates that continuously delaminate or expand and contract excessively with humidity, making a durable finish impossible.
- A desire to change cabinet layout, add new functionality, or alter door style beyond what the existing frame can accept. In those cases, refacing or replacement is the realistic option.
Authoritative finishers note that these issues change scope and cost materially and often make replacement the most reliable long-term solution.
How repairs change cost and timeline: factors to expect
Repair complexity is the single biggest variable in both cost and schedule. Expect these factors to increase cost or add time:
- Kitchen size and door count, since more doors and drawers increase labour and materials.
- Extent of veneer or structural repairs, because gluing, clamping and rebuilding require skilled labour.
- Water or mould remediation, which requires third-party work and clearance before cosmetic work can proceed.
- Access and logistics, including whether work is done on-site or off-site and if doors must be transported for spray finishing.
Local refinishing providers warn that these variables can substantially change a quote. A detailed inspection is essential before you accept an estimate.
How to vet a refinishing contractor in the GTA

When you request a free quote, bring a short checklist to ensure the inspector covers repairs, not just paint. Ask:
- Will you perform a structural inspection of cabinet boxes and shelving, and will you provide a written list of required repairs?
- Do you repair veneer delamination, gouges, and stripped screw holes in-house, or do you subcontract those repairs?
- Can you show before and after photos of similar repair work, and do you provide references for recent local projects?
- What finish system do you use, and can I see samples of the exact finish?
- What warranties or guarantees cover repairs and finishes, and how are post-job issues handled?
Ask the contractor to label and photograph door and hardware layouts before removal and to supply a written scope that separates repair work from finish work. For local homeowners, Paint2decor INC and other GTA specialists typically offer an inspection and free quote.
Decision checklist and next steps for Toronto homeowners
Use this quick decision checklist before you call a contractor.
- Do a visual and hands-on check of boxes, doors, hinges and drawer function.
- Clean a small area. If cleaning restores appearance, cosmetic refinishing may be enough.
- If you see delamination, soft or swollen panels, or mould, arrange a professional inspection and remediation where required.
- Request at least two written quotes that separate repair line items from finish line items so you can compare scope clearly.
- If repairs are limited and boxes are sound, refinishing after repairs is typically the cost-effective choice. Otherwise plan for refacing or replacement.
When you are ready, contact a local refinisher for a free inspection and quote. To request an appointment with a GTA cabinetry refinishing specialist, visit Paint2decor INC.
Frequently asked questions
Do I have to repair cabinet doors before refinishing?
Yes. Filling scratches, repairing delaminated veneer, and correcting alignment are normally done before stripping or repainting because unrepaired damage will show through the new finish. How-to resources describe filling, sanding and clamping processes that prepare doors for a professional result.
Can water-stained or mouldy cabinets be refinished?
Not until the source of water and any mould are fully remediated. Minor water stains on otherwise sound wood can sometimes be cleaned and refinished, but soft, swollen panels or active mould require remediation or replacement. Refinishing over unresolved water or mould risks recurring damage and finish failure.
Which repairs add the most cost to a refinishing project?
Structural repairs and extensive veneer restoration add the most cost because they require skilled labour and sometimes new materials. Water remediation and replacement of damaged carcasses are also major cost drivers. Ask contractors to itemise these repairs in your quote so you can compare options clearly.
How long do repairs add to a typical refinishing timeline?
Minor repairs add a few days. Larger structural or veneer rebuilds can add a week or more. Water or mould remediation requires drying time and clearance testing. Exact timing depends on kitchen size, repair complexity, and whether parts are sent off-site for spray finishing.
What should I ask a Toronto refinisher during a free quote inspection?
Ask for a written inspection report that lists repairs, a separate line for finish work, references or project photos, the exact finish system, and warranty terms. Also request a timeline that shows when repairs will be completed relative to finishing so you can plan access and logistics.
Key sources used in this article include homeowner and industry guidance on whether to replace or refinish cabinets, step-by-step repair checklists, and regional refinishing advice. See practical references from Lighthouse Kitchens, Lowe’s, CCFauxFinishes, and regional refinishing guides such as Ottawa Cabinet Painting and FHG Fine Finishes.