
What happens during the cabinet respraying process?
Quick answer: what respraying means and who it suits
Cabinet respraying is a professional spray-paint workflow that refreshes or changes cabinet finishes by removing doors and drawers, preparing surfaces, applying primer and sprayed finish coats, and reassembling hardware for a factory-smooth look. It suits homeowners who want a durable colour or sheen change without the cost and disruption of full replacement. For practical prep and application steps that professionals follow, see Benjamin Moore’s guidance on painting kitchen cabinets and painting inside cabinet boxes.
Step-by-step process: what contractors do at each stage
1. Initial assessment and written quote
What happens: The contractor inspects cabinet condition, notes needed repairs, confirms whether doors will be sprayed on-site or off-site, and provides a written quote that lists scope, finish type, and a basic timeline. Why it matters: a clear quote reduces surprises and sets expectations for materials and labour. What to verify: ensure the quote specifies surface prep steps, primer and topcoat types, timeline for production, and a touch-up or warranty policy.
2. Scheduling and homeowner preparation
What happens: The team schedules work dates and gives a homeowner prep list. They confirm access, parking, and whether the project will be staged so you can use part of the kitchen. Why it matters: realistic scheduling allows proper drying and curing between steps. What to verify: ask how much kitchen access you will retain and whether doors will be transported to a controlled spray booth.
3. Removal, labelling, and secure packing
What happens: Technicians remove doors, drawers, hinges, and hardware. Each piece is labelled and photographed to ensure precise reassembly. Doors are wrapped and moved to the spray area. Why it matters: careful labelling prevents installation errors and simplifies touch-ups later. What to verify: confirm that all doors and matching hardware will be identified and stored safely.
4. Repair, cleaning, and degreasing
What happens: Surfaces are cleaned to remove grease, food film, and residues. Loose veneer, chips, or damaged edges are repaired with filler or new edging. Why it matters: paint bonds best to clean, stable surfaces. Benjamin Moore emphasizes that cabinets must be clean and dry before painting to improve adhesion and finish quality. What to verify: ask which cleaning products and fillers the contractor will use and whether repairs will be documented in the scope.
5. Sanding or deglossing and dust control
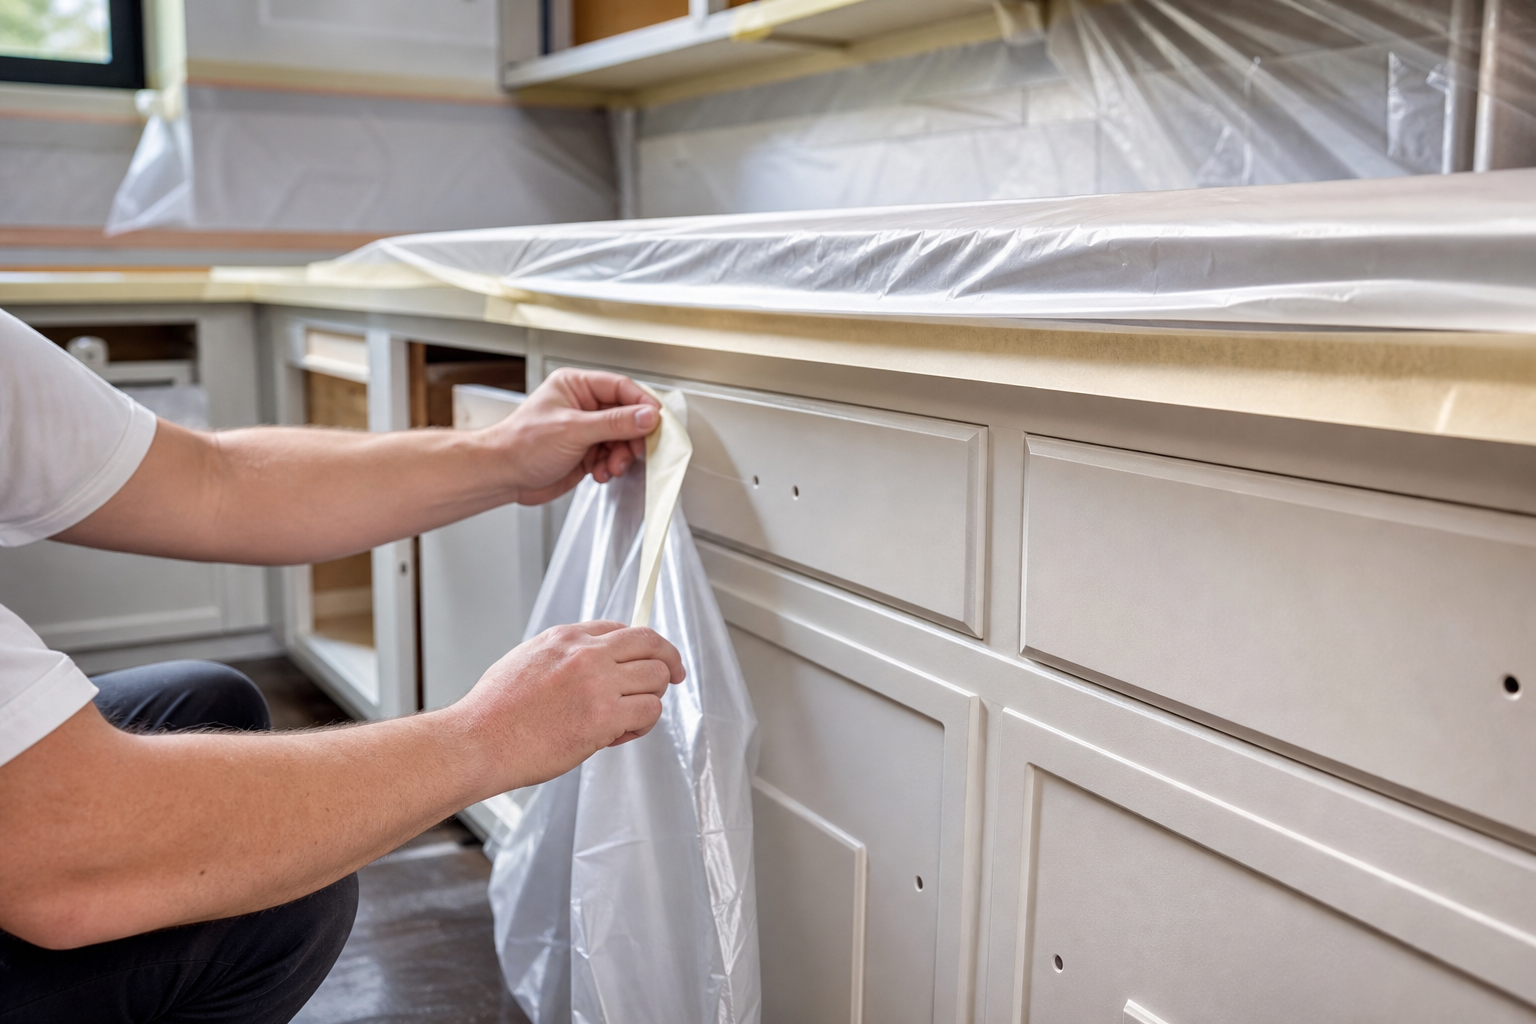
What happens: Technicians sand or apply a chemical deglosser to create the correct surface profile for primer adhesion. Dust and debris are controlled with vacuums, drop sheets, and protective coverings. Why it matters: proper deglossing avoids future peeling and ensures a smooth sprayed finish. What to verify: confirm whether sanding is done by hand or machine and how dust will be contained to protect counters and floors.
6. Priming and sealing
What happens: A primer compatible with the chosen topcoat is applied to all surfaces. Priming may be sprayed or brushed for tight areas. Why it matters: primer evens porosity and improves topcoat adhesion and durability. What to verify: request the primer brand or type and ensure it is compatible with the spray system and finish specified in the quote.
7. Spraying finish coats
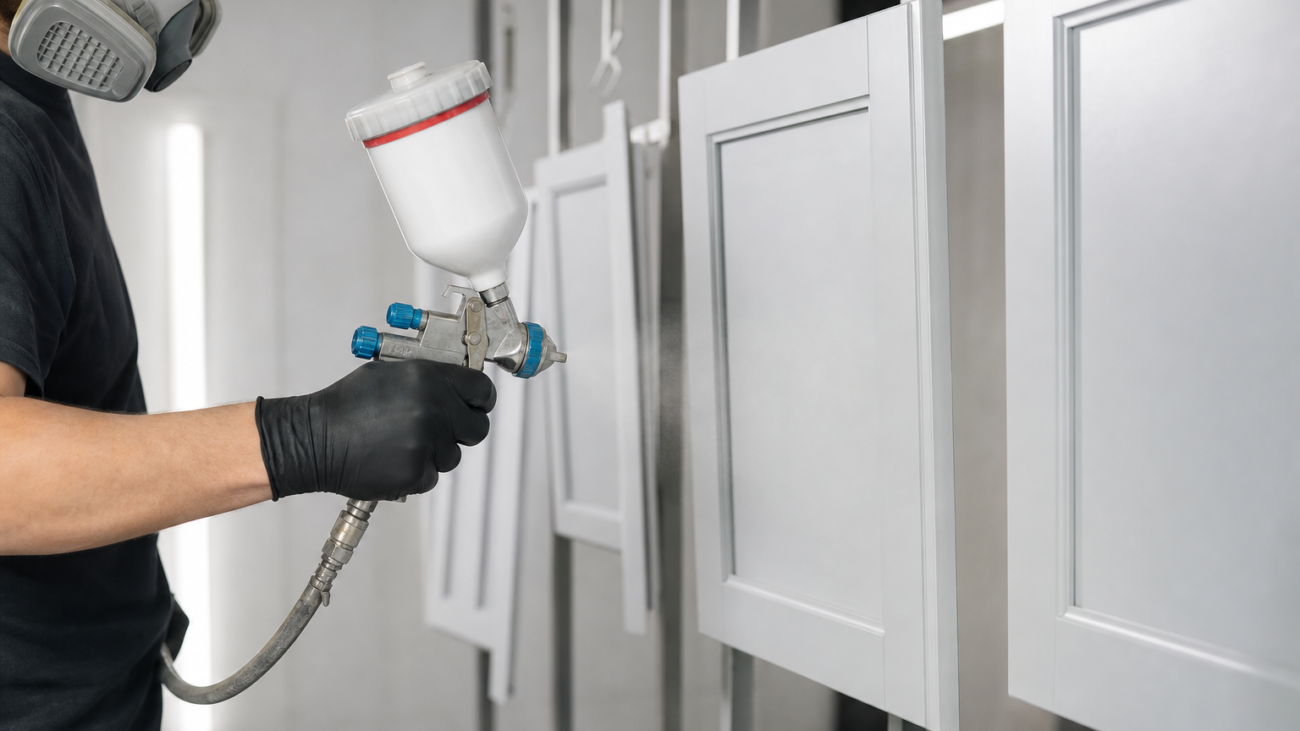
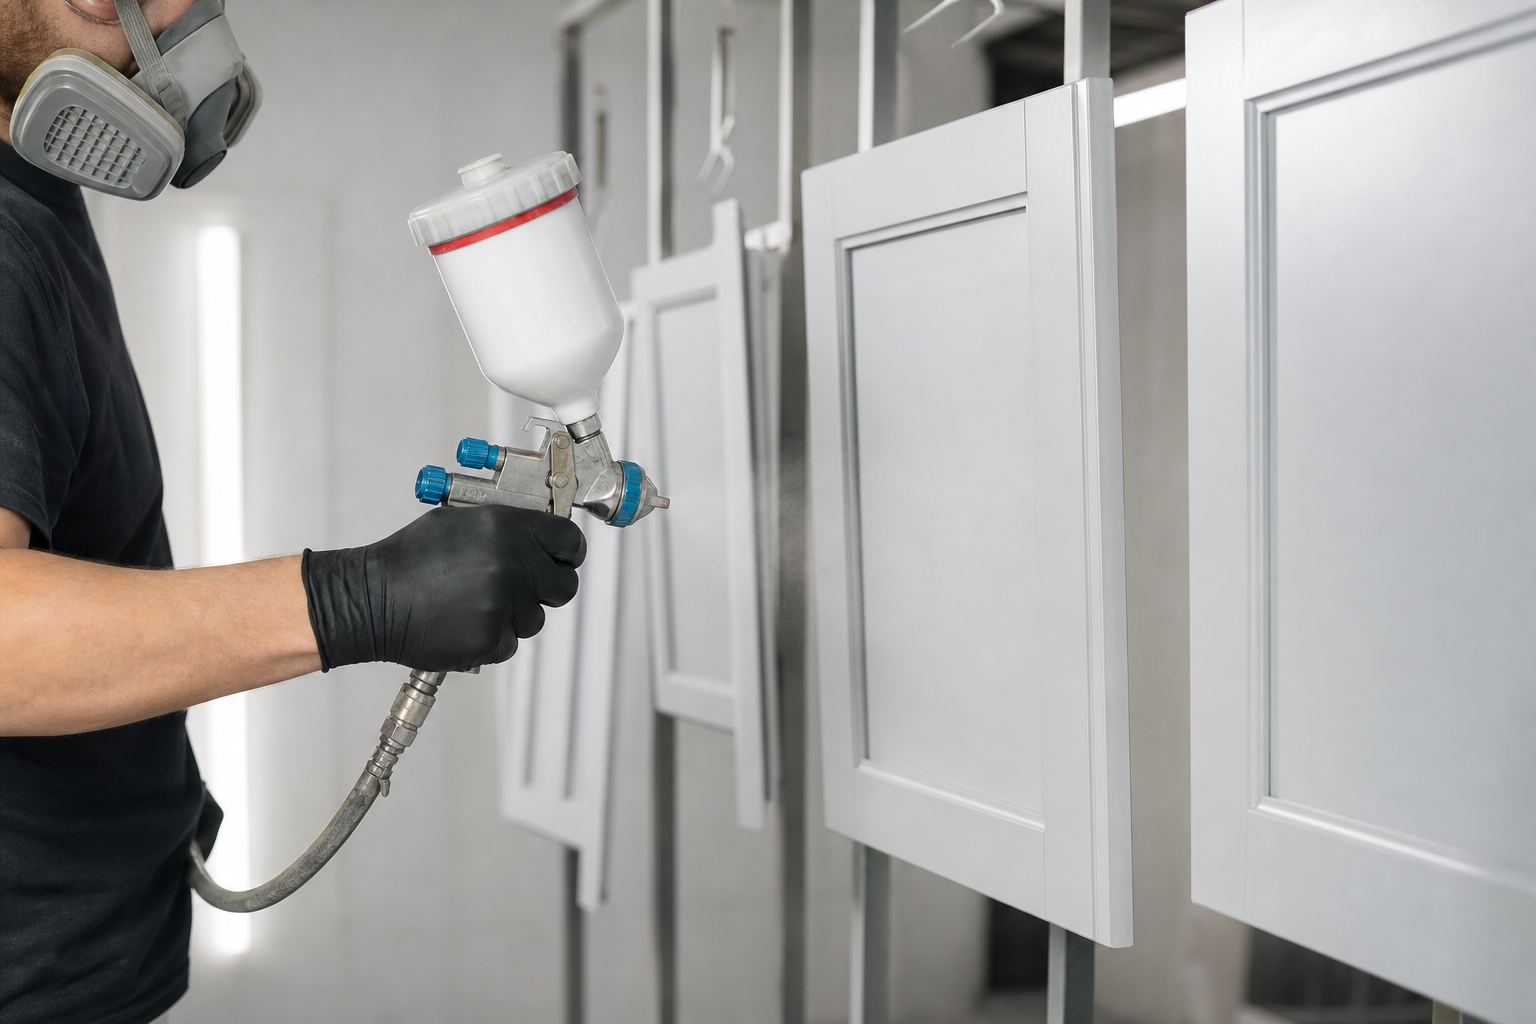
What happens: Multiple thin coats are sprayed using professional equipment to achieve the selected sheen and colour. Technicians inspect between coats for runs or dust and sand lightly if needed. Why it matters: spraying produces the smooth, factory-like finish that is difficult to achieve with brushes. What to verify: ask whether the team uses a high-volume low-pressure system or an airless sprayer, and whether interior cabinet boxes will be back-sprayed if required.
8. Controlled drying and curing
What happens: After spraying, parts enter a drying stage for solvent evaporation and film formation. Contractors often allow additional cure time before reassembly so the finish achieves handling strength. Why it matters: a surface can feel dry but still be curing below the film; respecting cure times prevents scuffs and adhesion problems. What to verify: ask how many hours the contractor recommends before reassembly and normal use, and whether they use heat or dehumidification to speed safe curing.
9. Reassembly, adjustments, and final inspection
What happens: Doors and drawers are reattached, hardware is reinstalled, hinges are adjusted for consistent gaps, and the team performs a walkthrough with the homeowner to confirm alignment and finish satisfaction. Why it matters: precise reassembly ensures doors operate smoothly and look consistent. What to verify: request a final inspection checklist and a small supply of touch-up paint for future chips.
Homeowner checklist: what to prepare and what the contractor handles
Do this before installers arrive
- Empty cabinets and drawers and pack contents in labelled boxes.
- Remove fragile items from counters and store personal items away from the work area.
- Decide whether to keep existing hardware, replace it, or have it refinished.
- Plan for temporary kitchen use, including a microwave, kettle, and a small set of dishes.
- Confirm parking and access, especially in Toronto multiunit buildings.
What the contractor will do
- Remove, label, and protect doors, drawers, and hardware.
- Repair chips, secure loose veneer, and prepare surfaces by cleaning and sanding or deglossing.
- Prime, spray finish coats, dry parts in controlled conditions, and reassemble with adjustments.
- Control dust, protect floors and countertops, and provide a final inspection and touch-up kit.
What to verify with any contractor before you hire
Ask for written answers or notes on these items so you can compare quotes fairly.
- Surface prep method: sanding grit or deglosser type, and how repairs will be recorded.
- Primer brand and topcoat chemistry to ensure compatibility and reduce adhesion risk.
- Whether the finish will be fully sprayed or if brush and touch-up areas are expected.
- Overspray control and ventilation plan, especially for on-site spraying in an occupied home.
- Warranty, touch-up policy, and the contractor’s timeline for addressing issues after completion.
- Proof of insurance and local references or recognitions, such as HomeStars awards listed on Paint2decor’s site.
How respraying differs from refinishing, refacing, and replacement
Respraying applies a painted finish using sprayed primer and topcoats. Refinishing restores or re-stains wood surfaces and clear coats. Refacing replaces door faces or veneers while keeping cabinet boxes and is the better choice when you want a new door style. Full replacement is needed when cabinets are structurally damaged or when you require layout changes. Choose based on cabinet condition, desired change, and acceptable disruption.
Common homeowner objections and what to expect

- Odour and ventilation. Spraying generates fumes during application. Contractors should use ventilators and recommend airing times. Ask about low-VOC options if this is a concern.
- Drying versus curing. A painted surface may be dry to the touch within hours but needs longer to cure fully. Request the contractor’s recommended wait times in writing.
- Durability and touch-ups. Resprayed finishes are durable when proper prep and primer are used. Contractors should supply a touch-up kit and a clear policy for addressing wear.
- Mess and dust. Proper dust control and drop protection are standard. Confirm dust management and protection for appliances and counters.
Local expectations for Toronto and the GTA
In the Greater Toronto Area, doors are often sprayed off-site in a booth for the most controlled finish, though on-site spraying is used when removal is impractical. Choosing a local specialist helps with logistics, references, and follow-up service. Paint2decor emphasises GTA service and regional experience when comparing local contractors.
Decision checklist: is cabinet respraying right for my kitchen
- Yes if cabinet boxes are structurally sound and you mainly want a colour or sheen change.
- Yes if you want a factory-smooth painted finish and prefer a lower-cost alternative to full replacement.
- Consider refacing if door profiles need to change or you want new wood faces rather than paint.
- Replace if cabinets are warped, water damaged, or you require a different layout or more storage.
- Always ask for a written scope that lists primer and finish types, and a warranty or touch-up policy.
Frequently asked questions
How does cabinet respraying differ from refinishing or refacing cabinets?
Respraying applies a new painted finish using sprayed primer and topcoats. Refinishing restores or re-stains existing wood and applies protective clear coats. Refacing replaces door faces or veneers to change style while keeping the cabinet boxes. Each option suits different cabinet conditions and design goals; respraying is best when the structure is sound and a painted look is desired.
Will respraying work on laminated or maple cabinet surfaces?
Yes. Respraying can work on laminate and maple when surfaces are thoroughly cleaned, deglossed or sanded, and a primer designed for the substrate is used. Confirm the contractor’s specific prep plan for your material.
How long before resprayed cabinets can be used safely after work is finished?
Surfaces often feel dry within hours, but full cure can take days depending on paint chemistry and conditions. Contractors will advise a safe reassembly and use window based on the products they use and local humidity or temperature. Ask for their recommended schedule in writing.
What should I look for in a contractor’s surface prep, primer, and warranty?
Look for documented sanding or deglossing methods, a named primer that is compatible with the topcoat, and a written warranty or touch-up policy. Request local references and examples of completed jobs to confirm consistent quality.
Is cabinet spray painting usually done on-site or in an off-site workshop in Toronto?
Both approaches are common. Off-site spraying in a booth gives the most controlled finish and keeps odour and dust out of your home. On-site spraying is used when cabinets cannot be removed or when logistics make removal impractical. Confirm the contractor’s plan and overspray controls before hiring.
Next step: request a local free quote
If you are in Toronto or the GTA and want a written quote that lists surface prep steps, primer and finish types, and a touch-up policy, request a free quote and include photos of your kitchen, cabinet condition, and whether you plan to keep hardware. For local projects and more information, visit Paint2decor INC.
Ready to request a free quote for your cabinet respraying process? Visit Paint2decor INC and include photos and notes about your cabinets.