
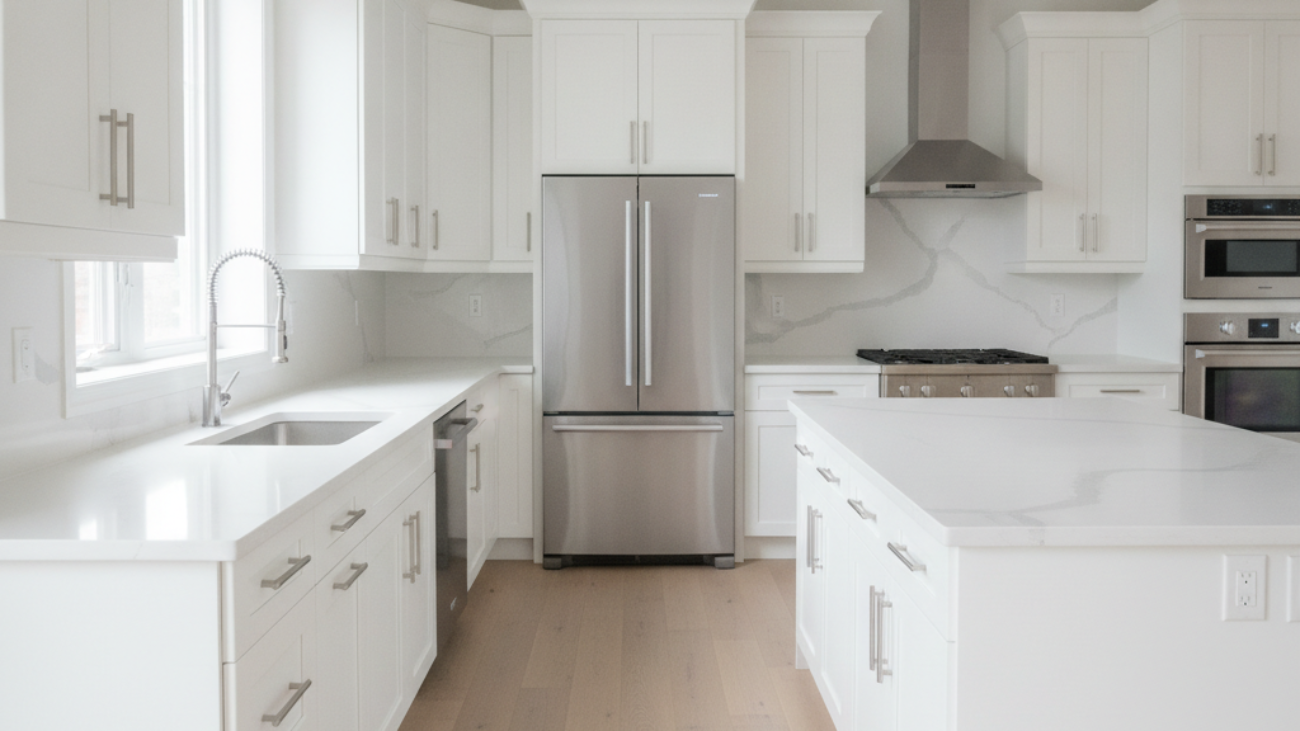
In York, Toronto cabinet paint durability questions come down to chemistry, prep, and use. A professionally sprayed, kitchen-rated coating on well-prepped wood typically stays beautiful for years, resisting chips, grease, and moisture. Longevity depends on surface prep, primer choice, topcoat system, cure time, and daily care habits—not just the paint name on the can.
By Paint2decor INC • Last updated: July 5, 2026
Overview: summary and contents
Cabinet paint durability refers to how long a painted finish maintains adhesion, color, and sheen under daily kitchen wear. This guide explains lifespan ranges, factors that speed up or slow down wear, finish-type comparisons, best practices, maintenance tips, and when to refinish versus reface—tailored for Toronto and York homes.
This complete guide is built for Toronto-area homeowners who want clear, practical answers without fluff. You’ll find step-by-step advice, real scenarios from York kitchens, and a buyer’s checklist to choose the right process and finish.
- What “durability” means for kitchen cabinets
- Why environment and prep beat brand names
- How pro spraying extends finish life
- Finish types compared with pros and cons
- Care routines that prevent early wear
- When to refinish, reface, or replace
- Local tips for York kitchens
For deeper dives on related topics, see our in-house resources on kitchen cabinet refinishing, professional cabinet painting, and cabinet respraying service.
What is cabinet paint durability?
Cabinet paint durability is the finish’s ability to resist chipping, scratching, staining, moisture, and color loss over time. It’s determined by coating chemistry, surface preparation, film thickness, cure, and daily use. Durable kitchen finishes pair the right primer and topcoat with tight prep and controlled spraying.
Durability sounds abstract until you watch what happens on busy cabinet doors. Oils, heat, steam, and constant touching test every weakness. A tough system holds tight and wipes clean. A weak one scuffs, swells at edges, and looks tired long before it should.
- Adhesion: How well the paint bonds; poor bonding leads to early chips at handles.
- Hardness & flexibility: Hard enough to resist dents but flexible enough to move with wood.
- Chemical resistance: Stands up to cleaners, sauces, and oils without softening.
- Moisture tolerance: Edges and routed profiles are stress points near sinks and dishwashers.
- Colorfastness: UV, heat, and cleaning habits influence yellowing or fading.
In our experience working across Toronto and York, durability is rarely about one miracle paint. It’s the complete system—degreasing, sanding, priming, and pro-grade topcoats—executed consistently.
For a plain-English walkthrough of prep through finish, review our painting your kitchen cabinets overview and this step-by-step painting guide.
Why durability matters in Toronto kitchens
Durability matters because kitchens are high-touch, high-humidity zones. A robust cabinet finish reduces visible wear, keeps cleaning simple, and delays major interventions. For York homeowners, durable finishes protect your investment and maintain resale appeal across years of daily cooking and cleaning.
Toronto kitchens work hard. Winters push indoor humidity low; summers swing it high. Stoves and dishwashers spike heat and steam in cycles. These swings move wood, test seams, and challenge paint films around handles and edges.
- Family traffic: Kids, pets, and constant meal prep multiply impacts and wipes.
- Moisture spikes: Sinks and dishwashers target base doors with drips and steam.
- Heat zones: Doors beside ovens and ranges experience frequent thermal stress.
- Cleaning frequency: The more you wipe, the more abrasion the film sees.
That’s why we emphasize system thinking: proper degreasing, a bonding primer, and a kitchen-rated topcoat. When applied correctly, we’ve seen finishes stay crisp across seasons of Toronto weather shifts and everyday cooking routines.
How durability works in the kitchen (and why prep wins)
Durability is engineered, not guessed. Degreasing, sanding, and a primer designed for high-adhesion create a base that resists chipping. Professional HVLP spraying lays an even film that cures into a tough shell. Controlled cure time completes the chemistry that delivers long-term wear.
Here’s the thing: no topcoat can overcome poor prep. Oils at the finger pulls, aerosol residue, or silicone polishes can sabotage adhesion. We remove contamination first, then build smooth mechanical tooth through sanding, then seal with the right primer.
- Degrease thoroughly: Kitchen aerosols drift; remove residues before you sand.
- Sand for profile: Create consistent, fine scratch patterns for primer bite; avoid gouges.
- Prime to seal: Use a bonding primer that blocks stains and evens absorption.
- Spray for uniformity: HVLP spraying reduces roller texture and holidays that collect grease.
- Respect cure windows: Allow the film to harden before reassembly and heavy use.
Want the full refinishing flow we follow in York homes? Our kitchen cupboard refinishing page outlines a clean, contained process that keeps your space usable while the finish cures.
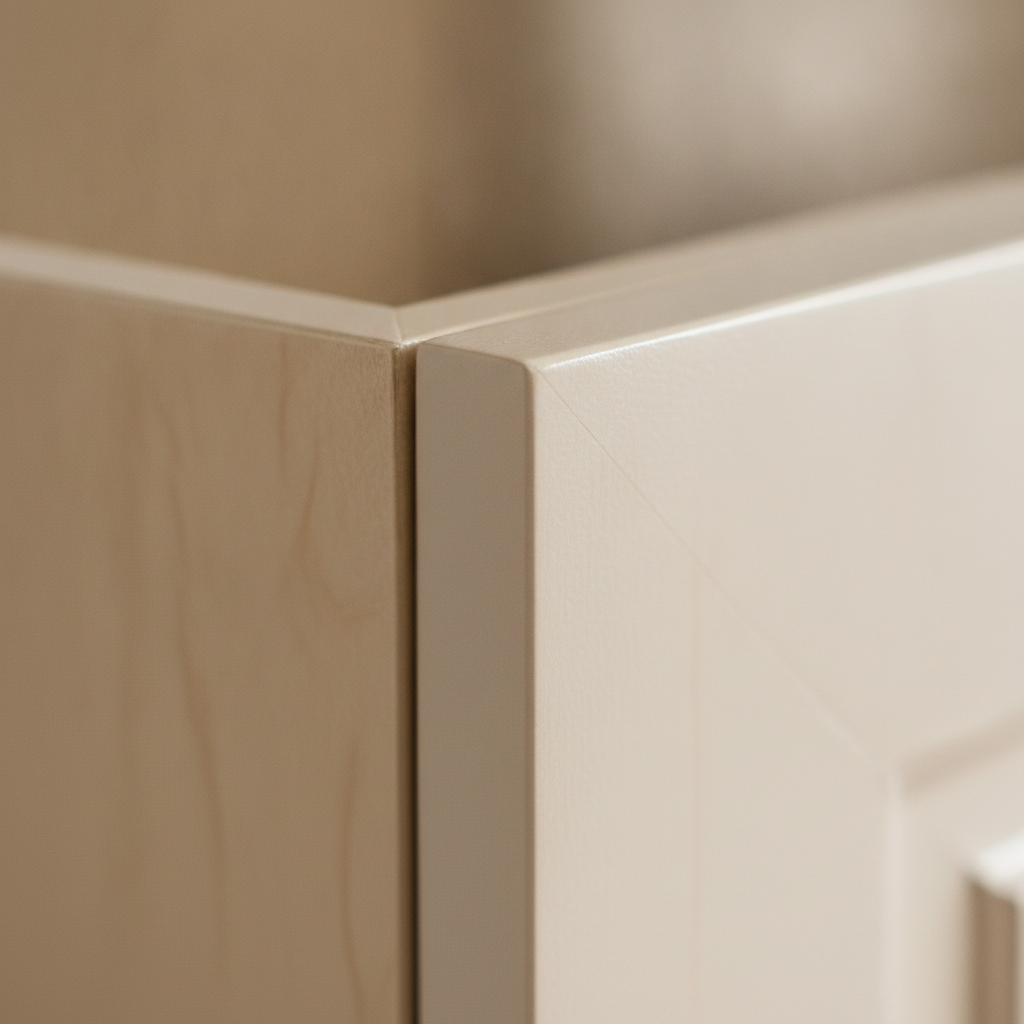
Types of cabinet finishes and their durability
Kitchen-ready finishes include two-component polyurethanes, waterborne acrylic-alkyds, and catalyzed conversion varnishes. Each balances hardness, flexibility, chemical resistance, odor, and touch-up ease. The best choice depends on your wood species, color goals, application environment, and sensitivity to odor and cure time.
Not every “cabinet paint” is equal. Wall paints feel nice to roll but lack the blocking, hardness, and chemical resistance needed around handles and dishwashers. Pro cabinet systems are designed for abrasion, oils, and repeated cleaning.
| Finish system | Chip resistance | Grease/cleaner resistance | Touch-up friendliness | Odor/TVOC during job | Notes |
|---|---|---|---|---|---|
| 2K polyurethane (pro-grade) | Excellent | Excellent | Moderate | Moderate, controlled with ventilation | Durable shell for high-traffic kitchens; sprayed in controlled setup. |
| Waterborne acrylic-alkyd | Very good | Very good | Good | Low | Popular balance of durability and low odor; cures to a hard film. |
| Catalyzed conversion varnish | Excellent | Excellent | Low | Moderate to high | Factory-level toughness; strict application and cure control. |
| Oil-alkyd enamel | Good | Good | Good | Higher | Classic look; longer cure and potential yellowing in low light. |
| Latex wall paint (avoid) | Poor | Poor | High | Low | Not engineered for cabinets; soft film scuffs quickly at pulls. |
If you’re comparing brands, also compare the system—primer type, recommended build (mils), spray method, and cure schedule. That’s where real-life longevity is made.
For more on choosing cabinet paints that lay smooth and durable, see our Toronto-focused overview of best cabinet paint options and our look at Benjamin Moore cupboard paint considerations.
Best practices for long-lasting painted cabinets
The best way to maximize durability is to control variables: remove contamination, create uniform tooth, use a bonding primer, spray an even film, and protect the cure. After install, gentle cleaning and felt or rubber bumpers prevent early wear at high-touch points.
Prep that actually sticks
- Degrease with a kitchen-safe cleaner; rinse residue thoroughly.
- Sand progressively to a fine grit for consistent profile; dust-vac between passes.
- Spot-fill dings; sand flush to prevent “telegraphing” through paint.
- Prime with a cabinet-rated bonding primer; scuff between coats when specified.
Application that cures hard
- Detach doors/drawers; number hardware to reassemble cleanly.
- HVLP spray in a ventilated booth or controlled area to reduce dust nibs.
- Build recommended film thickness; don’t chase heavy, sag-prone coats.
- Respect recoat and cure times before re-hanging and regular use.
Habits that extend life
- Install bumpers on doors/drawers to soften impacts at frames.
- Wipe spills quickly near sinks and dishwashers to protect edges.
- Use non-abrasive cloths and pH-neutral cleaners; avoid harsh solvents.
- Open range hoods while cooking to reduce heat and aerosol on nearby doors.
Want a pro team to own the details? Our professional kitchen cabinet painting service applies the same standards we use in shop settings to York homes.
Tools and resources that influence durability
Durability improves when tools control film quality and contamination: HVLP guns for uniform coats, quality abrasives for consistent scratch, strong lighting for inspection, and clean racks for dust-free curing. A tidy workflow reduces rework and protects edges.
- HVLP spray gun: Controlled atomization, smoother films, fewer roller marks.
- Abrasion system: Sanding blocks, dust extraction, and tack cloths for a clean substrate.
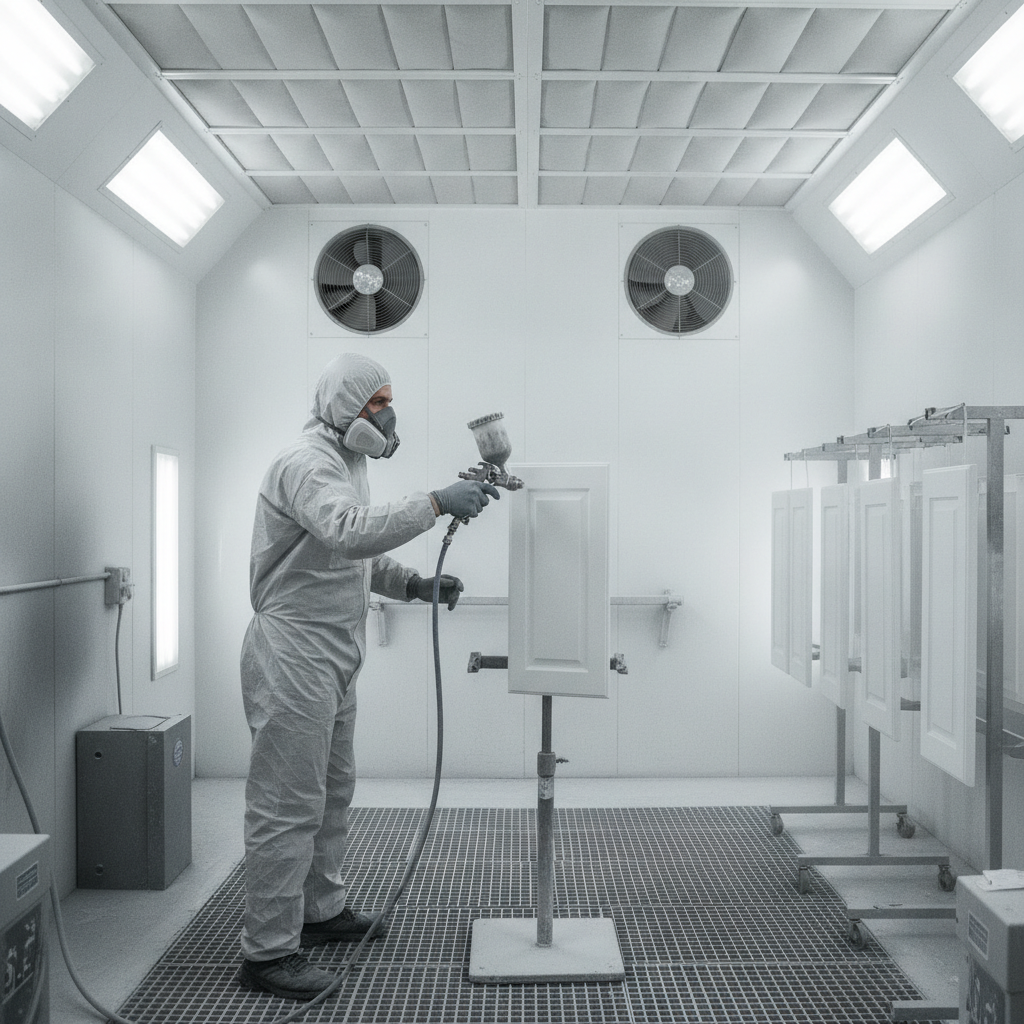
- Booth or enclosure: Minimizes airborne dust; improves finish clarity.
- Numbered hardware bins: Ensures proper reassembly and door alignment.
- Lighting for inspection: Rakes highlights to catch sags and holidays before cure.
If you’re curious about DIY fundamentals like basic cabinet painting steps, this general overview provides a homeowner’s perspective on prep and process from another GTA source: how to paint kitchen cabinets.
Maintenance and care to extend lifespan
Gentle, regular care preserves cabinet finishes: wipe spills promptly, clean with soft cloths and mild soap, avoid scouring pads, add door bumpers, and keep range hoods running during cooking. Small habits at high-touch points delay visible wear for years.
Think of maintenance as finish insurance. Fast spill cleanup near sinks prevents edge swelling. Using the hood and cracking a window during heavy searing limits aerosol settling on doors flanking the range. Bumpers reduce frame strikes and paint transfer.
- Weekly: quick dust and spot-wipe around pulls and cooking zones.
- Monthly: gentle clean of heavy-use doors; check bumpers and hinges.
- Seasonal: watch for humidity swings; keep indoor levels comfortable.
For another general look at cabinet upkeep from a local perspective, see this GTA-oriented piece on maintaining your kitchen cabinets. As always, follow your specific coating manufacturer’s care guidance.
When to refinish vs reface vs replace (buying guide)
Refinish when boxes are sound and you like your layout; reface when doors are worn or you want a style change; replace when boxes are failing or layouts must change. Choose the option that aligns structure condition, style goals, and timeline.
Here’s a quick decision framework we use with York clients:
- Refinish: Solid boxes, quality doors, dings and yellowing but no structural damage.
- Reface: Boxes are fine but you want new door style/species or hidden hinge upgrades.
- Replace: Water damage, failing joinery, major layout changes, or added cabinetry.
We deliver both kitchen cabinet refinishing and cabinet respraying, and we handle cabinet refacing when a style reset is the smarter path. If you’re also weighing door construction choices during a reface, this outside overview contrasts common options: standard vs custom cabinet doors.
Real examples from York kitchens
Durability decisions are easiest with real scenarios. These York-area examples show how prep, finish selection, and small habit changes deliver long-lasting results in busy homes with varied layouts and light conditions.
Maple shaker refresh near the ravine
- Challenge: Yellowed clear coat and grime at pulls; sturdy boxes.
- Approach: Full degrease, sand, bonding primer, and waterborne acrylic-alkyd topcoat in satin.
- Outcome: Smooth, wipeable finish; door bumpers at frames; range doors still crisp after seasons of cooking.
Galley kitchen with heavy moisture by the sink
- Challenge: Edge wear and swelling at the sink base doors.
- Approach: Edge repairs, sealing primer on end grain, and 2K polyurethane topcoat for extra moisture resistance.
- Outcome: Edges stayed tight; homeowners adopted quick-dry habits after dishwashing.
Style change with refacing and factory-grade spray
- Challenge: Outdated routed doors and uneven reveals, but boxes excellent.
- Approach: New shaker doors with hidden hinges; conversion-grade spray finish in a controlled booth.
- Outcome: Modern look plus robust film; touch-ups guided by saved color formula.
For a picture-led walk-through of our shop-standard process, explore our professional cabinet painting page, where we outline preparation, spraying, and reassembly that protect long-term finish quality.
Local factors and York considerations
York kitchens face seasonal humidity swings and compact layouts that concentrate heat and steam. Plan for stronger edge sealing near sinks, use range hoods during cooking, and add soft-close or bumpers to reduce paint-to-paint contact on frames and doors.
Local considerations for York
- After weekend visits to Smythe Park, quick wipe-downs at base doors near the entry keep grit from scuffing lower cabinets.
- Summer humidity around Magwood Park trails suggests monitoring indoor levels; consistent comfort helps painted films move with wood without cracking.
- Tight semi-detached layouts amplify oven and dishwasher steam; run the hood during cooking and crack a window when possible.
Common Toronto cabinet paint durability questions—answered
Most durability questions boil down to finish choice, prep quality, and use patterns. If the substrate is clean and stable, the primer bonds tightly, and the topcoat cures properly, a sprayed finish resists chips and cleans easily for years—especially with simple care habits.
Do darker colors wear faster?
- Darker shades show micro-scratches and grease more readily than light satin whites.
- Choose satin or matte sheens to disguise minor swirls; maintain with soft cloths.
What about yellowing?
- Some solvent systems can amber in low light; modern waterborne systems resist this better.
- Under-cabinet lighting keeps tones even and highlights cleanability.
How soon can we use the kitchen?
- Light use resumes after initial dry; full hardness follows a proper cure window.
- Use bumpers and gentle handling the first weeks to protect edges.
FAQ: Toronto cabinet paint durability
These fast answers address the most common questions York homeowners ask us about cabinet paint durability, maintenance, and finish choices. Each response is brief, direct, and based on our in-home and shop spraying experience across Toronto neighborhoods.
What makes cabinet paint chip at the handles?
Chips at pulls usually trace back to contamination or weak bonding at high-touch spots. Proper degreasing, sanding for tooth, and a bonding primer prevent early failures. Bumpers and gentle cleaners protect the film once installed.
Is spraying really more durable than brushing?
Spraying itself isn’t “stronger,” but it lays a more uniform film with fewer texture peaks that catch grime. A smooth sprayed surface is easier to clean and less prone to premature abrasion, especially on shaker profiles and edges.
Do I need a special cleaner for painted cabinets?
Use a soft cloth with mild soap and water for routine care. Avoid scouring pads, strong solvents, and ammonia-heavy cleaners that can dull or soften the film. Always test in an inconspicuous area first.
When should I choose refacing instead of refinishing?
Pick refacing when cabinet boxes are solid but the doors are dated or worn and you want a new style or hinge system. Refinishing is best when doors are quality and you mainly want a color and sheen update with durable protection.
Will humidity in Toronto summers hurt the finish?
Seasonal humidity moves wood, which stresses paint at joints and edges. A flexible, kitchen-rated system plus sealed edges and good ventilation help the film move with seasonal changes without cracking or peeling.
Conclusion: key takeaways and next steps
Durable cabinet paint isn’t luck—it’s process. When surfaces are clean, primed for adhesion, and sprayed with a kitchen-grade system that’s allowed to cure, the finish holds up. Add simple care habits, and most Toronto kitchens enjoy years of cleanability and color stability.
- System over brand: Prep, primer, and pro spraying drive outcomes.
- Match finish to home: Pick chemistry and sheen for your light, moisture, and traffic.
- Care matters: Gentle cleaning and bumpers protect high-touch edges.
- Right service: Refinish, reface, or replace based on structure and style goals.
Ready to plan your York kitchen update? Explore our refinishing guide or compare cabinet respraying options. If you want a style reset, ask us about cabinet refacing and door profiles that pair with durable spray finishes.