
toronto cabinet refinishing checklist for a smooth, durable finish at home
Refinishing cabinets is one of the highest-impact ways to refresh a kitchen or bathroom without a full renovation. This toronto cabinet refinishing checklist walks you through planning, tools, prep, application, reassembly, and final quality checks so you can manage the process with confidence and avoid common pitfalls.
Plan your project
Good outcomes start with a clear plan. Before you unscrew a single hinge, map the scope and sequence of your job.
- Define scope: doors and drawer fronts only, or boxes and frames too?
- Finish type: paint, tinted lacquer, stain-and-clear, or clear coat refresh?
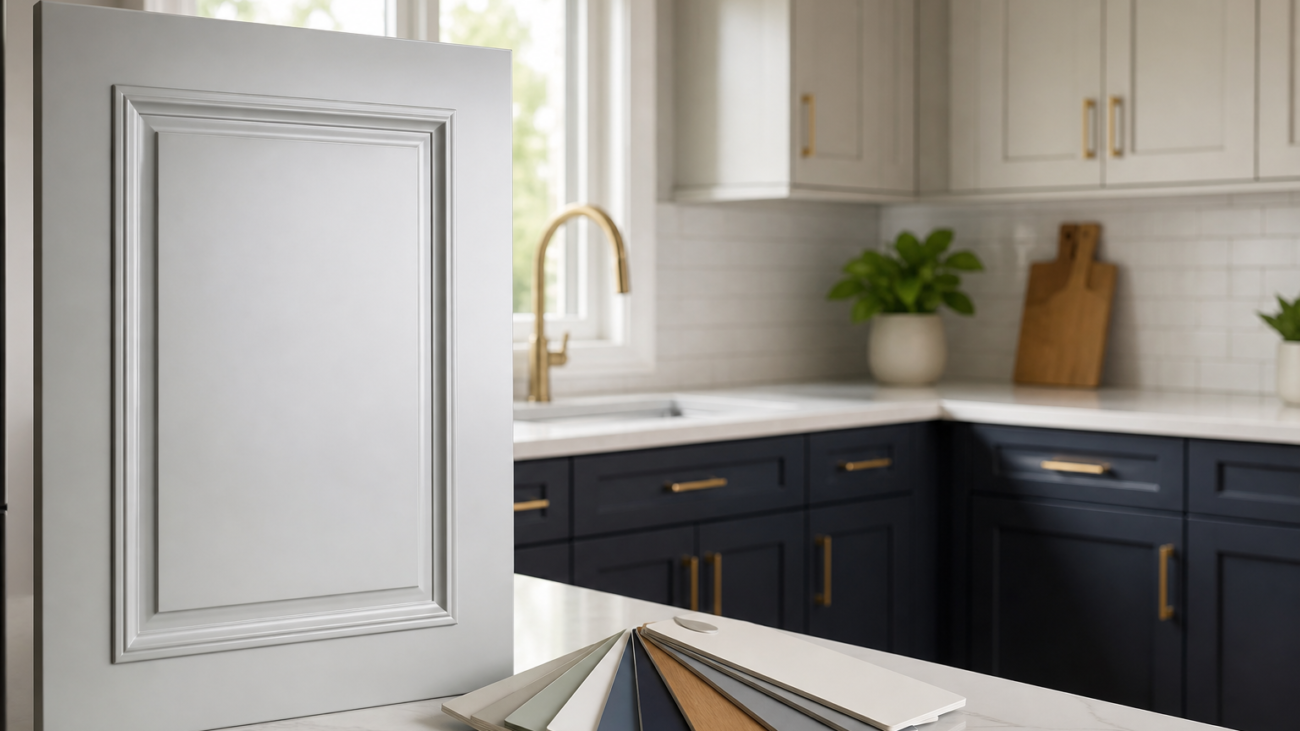
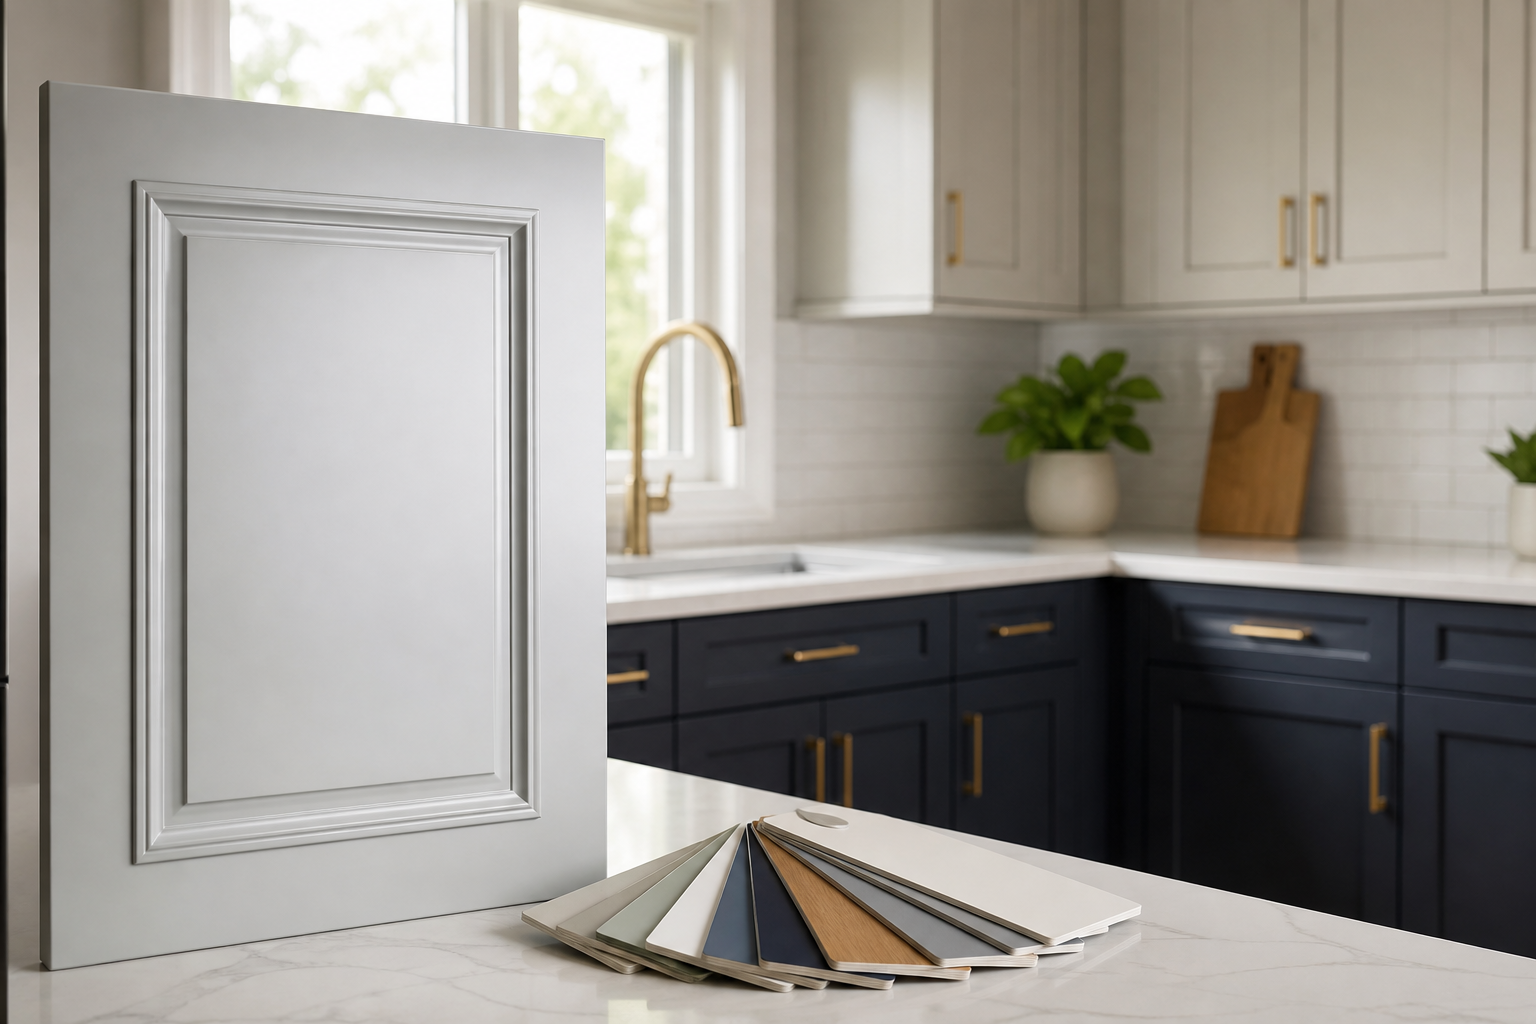
- Colour decisions: sample boards first; review in your actual lighting at morning, midday, and night.
- Hardware changes: confirm hole spacing if switching pulls/knobs; note hinge overlays.
- Timeline: plan for prep days, application days, and cure time before heavy use.
- Work location: identify a ventilated, dust-controlled area for spraying or rolling doors.
- Labeling system: number every door/drawer and its hardware bag to guarantee accurate reassembly.
Choose finishes and sheens
Your finish choice influences durability, feel, and maintenance. Decide early to guide the rest of your checklist.
- Painted look: a high-quality cabinet paint or spray-applied coating typically provides strong adhesion and levelling.
- Stained wood: if the goal is to showcase grain, plan for stripping, sanding, staining, and clear topcoats.
- Clear refresh: for cabinets in good shape, a light sand and new clear coat can revive sheen and protection.
- Sheen selection: matte hides imperfections; satin/eggshell balances cleanability with low glare; semi-gloss maximizes wipeability but can show defects.
- Compatibility: ensure primer, colour coats, and topcoats are from systems designed to work together.
Tools and materials checklist
Gather everything before you start to prevent rushed shortcuts mid-project.
- Surface prep: screwdrivers, label tape/marker, drop cloths, painter’s tape, plastic sheeting, degreaser, Scotch-Brite pads, clean rags, tack cloths
- Abrasion and repair: sanding sponges (fine/medium), orbital sander with dust collection, assorted grits (e.g., 120/150/220), wood filler, putty knife
- Masking and containment: masking paper or film, zip walls or plastic to isolate work zones, shop vacuum with HEPA if available
- Application – brush/roll: high-quality synthetic brushes, fine-finish mini-rollers and covers, roller tray/liners
- Application – spray (optional): HVLP or airless sprayer with fine-finish tip/needle set, strainers, spray stand or drying rack
- Coatings: bonding primer suitable for previously finished cabinetry, finish coats (paint/lacquer), optional clear topcoat if the system requires it
- Hardware and extras: new/clean hinges and screws, knobs/pulls, hinge hole plugs (if relocating hardware)
- Safety: respirator with appropriate cartridges for your coatings, safety glasses, gloves, hearing protection for sanding/spraying
Surface prep steps
Prep is the difference between a finish that looks great for a week and one that holds up over time. Follow each step methodically.
- Photograph and label: take wide and close-up photos of cabinet layouts. Number each door/drawer and label hinge locations.
- Remove hardware and doors: bag and label all screws and hinges by location. Set up a dedicated hardware bin.
- Degrease thoroughly: clean every surface with a cabinet-safe degreaser. Rinse with clean water and allow to dry.
- Scuff sand: dull the existing sheen with 150–220-grit to create tooth. Wipe or vacuum dust, then tack-cloth clean.
- Repairs: fill dings and old hardware holes (if moving pulls). Sand smooth and spot-prime repairs after curing.
- Mask and contain: tape off interiors, walls, ceilings, and floors. Create a clean, dust-minimized zone for coating.
- Final wipe-down: use a lint-free cloth slightly dampened with cleaner or solvent recommended for your coating system.
Painting or spraying steps
Whether you roll/brush or spray, aim for thin, even coats and adequate flash and dry times between them.
- Prime for adhesion: apply a bonding primer compatible with your topcoat. Spot-check adhesion after drying by lightly scratching an inconspicuous area.
- Light sand and clean: after primer dries, sand lightly with 220-grit to knock down nibs. Tack-cloth or vacuum away dust.
- First colour coat: apply thinly. Watch for sags on profiles; tip off with a brush when rolling to level out.
- Inspect and denib: after drying, sand lightly where needed. Address any visible defects before the next coat.
- Second colour coat: aim for uniform coverage, edges included. Add a third coat if your system or colour demands.
- Optional clear coat: if using a system that benefits from a protective topcoat, follow recommended recoat windows.
- Spray-specific tips: strain coatings, test fan pattern on cardboard, maintain consistent gun distance, overlap passes by ~50%, and keep a wet edge.
- Brush/roll tips: use high-quality, low-nap mini-rollers for flats and a fine brush for profiles; work from inside panels outward to rails/stiles.
Drying, curing, and reassembly
Dry-to-touch is not the same as cured. Protect your new finish during this stage to preserve its appearance.
- Dry-time discipline: follow the product’s stated dry and recoat windows. Avoid stacking or contact until fully dry.
- Cure window: plan a gentle-use period after installation. Avoid strong cleaners and heavy impacts during early cure.
- Hardware install: pre-drill new holes using a jig for accuracy. Tighten screws snugly, not aggressively, to avoid cracking fresh paint.
- Door alignment: adjust hinges so reveals are consistent and doors don’t rub. Add bumpers to prevent sticking and soften closures.
Quality checks and touch-ups
Use this punch list to evaluate your results before calling the project complete.
- Uniform colour and sheen under multiple lighting conditions
- Edges and profiles fully covered without drips, sags, or dry spray
- Doors/drawers open and close without sticking or marring the finish
- Hardware straight, secure, and evenly aligned across runs
- Inside corners and panel recesses free of dust nibs or roughness
- Touch-up kit prepared with labelled paint and a fine artist brush for minor nicks
Safety and ventilation basics
Refinishing involves dust, fumes, and tools. Take reasonable precautions to protect yourself and your space.
- Use a respirator with appropriate cartridges for the products you’re applying.
- Ventilate the work area and control dust with containment and frequent vacuuming.
- Wear eye, hearing, and skin protection during sanding and spraying.
- Follow manufacturer safety data for all coatings and solvents.
- Dispose of rags and waste according to product instructions.
Note: This article provides general, educational information and is not professional advice. For project-specific guidance, consult a qualified professional.
Hire or DIY: decision points
Use these questions to decide whether to take on the project yourself or engage a specialist.
- Finish expectations: do you require a factory-smooth sprayed look, or is a fine brush/roll acceptable?
- Time and space: can you set aside a dust-controlled area and allow for multi-day curing?
- Cabinet condition: are there veneer issues, water damage, or complex repairs beyond basic filling and sanding?
- Equipment comfort: do you have experience with sprayers, or will you brush/roll? Either path can work with the right prep.
- Scope complexity: full-kitchen frames plus many doors and drawers can be a significant time commitment.
Toronto-specific prep reminders (general considerations)
While cabinet refinishing fundamentals are universal, planning details can make execution smoother in busy households.
- Staging: identify a spare room, garage area, or protected section of the home to set up drying racks.
- Noise and dust windows: group sanding tasks in defined blocks to minimize disruption.
- Containment: use plastic sheeting and painter’s tape to separate work zones from living spaces.
- Delivery scheduling: if ordering new hardware, confirm arrival before you start so reassembly isn’t delayed.
Full checklist to print
Use this consolidated list to track progress from start to finish.
- Photograph and label all doors, drawers, and hinge locations
- Set up a ventilated, dust-controlled workspace with racks
- Remove hardware; bag and label by cabinet
- Degrease all surfaces; rinse and dry
- Scuff sand; vacuum and tack
- Fill dings and unused hardware holes; sand smooth
- Mask boxes, walls, floors, and appliances
- Prime with a bonding primer; allow to dry
- Light sand and clean after primer
- Apply first colour coat; inspect edges and profiles
- Denib and correct any defects
- Apply second colour coat; add a third if needed
- Optional clear topcoat per system guidance
- Allow adequate dry and cure times between steps
- Install hardware carefully; avoid over-tightening
- Rehang and align doors; adjust reveals
- Place bumpers; verify smooth open/close
- Complete quality inspection under different lighting
- Prepare and store labelled touch-up materials
FAQ
How long does cabinet refinishing typically take from start to finish?
Project length depends on scope, drying conditions, and the number of coats. Many DIY refinishing projects span multiple days to allow for careful prep, two or more colour coats, and safe handling during reassembly. Build in additional time for cure before heavy kitchen use.
Do I need a special primer for previously finished cabinets?
Yes, a bonding primer that adheres well to factory finishes is recommended. It helps colour coats level and resist peeling. Always confirm compatibility between primer and your chosen topcoat system.
Is spraying always better than brushing or rolling?
Spraying can produce a very smooth finish on doors and drawer fronts, especially with proper prep and technique. However, high-quality brushes and fine-finish rollers can also deliver excellent results on frames and doors when applied in thin, even coats. Choose the method you can execute consistently.
Should I remove cabinet doors and drawers before painting?
Removing them generally leads to cleaner edges, better coverage, and fewer drips. Label each piece and its hardware to streamline reassembly and alignment.
What sheen is best for kitchen cabinets?
Satin or semi-gloss are common choices due to their balance of wipeability and appearance. Matte can hide surface imperfections but may show wear sooner in high-contact areas. Match sheen to your maintenance expectations and lighting conditions.