
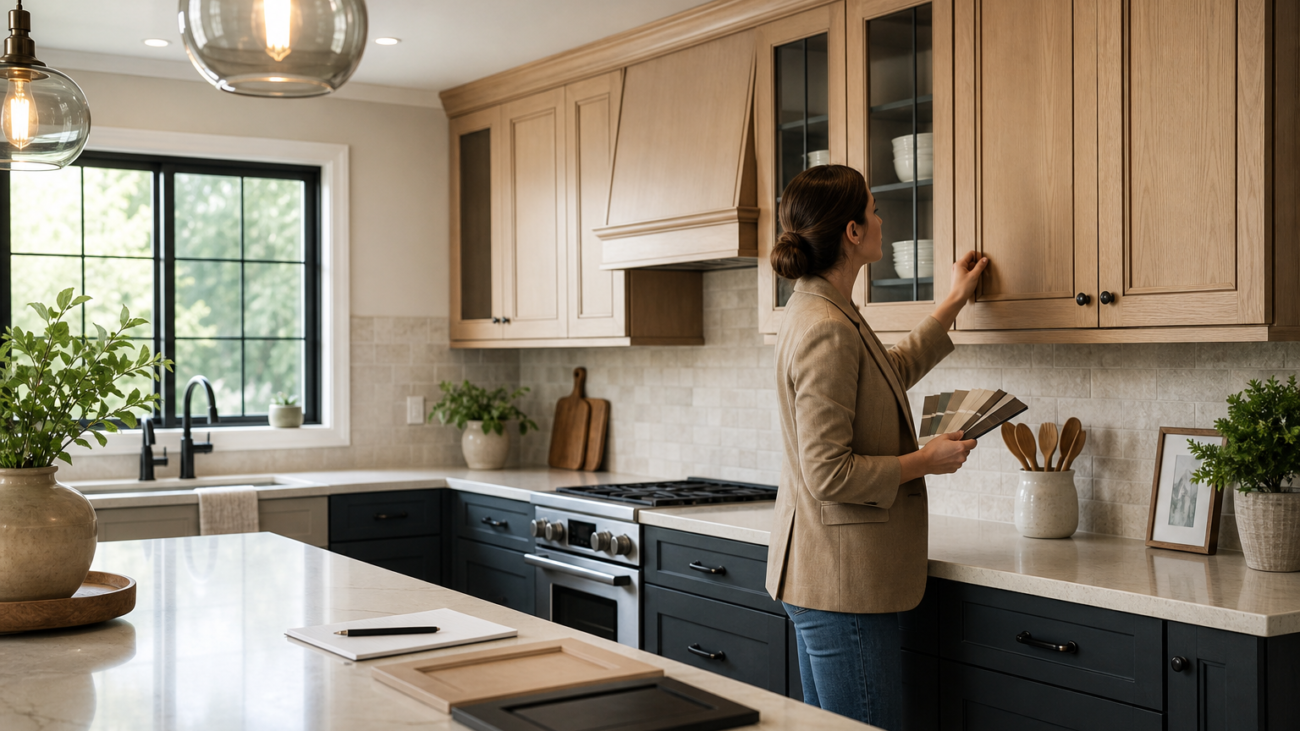

Residential cabinetry restoration guide: how to plan a kitchen update?
This residential cabinetry restoration guide helps Toronto and GTA homeowners move from a worn or dated kitchen to a durable refreshed finish. In the ordered steps below you will inspect condition, prepare the workspace, complete repairs, choose the right surface preparation and finish, and know exactly when to stop and call a pro. Paint2decor INC focuses on kitchen and bathroom cabinetry work for the Greater Toronto Area and offers refinishing, refacing, painting, and respraying services, plus a free quote to get started for local projects. For more background and examples, visit the Paint2decor blog.
Decide whether restoration is the right path for your cabinets
Begin with a short decision checklist to choose between refinishing, refacing, respraying, or full replacement. These observable checkpoints will guide your next steps.
- If the cabinet boxes are sound, hinges work, and damage is mostly surface wear, consider refinishing or painting.
- If doors and drawer fronts are worn but frames are solid and you want a new style, refacing can change appearance without full replacement.
- If you need factory-smooth, even coverage or a colour change for complex profiles, professional respraying tends to outlast brush or roller work.
- If you plan layout changes, have structural rot, or serious water damage, replacement is the right option.
Step 1 — inspect and document existing condition
Work systematically so you can make an evidence-based decision. Photograph everything and label files for quick reference when getting quotes.
- Cabinet faces: look for peeling veneer, blistering, deep scratches, or missing laminate.
- Boxes and frames: check for soft spots, rot, detached corner joints, and water stains under sinks.
- Hinges and hardware: test alignment, stripped screw holes, and whether doors sit squarely.
- Substrate identification: note whether doors are solid wood, plywood, MDF, or laminate as primer and adhesion strategies differ.
- Functional issues: drawers that stick, warped doors, or misaligned frames affect whether a restoration will last.
Decision checkpoint: if you find soft wood, mould, or loose framing, stop and consult a contractor. Otherwise, proceed to workspace preparation.
Step 2 — prepare the space and meet safety limits
Site preparation protects finishes and reduces mess. Condo owners in the GTA should check building rules for spray painting and ventilation before starting; a professional can advise on off-site respraying where building rules restrict onsite spray work.
- Remove all contents from cabinets and clear counters, or bag and seal items you must leave in place.
- Protect floors and appliances with plastic sheeting and drop cloths, tape seams to prevent dust migration.
- Ventilation: open windows and use exhaust fans. For spray work, use a properly rated respirator and plan for odour and VOC control.
- Neighbour and parking logistics: schedule work during agreed hours and notify neighbours when strong odours or a truck will be present.
DIY safety limit: if you cannot ensure adequate ventilation or need to use spray equipment in a shared building, hire a pro who has controlled booths and extraction systems.
Step 3 — perform repairs, small carpentry and the red-flag stop points

Address mechanical issues and small cosmetic repairs before finishing. Do not proceed past these red-flag conditions without professional help.
- Common DIY repairs: tighten hinges, refasten loose drawer runners, fill chips with a matching wood filler, re-glue small veneer lifts.
- Minor structural: replace or repair small sections of damaged trim, shim warped doors, and reinforce loose corner joints with glue and clamps.
- Red-flag conditions requiring a contractor: deep structural rot, mould that requires abatement, missing substrate pieces, extensive water damage under sink cabinets, or severely warped frames that prevent doors closing.
When in doubt, photograph damage and include the images with any quote request. Local specialists can assess whether refacing, refinishing, or respraying is most appropriate for your project.
Step 4 — surface preparation: degrease, sand or degloss, and prime
Surface prep is the most important step for durability. Use an ordered approach and choose products to match your substrate.
- Degrease: clean with a kitchen degreaser to remove oils and cooking residues that prevent adhesion.
- Decide sand or degloss: sand if the surface has old paint or rough spots and you can reach crevices. Use a liquid deglosser for smooth laminate or factory finishes to avoid damaging thin veneers.
- Fill and feather: repair chips and gouges with a compatible filler, sand smooth, and remove dust with a tack cloth.
- Prime: choose a bonding primer for laminate and a stain-blocking primer for tannin-rich wood. Primer selection is substrate specific, so read product directions carefully.
Spray versus brush and roller
Spray application gives the smoothest, most consistent finish and is the method professionals use when respraying or doing large projects. Brush and roller are reasonable for shaker doors and small runs, but edges and profiles may show texture. If you cannot control overspray and ventilation, use brush and roller or hire a specialist for spray work. For workflow details and examples, consult materials on professional refinishing and respraying.
Step 5 — choose finishes and apply: paint, respray, topcoats
Match finish choice to kitchen use and desired look. Consider professional systems for higher durability and uniform coverage.
- Acrylic enamel and waterborne coatings are durable for kitchens and come in a range of sheens.
- Professional sprayed lacquers or industrial waterborne systems offer the most even coverage, which is especially important for complex profiles and high-traffic kitchens.
- Topcoats: use a protective clear topcoat compatible with the paint to resist scraping and moisture exposure.
Decision checkpoint: if you want a flawless, factory-style finish, or you are changing from a dark to light colour on high-use doors, professional respraying is often the most reliable option.
Step 6 — reassemble, cure, inspect and set a maintenance plan

Reassembly is not a race. Inspect alignment and hardware before you set the doors in place and use appropriate fasteners and shims for correct gaps.
- Reassemble in logical order: reinstall hinges and doors first, then drawers and hardware, adjusting alignment as you go.
- Final inspection checklist: consistent sheen, uniform coverage, no runs, doors closing smoothly, and no paint on hinge faces.
- Maintenance tips: avoid abrasive cleaners, use mild detergents for daily cleaning, and promptly repair chips to prevent moisture intrusion.
Note: do not assume a new finish is cured immediately. Follow the paint manufacturer’s recommendations for handling and cleaning.
When to DIY and when to hire a GTA specialist
Weigh skills, time, and risk. Use this tools-and-skills checklist to decide.
- Essential DIY tools: orbital sander, sanding pads, quality brushes and rollers, respirator rated for paint, shop vacuum, drop cloths, and hand tools for hinge removal.
- Skills: comfortable with careful sanding, consistent application, and making small carpentry repairs.
- Risks for inexperienced DIYers: poor adhesion from missed degreasing, visible brush marks, runs and sags, and accidental damage to appliances or floors.
- Hire a pro when you encounter red-flag conditions listed earlier, need off-site respraying because of condo rules, or want a durable factory finish on complex door profiles.
Paint2decor INC positions itself as a GTA cabinetry refinishing specialist with local recognition to support credibility, and the company invites homeowners to request a free quote to compare professional options to DIY. Visit the Paint2decor blog for examples and to start a quote request.
Visual assets plan and structured data recommendations
Document the project with photographs and short clips to help future maintenance and to receive accurate quotes. Capture these key images and media:
- Before: full kitchen shots and close-ups of damage and hardware.
- During: hinge removal, sanding edges, filler work, and any spray setup.
- After: straight-on shots of doors closed, profile close-ups, and finished hardware details.
- Suggested schema: publish the ordered steps as HowTo schema and include FAQ schema for the question block below, plus LocalBusiness schema linking to Paint2decor contact details to improve local search discovery.
Frequently asked questions
When should I refinish cabinets instead of replacing them?
Refinish when boxes and frames are structurally sound and damage is surface level. If you want a new layout, have major water damage, or need full structural repairs, replacement is preferable.
Can I respray cabinet doors if I live in a condo in the GTA?
Check condo rules and ventilation limits first. Many condo bylaws restrict onsite spray work, so off-site respraying or hiring a specialist with a controlled booth is often necessary. Local specialists can advise which option fits your building.
What finishes hold up best in a busy kitchen?
Professionally applied waterborne acrylic enamels or industrial waterborne finishes with a compatible topcoat resist stains and wear best. Uniform spray application and proper topcoating improve durability over brush-applied systems.
What basic tools and safety gear will I need to attempt a DIY cabinet restoration?
At minimum you need a respirator rated for paint, eye protection, an orbital sander, sanding pads, quality brushes, a shop vacuum, tack cloths, and drop cloths. If you must use spray equipment indoors, ensure proper extraction and wear appropriate PPE.
How do I request a free quote from a Toronto or GTA cabinetry restoration specialist?
Gather inspection photos and list priorities, then contact a local specialist. Paint2decor INC invites homeowners to request a free quote through their site and offers refinishing, refacing, and respraying services tailored to GTA homes. Visit the Paint2decor blog to start your request and attach photos to get an accurate comparison.
Ready to compare options and request your free quote with Paint2decor INC? Visit the Paint2decor blog to begin your quote request and view project examples.