
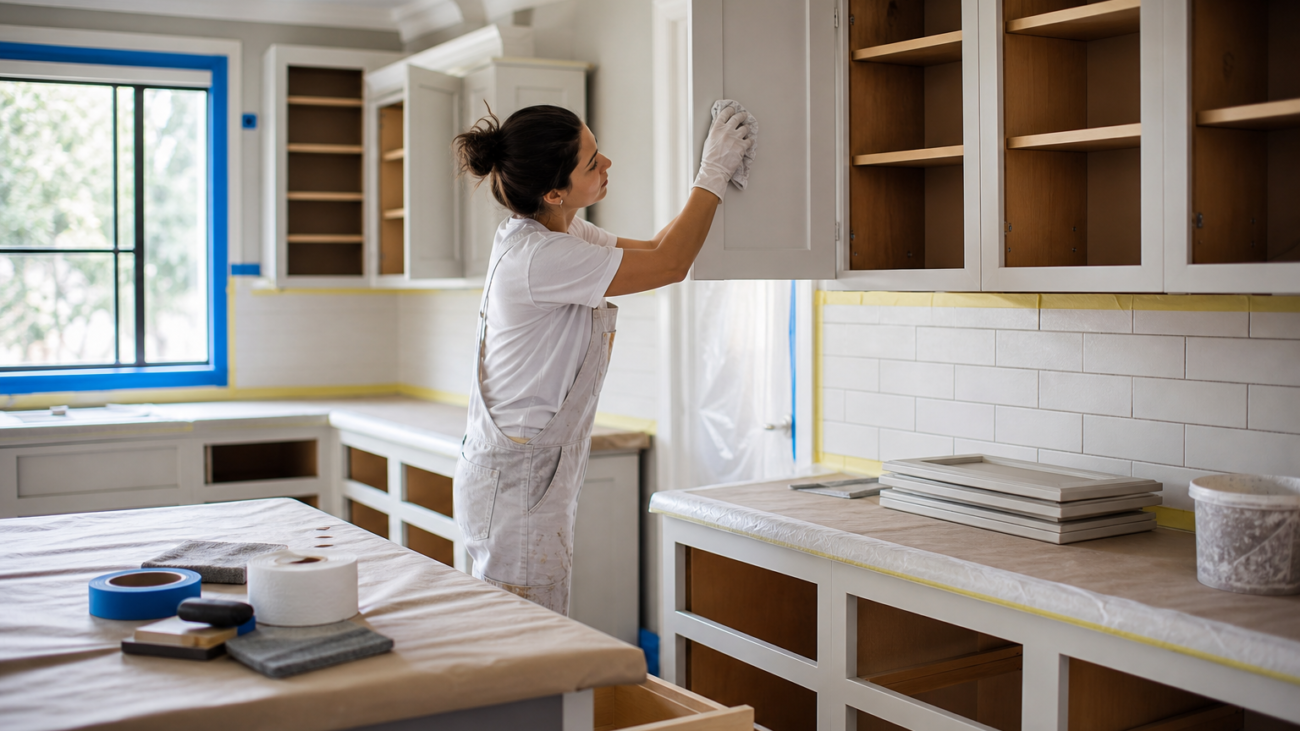
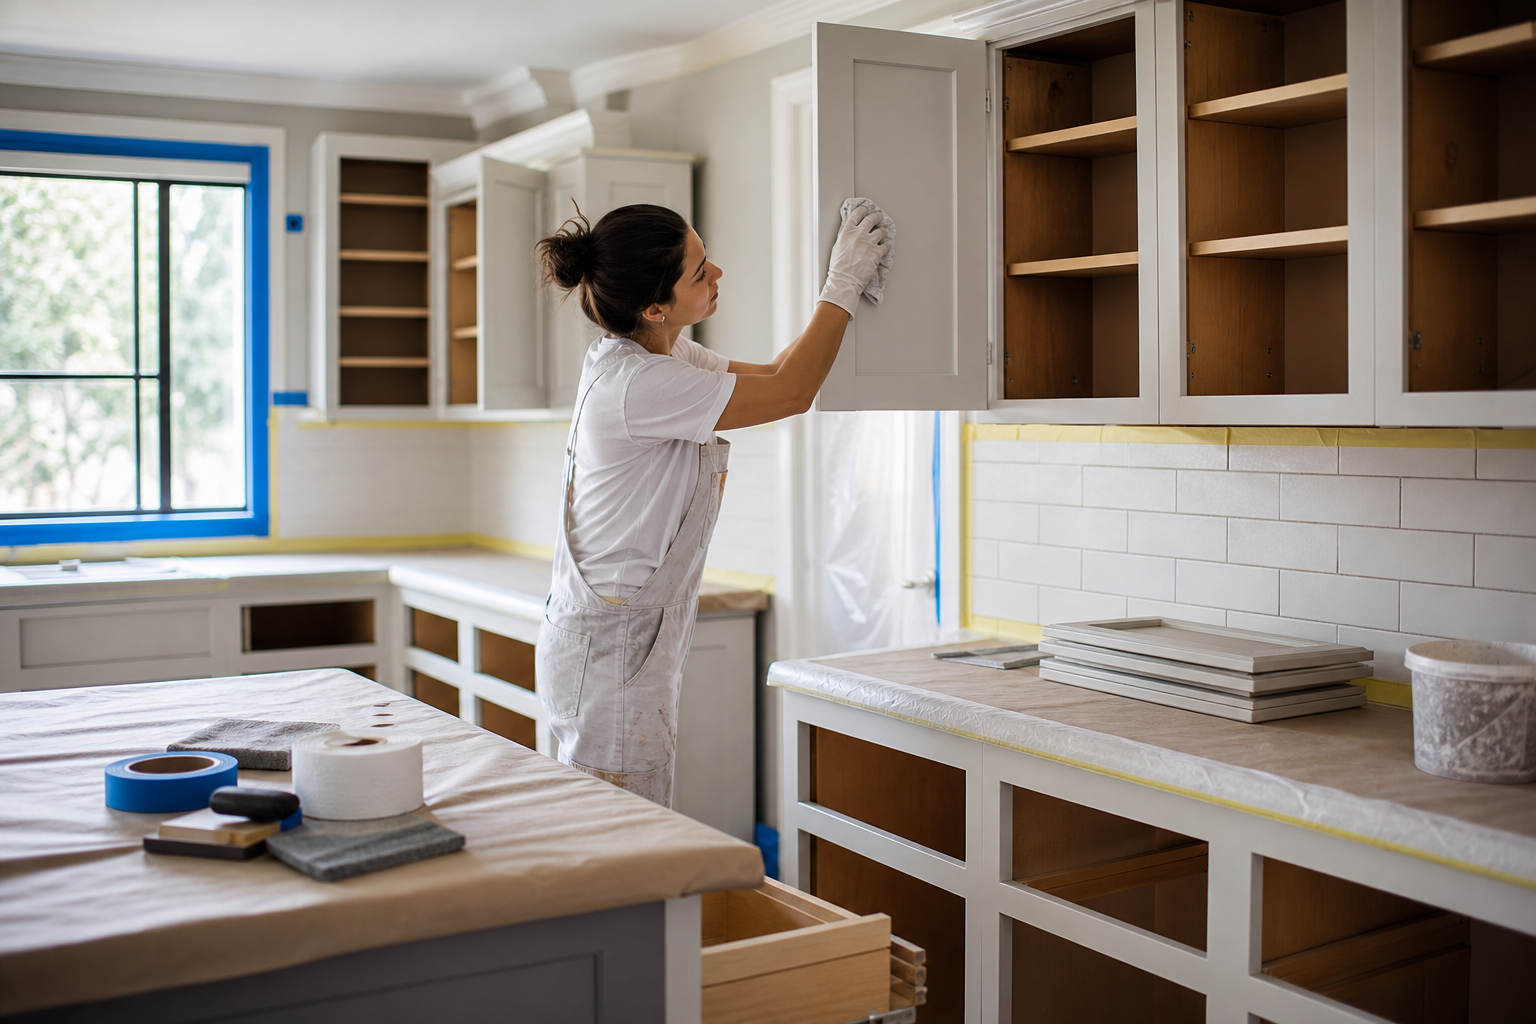
What does kitchen cupboard painting prep involve?
If you plan a fresh finish, kitchen cupboard painting prep is the step that decides whether the paint sticks, looks smooth, and lasts. This article gives an ordered, room-by-room checklist you can follow today, with the tools and cleaners to use, how to treat wood, glossy paint and laminate, the most common mistakes to avoid, and a clear decision guide for when a GTA specialist makes more sense.
Quick prep checklist: an ordered snapshot
- Remove, label and store doors and hardware.
- Clean and degrease every surface, inside and out.
- Scuff-sand or degloss glossy finishes and repair dents or veneer lifts.
- Vacuum sanding dust, wipe with a tack cloth and inspect repairs.
- Select the correct primer for the substrate and apply it on flat surfaces.
- Mask counters, floors and appliances, ventilate the space, and plan painting logistics.
You can use this snapshot as a quick checklist before you begin. The sections that follow explain why each step matters, what products to use, and which surfaces need specialist attention. Practical references for cleaning, sanding and primer selection are available from recognised sources such as Home Depot, Consumer Reports, and Benjamin Moore.
Step 1: remove, label and store doors and hardware
Painting cabinet doors flat off the hinges yields the most even finish and reduces drips. Remove every door, drawer front and loose shelf, and keep hardware with the part it belongs to. Use masking tape and a permanent marker or small labelled bags to match screws to the corresponding door. Preparing doors off the cabinet also speeds sanding, priming and finishing because you work on a flat surface.
If you choose to leave large frames in place for small touch ups, protect adjacent areas carefully. Practical removal and labelling advice is summarised by step guides such as Toolstation and the hardware and removal instructions on Home Depot.
Step 2: clean and degrease every surface
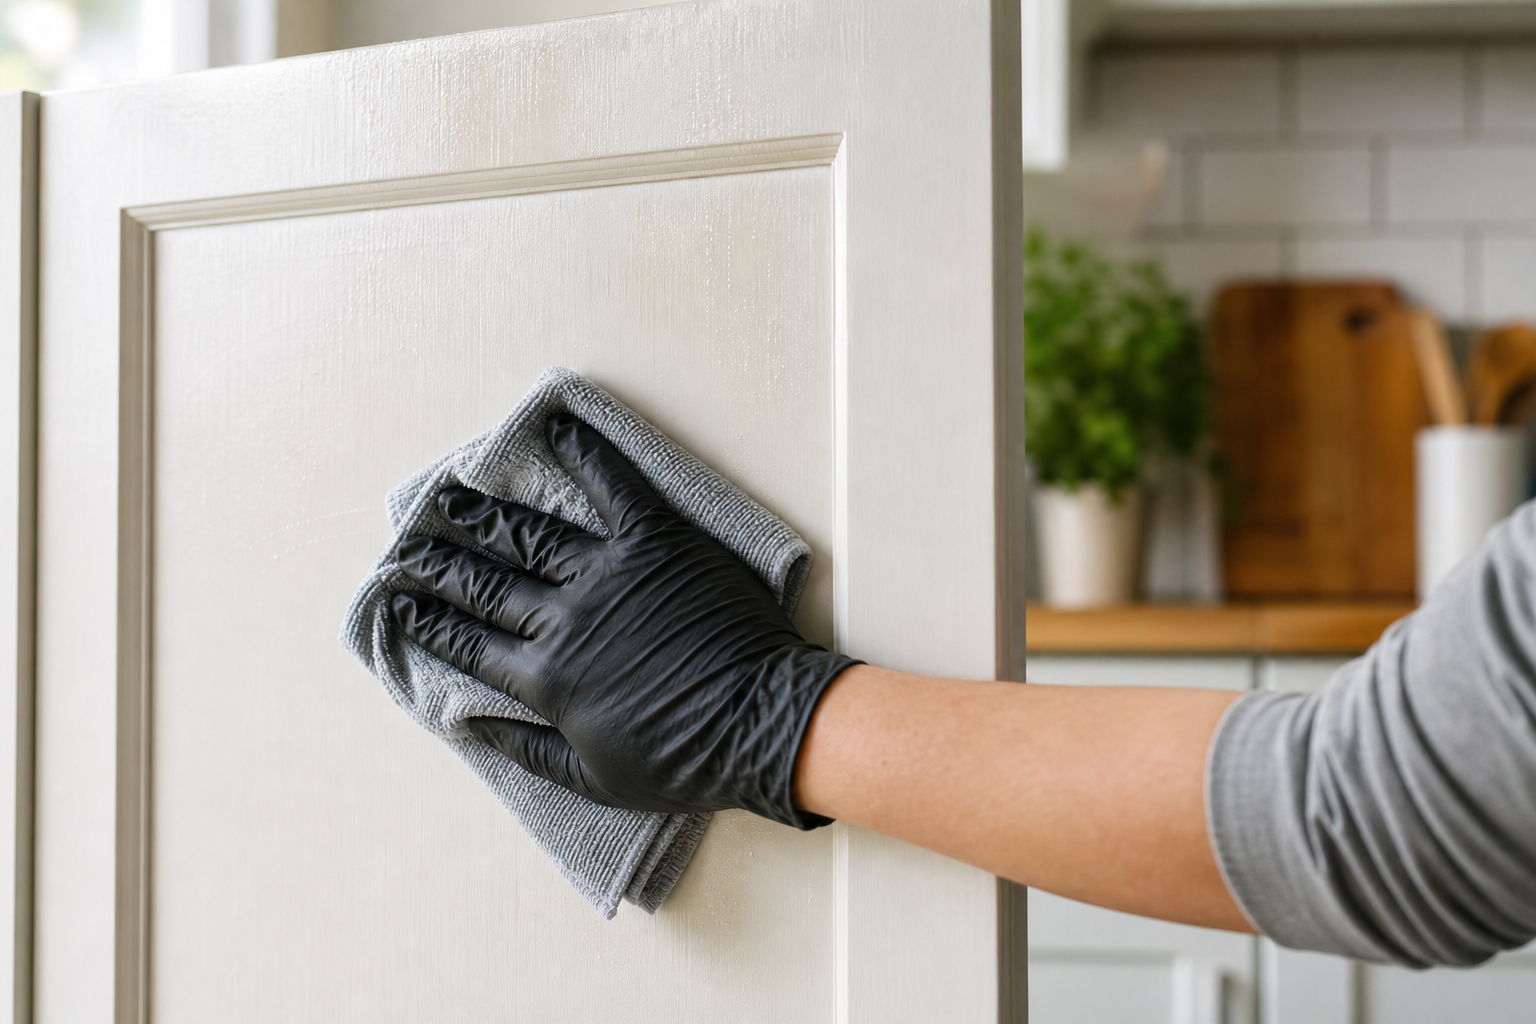
Kitchen grease and grime are the main causes of paint failures. Remove all items from the cabinets and clean interiors and exteriors with warm water and a mild detergent first. For older or heavily used kitchens, use a grease-cutting cleaner or a trisodium phosphate alternative to remove oils. Rinse with clean water and let the cabinetry dry completely before sanding or priming, because moisture traps will prevent adhesion.
Authoritative how-to resources emphasise cleaning as essential to success, and recommend degreasers for older cabinets and those near cooking surfaces. See the cleaning and degreasing guidance from Benjamin Moore, Behr Canada, and Consumer Reports for product examples and step sequences.
Step 3: scuff-sand, degloss and repair problem areas
Paint needs a keyed surface to bond to. If your cupboards have a glossy factory finish or existing glossy paint, scuff-sand or use a chemical deglosser to remove the sheen and create mechanical adhesion. For most wood and painted surfaces a careful scuff with abrasive pads or sandpaper is enough, while laminate and very smooth surfaces may need a specialist bonding approach.
If you sand, remove loose veneer, fill dents and gouges with a suitable wood filler, and smooth the repair so it is level with the surrounding surface. For damaged veneer edges or lifted laminate, a professional repair may be required to ensure a flat, long lasting result. Trusted sanding and substrate guidance is available from Home Depot, Behr Canada, and abrasive specialist notes from Norton Abrasives.
Practical sanding tips
- Scuff-sand only enough to remove gloss and provide a key, do not remove useful substrate material.
- Work with the grain on wood surfaces and avoid deep gouges from coarse abrasives.
- For chemical deglossers follow the manufacturer directions and ventilate the area.
- If using power sanders on doors, clamp the door and sand flat to maintain even pressure and avoid warping.
Step 4: remove sanding dust and choose the right primer
After sanding, vacuum the cabinets and wipe every surface with a tack cloth or a lint free, slightly damp rag to remove fine dust. Any remaining dust will show through finishes, and poor dust removal is a common cause of a rough final texture.
Primer selection matters more than people expect. Use a bonding primer for slick or previously finished surfaces, a stain blocking primer where knots or stains are present, and a substrate specific primer for laminate or melamine. Priming creates adhesion and a uniform base so your topcoat applies evenly. For general primer and priming technique guidance see Consumer Reports, Behr Canada, and manufacturer notes at Benjamin Moore.
Step 5: mask, protect and plan painting logistics
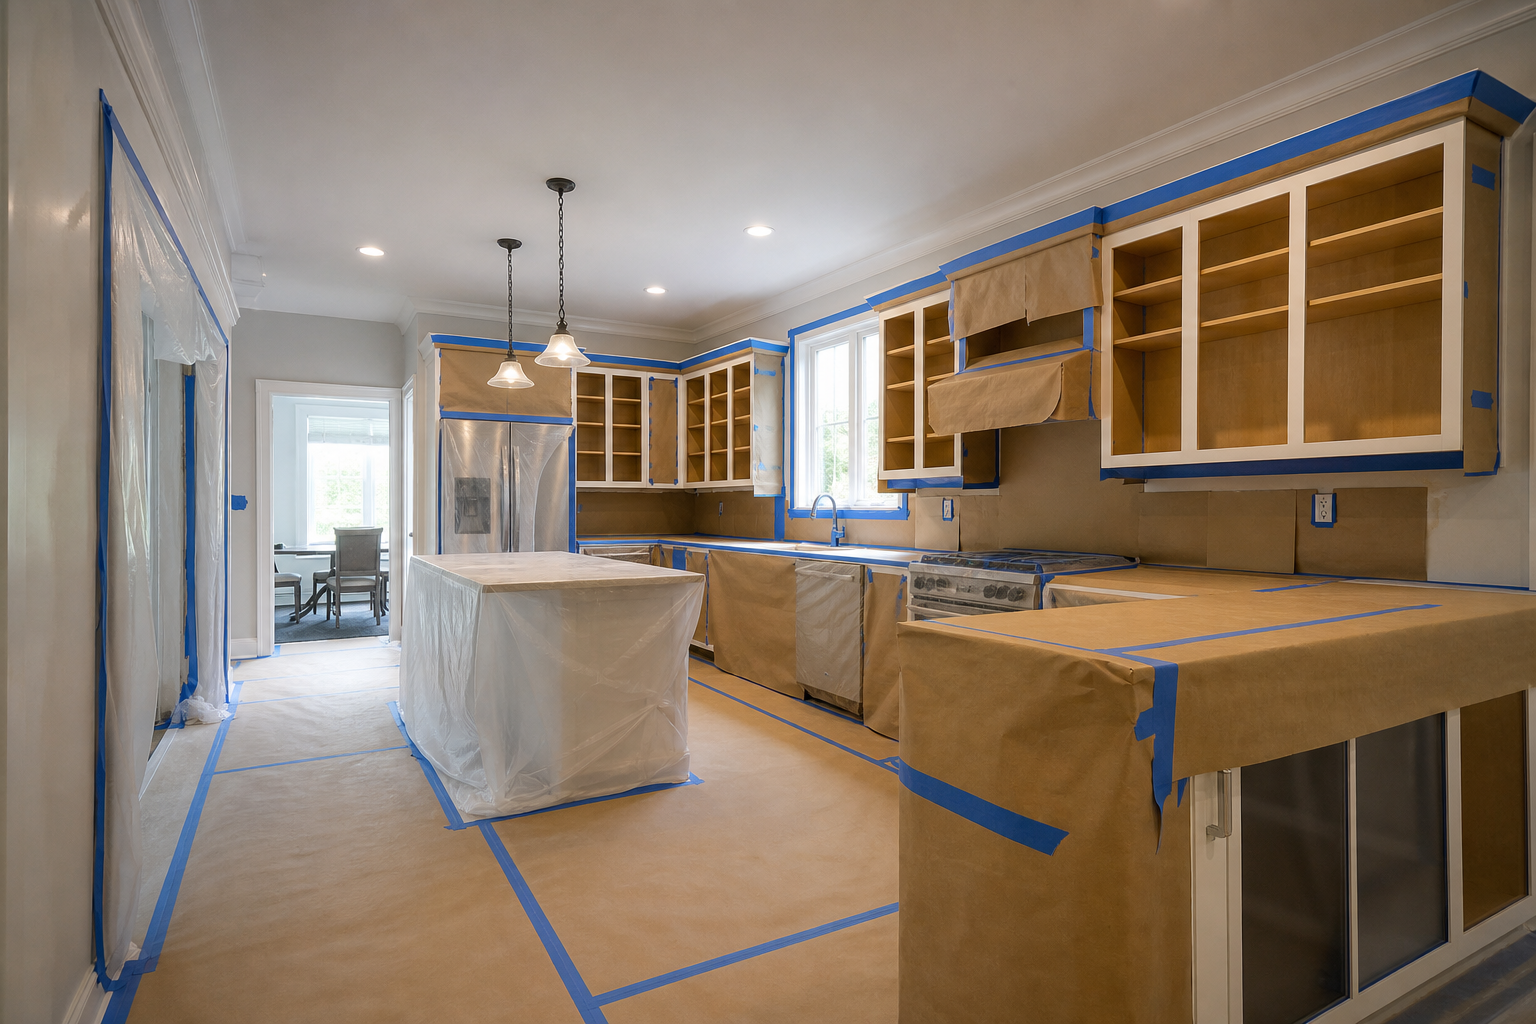
Protect countertops, floors and appliances with drop cloths and painter’s tape. If you are painting doors flat, set up vertical sawhorses or a workbench with good lighting. Consider ventilation and air flow in Toronto homes, and keep windows open if possible. Use low odour products when working in small apartments or poorly ventilated spaces. If you plan to spray respray for a factory finish, contain overspray with plastic sheeting and consider professional tenting equipment.
Masking and protection tips and the advantages of painting doors off the hinges are discussed in practical how-to instructions at Toolstation and Home Depot. If you plan spray respraying for a uniform, thin finish, professional respray services give the most consistent result.
Deciding to DIY or hire a GTA specialist
Most small kitchens with solid wood or previously painted wood cabinets are suitable for a competent DIYer who can invest the time to prep properly. However, choose a professional if any of the following apply: cabinets are laminate or melamine and need specialist bonding treatment, extensive veneer or substrate repair is required, you want a sprayed, factory quality finish, or your timeline is tight and you need fast, contained work. For laminate, specialist methods and products are recommended because the surface resists paint adhesion without proper bonding treatment, see Norton Abrasives for guidance.
If you prefer to compare a local trade, Paint2decor INC provides GTA-focused cabinetry refinishing, refacing, painting and respraying and invites homeowners to request a free quote; learn more on the Paint2decor blog and services pages at Paint2decor INC.
Common mistakes that cause adhesion or finish failure
- Skipping degreasing. Fix by cleaning again with a grease-cutting cleaner and allowing full drying time. See cleaning guidance from Benjamin Moore.
- Failing to degloss glossy surfaces. Fix by scuff-sanding or using a chemical deglosser before priming. See the sanding recommendations at Home Depot and Behr Canada.
- Painting over sanding dust. Fix by vacuuming and wiping with a tack cloth before priming and painting. Consumer Reports highlights dust removal as critical.
- Using the wrong primer for the substrate. Fix by choosing a bonding primer for slick surfaces or a stain blocking primer where needed, and apply according to product instructions.
- Rushing reassembly before full cure. Fix by following manufacturer cure directions and handling doors carefully until fully cured.
These errors are common but preventable with patient, ordered prep. For more detail on each error and the corrective steps consult the how-to pages from Consumer Reports and the product guidance at Benjamin Moore.
Frequently asked questions
Can you paint laminate kitchen cupboards and what extra prep do they need?
Laminate is nonporous and resists paint, so it requires extra prep such as a thorough cleaning, light abrasion or an appropriate chemical treatment, and a speciality bonding primer. Some laminate finishes require professional sanding or bonding primers to prevent peeling. For substrate specific advice see the guidance from Norton Abrasives.
Do I always need a primer for kitchen cupboard painting and which primer suits wood, previously painted, and laminate surfaces?
Primer is recommended for virtually every cabinet painting job because it creates adhesion and a uniform base coat. Use a general interior bonding primer for previously painted surfaces, a stain blocking primer on porous wood with knots or stains, and a specialty bonding primer for laminate or slick factory finishes. Product pages and how-to resources from Behr Canada and Consumer Reports discuss primer types and application.
Should I paint cupboards on the hinges or remove the doors for the best finish?
Remove doors and paint them flat for the most even, professional finish. Painting in place is possible for small touch ups, but off hinge painting reduces drips and allows easier sanding, priming and spraying. See step by step removal and protection tips at Toolstation and Home Depot.
What are the most common prep mistakes that cause paint peeling or orange peel texture?
The single biggest causes are grease left on the surface, not deglossing glossy finishes, painting over sanding dust, or using the wrong primer. Avoid orange peel texture by removing dust, using the correct primer and sealer, and applying thin, even coats. Consumer Reports explains these common failure modes and the preventative steps.
When should I choose professional respraying or cabinet refinishing instead of a DIY paint job?
Hire a professional for extensive substrate damage, when you need a sprayed factory finish, when the cabinets are laminate, or when your timeline and dust containment needs exceed DIY logistics. Professionals also handle full refacing and refinishing projects that require structural repairs and precise colour matching. For comparisons and local options in the GTA visit the Paint2decor INC blog at Paint2decor INC.
Key takeaway: careful, ordered kitchen cupboard painting prep is the task that creates lasting results. Clean thoroughly, degloss glossy surfaces, remove dust, choose the correct primer, and protect your home before paint goes on. When in doubt about substrate condition or the finish you want, consider a trade who specialises in cabinet respraying and refinishing.
Request a free quote from Paint2decor INC for GTA cabinet refinishing, painting and respraying