
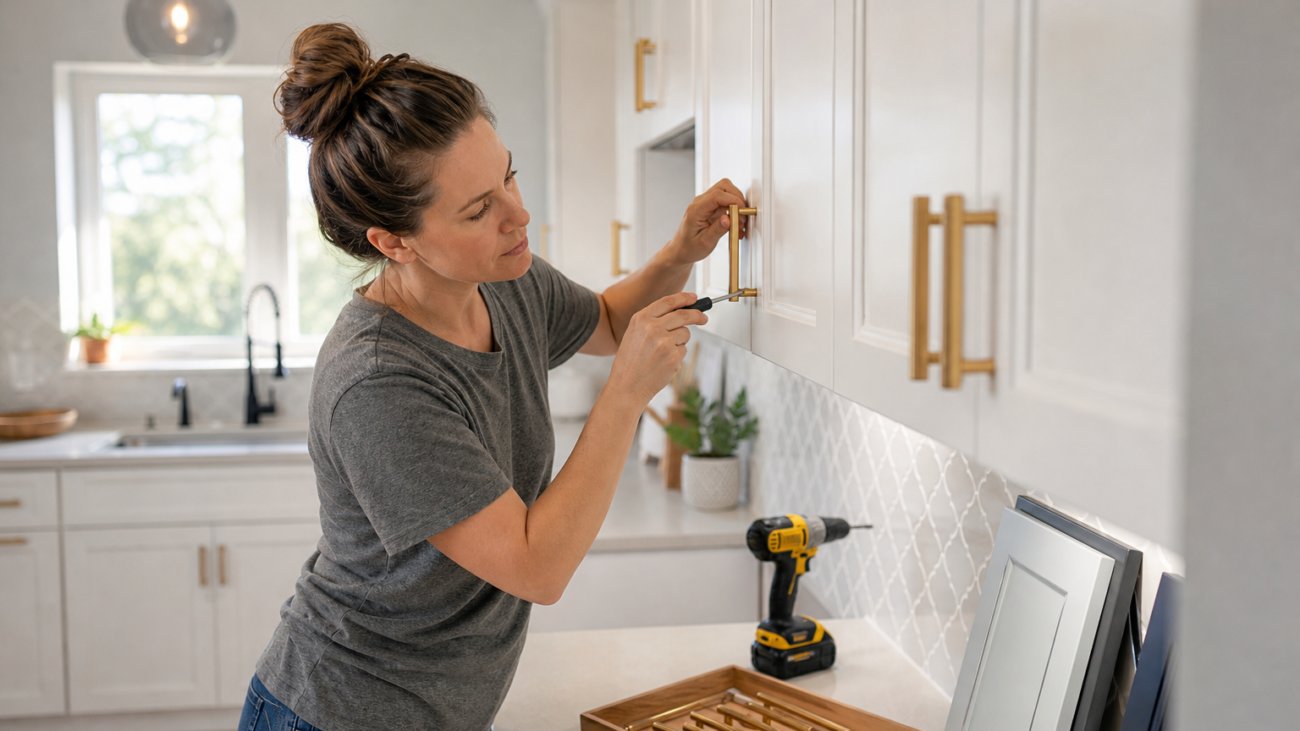

Cabinet hardware replacement for busy homeowners
Replacing cabinet hardware is one of the fastest ways to refresh a kitchen or bathroom without a full renovation. Most swaps are straightforward when existing holes match the new knobs or pulls, and the project can often be completed with basic tools in an afternoon. For a concise explanation of the impact and ease of hardware replacement, see Cabinet Showroom.
What you need before you start
Tools and materials checklist
- Screwdriver set: common Phillips and flat head sizes.
- Measuring tape or steel ruler with millimetre markings.
- Marker or sharp pencil and painter’s tape for temporary marks.
- Drill and small drill bits for pilot holes if drilling is required.
- Backing block, a scrap of wood to prevent tearout when drilling thin doors.
- Replacement knobs or pulls plus screws; many products include screws but confirm before you buy.
- Soft cloth, mild cleaner, and touch-up paint for small finish repairs.
- Optional: centre-to-centre template or cardboard to transfer pull spacing.
Retailer installation guides note that replacement hardware usually includes appropriate screws and that installation is simple when holes already exist. For a basic list of required items see Wayfair Canada and for measurement reminders consult The Home Depot.
Renter-friendly alternatives
- If you cannot drill, choose single-hole knobs that match existing holes.
- Use removable adhesive knobs or decorative overlays for a temporary update, but avoid solutions that stress cabinet surfaces.
Stop and call a pro if doors are crumbling, veneer is lifting, or you see extensive water damage. Structural problems are not suitable for a quick hardware-only fix.
Quick inspection and measurements to decide whether to drill
How to measure centre-to-centre spacing
For two-screw pulls, measure the centre-to-centre distance between the existing screw holes to the nearest millimetre. Record measurements for representative doors and drawers because manufacturers list centre-to-centre spacing on product pages and you want to match that distance before ordering new hardware. Accurate measuring prevents unnecessary drilling.
How to check for stripped or damaged holes
Gently remove one screw and test how it bites back in. If the screw spins without resistance the hole is stripped. Also check the back of the door for delamination or thin material that could split when a new screw is tightened. See practical checks and warning signs at Cabinet Showroom.
What matching means for new hardware
If your measurements match a common pull spacing, you can usually swap hardware without drilling. If spacing differs, prepare to use the templating and drilling guidance below or consider a knob that uses a single hole.
Step-by-step: remove old hardware and install new knobs or pulls

Removing old hardware
- Open the door, support it with one hand or a helper, and remove the screw from the inside of the door using the correct screwdriver.
- Keep screws and old hardware together in a small container in case you need them as spares.
- Clean the area with a soft cloth and mild cleaner to remove grease and dirt before installing new hardware.
Installing a single-hole knob
- Position the knob over the existing hole. From the inside of the door insert the screw and thread it into the knob by hand to avoid cross-threading.
- Tighten with a screwdriver until snug, then give a final quarter turn only. Avoid over-tightening, which can crush thin or veneered doors.
- Check alignment and operation; the knob should not wobble or protrude excessively.
Single-hole knobs are the easiest swap because they require only one screw and rarely need new drilling. See a quick how-to at Wayfair Canada.
Installing a two-hole pull
- Confirm centre-to-centre spacing on the new pull matches the existing holes.
- If holes match, line up the pull, insert screws from inside the door, and hand-thread into the pull. Tighten until snug with the final turns performed by a screwdriver to control torque.
- If you must tighten a lot to get a bite, stop and inspect for a stripped hole; refer to the troubleshooting section before forcing a longer screw.
Final checks and test
- Open and close doors and drawers to confirm hardware clears adjoining surfaces and sits comfortably for use.
- Look for paint chips or veneer lift and apply touch-up or protective pads if needed.
When and how to drill new holes safely
If new hardware requires drilling, follow a deliberate, low-risk approach. Practical DIY guides show measured methods for transferring marks and drilling pilot holes to reduce tearout and misalignment.
Transferring measurements
- Place painter’s tape over the door face and mark the centre lines on the tape to reduce chipping.
- Use a cardboard or the pull itself as a template to mark the two hole centres, then re-check spacing with a ruler to the nearest millimetre.
Drilling a pilot hole and finishing
- Clamp a backing block behind the drilling point to support the exit side and reduce blowout.
- Use a small pilot bit to drill at low speed straight through the marked centre, then step up to the final bit size for your screw if required.
- If the door is veneered or thin, drill from the front until the bit just breaks through, then finish from the back to keep edges neat.
Guides such as the installation advice at HandyMen NYC recommend low-speed drilling, a backing block, and pilot holes as standard precautions to protect slender or veneered doors.
Protecting painted and veneered cabinet doors
Surface protection before work
- Cover surrounding finishes with painter’s tape and work on a soft cloth to avoid incidental scratches.
- When drilling, use tape over the mark to reduce chipping and clamp a backing block to support the laminate or paint film.
Small touch-up options
For minor chips use a matching touch-up marker or thin brush. For larger areas a professional colour match and respray will produce the most seamless result. Cabinet refinishing companies can assess whether a local refinish is a better long-term choice.
When refacing or respraying is a better solution
If multiple doors need new hole locations, have significant surface damage, or you want a guaranteed colour match across all doors, professional cabinet refinishing or respraying is often the right call. Paint2decor INC positions itself as a Greater Toronto Area cabinetry refinishing specialist and offers free quote guidance for homeowners considering a professional fix or a wider update. For local refinishing options see Paint2decor INC.
Troubleshooting common problems and quick fixes

Fixing stripped screw holes
- Toothpick and glue method: fill the hole with wood glue and toothpicks, let dry, trim flush, then re-drill a pilot hole and use a slightly longer screw.
- Use a wooden dowel plug or appropriate wood filler for a stronger repair when the hole is badly enlarged.
Covering or relocating holes
If the spacing of a new pull does not match existing holes, you can relocate the pull and fill old holes with matching filler and touch-up paint. For visible or high-traffic cabinets a professional refinisher can feather and re-spray the surface for a consistent finish rather than leaving patched spots.
Dealing with misfit pulls
- Choose pulls with a plate or backplate that hides small differences in hole placement.
- Consider switching to single-hole knobs where practical to avoid lining up two holes.
Practical sources such as Cabinet Showroom and HandyMen NYC provide examples of these common fixes and show when a simple DIY remedy is acceptable versus when to call a professional.
When to hire a Toronto cabinetry refinishing specialist
Decision checklist for hiring a pro
- Doors are delaminating, warped, or have multiple damaged holes.
- You need colour-matched touch-up, partial respray, or a full refinishing of many doors.
- You prefer a guaranteed finish and do not want the risk of visible patching or mismatched hardware alignment.
If any items above apply, a local refinisher offers inspection, a scoped quote, and guaranteed finish services. Paint2decor INC highlights its role as a Greater Toronto Area cabinetry refinishing specialist and provides a free quote pathway for homeowners who would rather have a professional assessment before work. For contact and quote details see Paint2decor INC contact.
Measurement cheat sheet and templating tips
- Always measure centre-to-centre for two-hole pulls and record to the nearest millimetre.
- Use painter’s tape to mark locations and re-verify before drilling.
- Make a simple cardboard template by punching holes to the same spacing as the new pull and test it against the door.
- Check product pages or packaging for listed centre-to-centre dimensions before purchase.
Following these small precautions reduces mistakes and avoids unnecessary drilling. Both The Home Depot and Wayfair Canada emphasise measuring first as an essential step.
Frequently asked questions
Can I replace cabinet hardware without drilling new holes
Yes, if the new knobs or pulls match the existing hole locations. Single-hole knobs are the easiest swap. If hole spacing differs you will need to drill or use a different style of hardware.
How do I fix a stripped screw hole in a cabinet door
Common DIY fixes include filling the hole with wood glue and toothpicks or using a dowel plug or wood filler. After the filler cures, re-drill a pilot hole and install a slightly longer screw. For heavily damaged or thin doors, consider professional repair.
Will changing hardware damage painted or veneered cabinets
Not if you protect the surface with painter’s tape, use pilot holes, clamp a backing block when drilling, and avoid over-tightening screws. For veneer or thin finishes, professional refinishing may be safer if you anticipate new holes or visible patches.
What measurements do I need to match a new pull to my old holes
Measure the centre-to-centre distance between screws for pulls, and measure the door thickness if packing washers are needed. Confirm the new product’s listed centre-to-centre dimension before ordering.
When should I hire a professional cabinet refinisher in Toronto
Hire a professional when doors are delaminated, holes are extensively damaged, you need a colour-matched respray, or you want a guaranteed finish across many doors. A refinisher can inspect and provide a scoped quote to repair, refinish, or respray where a DIY repair would leave visible flaws. For local refinishing information and to request a free quote see Paint2decor INC.
Paint2decor INC offers free quotes and local expertise for homeowners in the Greater Toronto Area who prefer a professional assessment or a full refinishing solution.