
18 cabinet respraying mistakes to avoid (and how to fix them)
Respraying cabinets can refresh a kitchen or bathroom without a full renovation, but small lapses in prep, product choice, or technique can lead to peeling, orange peel texture, or mismatched doors. This guide covers the most common cabinet respraying mistakes to avoid and offers practical fixes so your finish looks smooth and wears well.
Planning and prep mistakes
Good results start before you ever pull a trigger on a sprayer. Skipping the early steps shows up later as adhesion failure, colour inconsistency, and project delays.
- 1) Not labelling parts and hardware. Doors and hinges are not always interchangeable. Label each door, drawer front, and hinge location with low-tack tape and a simple numbering map. Bag and tag hardware by cabinet to keep alignment consistent.
- 2) Poor job-site layout. Crowded spaces invite dust, drips, and accidental contact. Plan a workflow: cleaning station, sanding area, priming zone, and a dedicated, dust-controlled spray and drying area with adequate airflow.
- 3) Inadequate masking. Overspray is persistent. Mask walls, ceilings, floors, appliances, and inside cabinet boxes where finish is not desired. Press seams firmly and back-mask edges to avoid hard tape lines.
- 4) Ignoring substrate issues. Flaking lacquer, loose veneer, swollen MDF edges, or water damage will telegraph through new coatings. Stabilize loose layers, repair chips, and seal exposed MDF edges before priming.
Fix checklist: create a parts map, stage zones, use quality masking film and tape, and inspect every surface for repairs before you touch sandpaper.
Cleaning and degreasing errors
Kitchen residue resists paint better than most primers. If oils and silicones remain, your finish may fisheye or peel.
- 5) Skipping a dedicated degreaser. Soap alone rarely removes cooking oils and aerosolized grease. Use an appropriate degreaser and rinse thoroughly with clean water to remove residue.
- 6) Cleaning after sanding instead of before. Sanding drives contaminants into pores. Degrease first, then scuff-sand.
- 7) Leaving cleaner residue. Some cleaners leave films that repel coatings. After degreasing, wipe with clean water until cloths come back clean and squeak-free, then let dry completely.
Fix checklist: degrease → rinse → dry → scuff-sand → vacuum → tack-wipe. Keep fresh, lint-free cloths on hand.
Sanding and priming pitfalls
Mechanical tooth and a compatible primer are the backbone of adhesion and a level finish.
- 8) Over- or under-sanding. Going too fine (e.g., straight to 320–400) can polish the surface and reduce primer bite; too coarse leaves deep scratches. For previously finished cabinets, a common scuff sequence is 120–150 followed by 180–220 before primer. Sand profiles and mouldings with soft pads to avoid flats.
- 9) Ignoring MDF edge sealing. Raw MDF edges drink in moisture and finish unevenly. After shaping and sanding, seal edges with a compatible sealer or thinned primer and sand smooth before full priming.
- 10) Using the wrong primer for the surface. Different substrates (maple, oak, thermofoil, MDF, previously lacquered finishes) benefit from primers formulated for them. Stain-blocking primers can help prevent tannin bleed on species like oak.
- 11) Rushing primer dry times or skipping sanding between coats. Primer that is dry to the touch may not be ready for sanding or topcoat. Allow full dry times and lightly sand to remove raised grain or dust nibs before colour coats.
Fix checklist: set a consistent sanding sequence, seal thirsty edges, choose primer for your substrate, and respect dry and recoat windows.
Product and equipment missteps
Even with flawless prep, an incompatible coating or poorly set sprayer can undermine results.
- 12) Mixing incompatible systems. Stacking products from different systems without checking compatibility risks wrinkling or adhesion loss. Confirm that primer and topcoat are designed to work together.
- 13) Choosing a coating not intended for cabinets. Some wall paints and general-purpose enamels lack hardness or chemical resistance for high-touch kitchen use. Look for coatings specified for cabinetry or furniture.
- 14) Incorrect thinning or filtering. Over-thinning can weaken film build; under-thinning with certain sprayers can cause orange peel. Always strain coatings through a paint filter to remove skin or debris.
- 15) Wrong tip size or pressure. Using a tip that’s too large floods edges; too small produces a dry spray and roughness. Match tip size and pressure to the coating’s viscosity and your sprayer type.
Fix checklist: keep to a single, compatible system; select cabinet-rated coatings; strain material; and dial in tip/pressure per manufacturer guidance.
Spraying technique errors
Technique controls texture, uniformity, and edge build. Inconsistent passes or poor gun handling show up immediately once the light hits.
- 16) Spraying in poor conditions. Excessive humidity, cold temperatures, or a dusty space lead to slow curing, blushing, or debris in the finish. Aim for stable, moderate conditions and allow time for ventilation and filtration.
- 17) Hovering at edges and profiles. Lingering at corners and mouldings causes runs. Keep a steady distance and speed; double back with light passes rather than dwelling on details.
- 18) Inconsistent overlap and gun angle. Uneven overlap creates striping (lap marks). Maintain a perpendicular angle to the surface and a 50% overlapping pattern from pass to pass.
- 19) Forgetting the wet edge. Letting areas flash off before the next pass can leave texture differences. Work methodically so each pass ties into a wet edge.
- 20) Neglecting test pieces. Jumping straight to doors without dialing in technique often leads to do-overs. Always test on a sample board or the back of a door first.
Fix checklist: control environment, practice on samples, keep a consistent distance and pace, overlap 50%, and chase a wet edge.
Drying, curing, and reassembly issues
Dry-to-touch is not the same as cured. Handling too soon can imprint or bond surfaces together, forcing rework.
- 21) Stacking doors too soon. Fresh coatings can block (stick) under weight. Use drying racks or hang doors so air reaches both sides, and give adequate time between coats and before flipping or rehanging.
- 22) Reinstalling hardware prematurely. Screws can twist and mar finish around holes when coatings are still soft. Let finishes firm up before drilling through or reinstalling handles and hinges.
- 23) No soft buffers on contact points. Rubber bumpers and felt pads prevent door-to-frame sticking and reduce impact wear. Install new bumpers after full cure.
Fix checklist: rack or hang parts, protect surfaces during handling, and wait for recommended cure times before heavy use.
Durability and maintenance oversights
Even great finishes need thoughtful use and care to stay looking new.
- 24) Skipping final inspection and touch-ups. Small dust nibs, pinholes, or light orange peel are best corrected before reassembly. Wet sand and polish or lightly scuff and recoat problem areas while parts are still uninstalled.
- 25) Harsh cleaners right after install. Strong solvents and abrasive pads can haze or scratch a not-yet-cured film. Use gentle, non-abrasive cleaners and a soft cloth, especially during the first weeks.
- 26) No ventilation near high-moisture appliances. Steam from kettles or dishwashers can stress finishes on adjacent doors. Encourage good ventilation and avoid directing steam at door faces.
Fix checklist: perform a quality pass under bright light, address flaws before rehanging, and adopt gentle cleaning practices.
Safety and workspace setup
Spraying introduces fine aerosols and, depending on the chosen products, potentially hazardous vapours. Safety is part of a successful result and should not be an afterthought. For any questions about product safety, application conditions, or personal protective equipment, refer to product labels and safety data sheets. If you need individualized guidance, consult a qualified professional.
- 27) Inadequate respiratory and skin protection. Use appropriate respiratory protection rated for your coating type, along with eye protection and gloves.
- 28) Poor dust control. Dust settling on wet coatings creates texture. Clean thoroughly, control foot traffic, and consider temporary filtration.
- 29) Improper storage and disposal. Seal containers promptly, store rags safely, and dispose of waste per local guidelines.
Diagnosing common defects
Even careful jobs can show a hiccup or two. Use this quick reference to identify and correct typical issues.
- Orange peel (bumpy texture): Often from high viscosity, low pressure, or holding the gun too far away. Filter and adjust viscosity as recommended, set proper pressure, and maintain consistent distance.
- Runs and sags: Caused by heavy passes, hovering on edges, or over-reduced material. Apply thinner coats, move steadily, and let coats flash before the next pass.
- Fisheyes (craters): Usually contaminate-related. Stop, let dry, sand smooth, deep-clean, and seal with a compatible barrier primer before recoating.
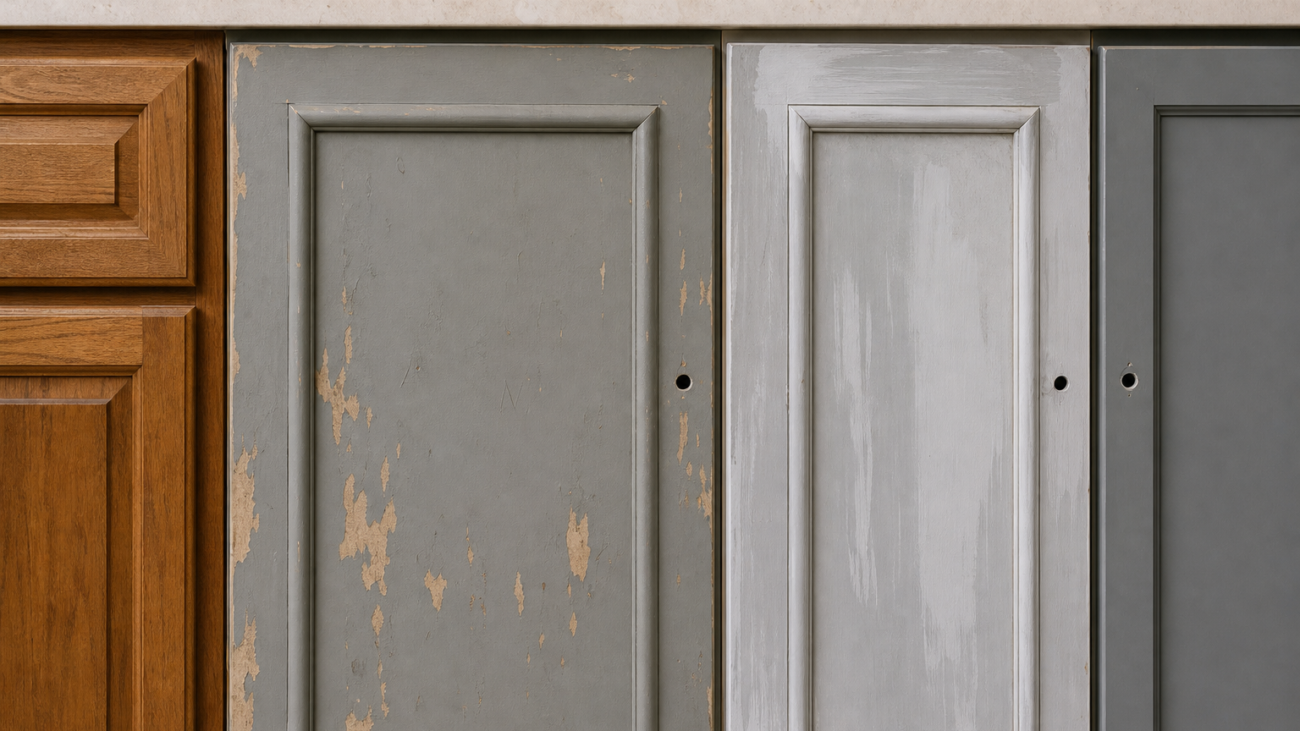
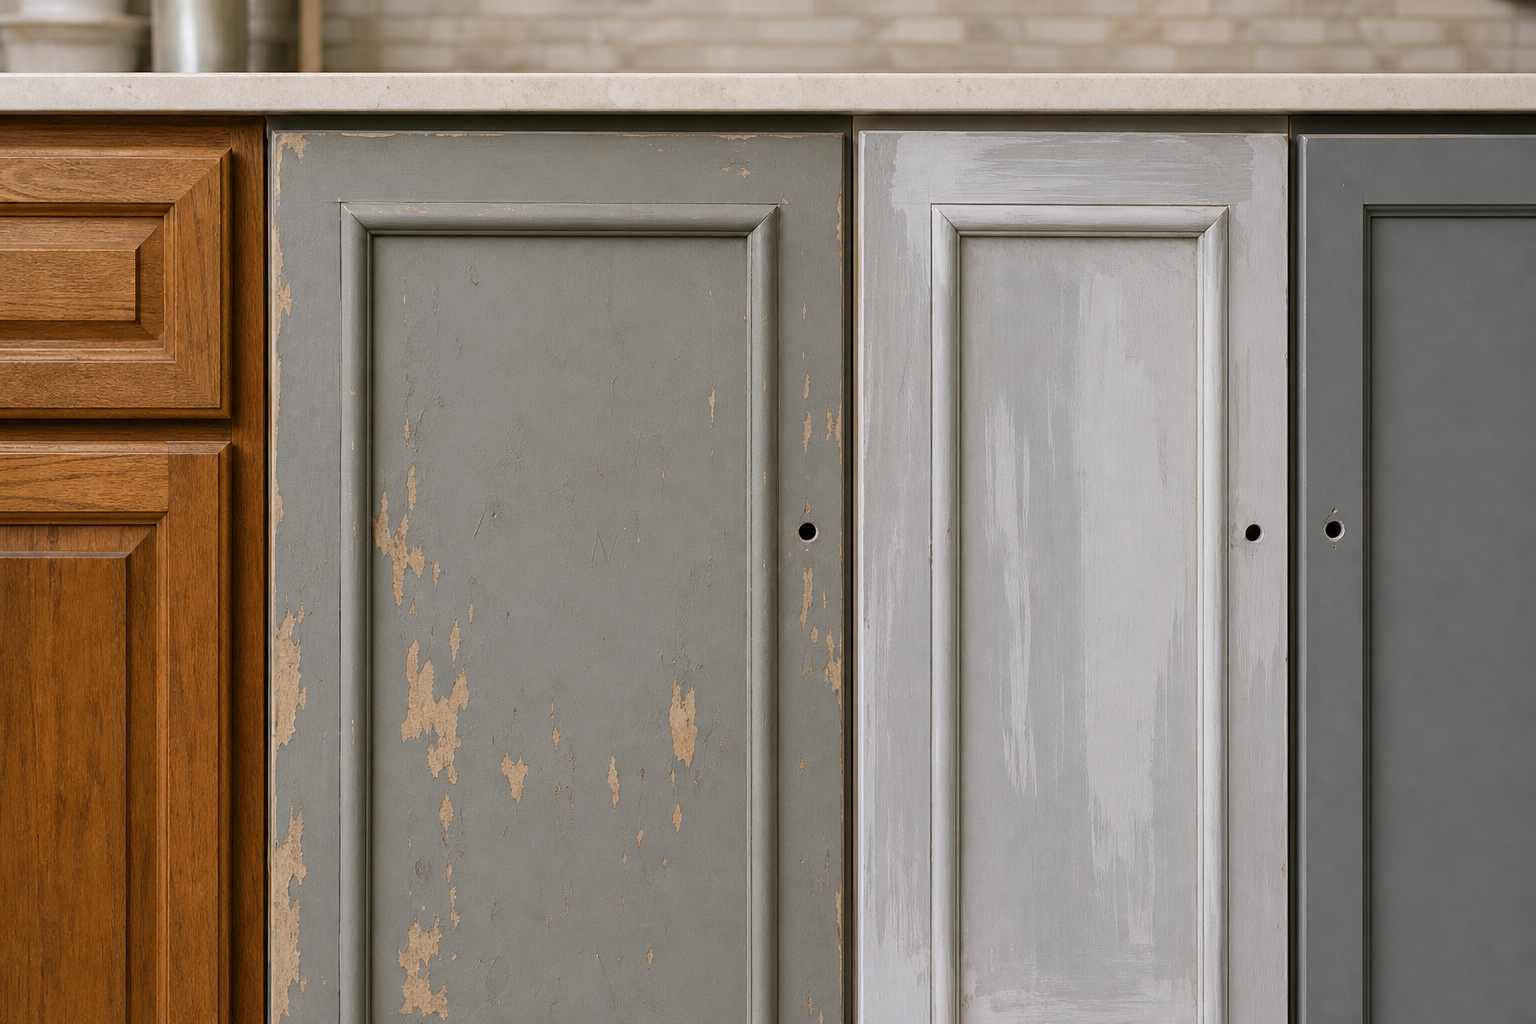
- Poor adhesion/peeling: Points to inadequate cleaning or scuffing or incompatible layers. Sand back to a sound layer, reprime with a compatible primer, and maintain proper prep.
- Tannin bleed-through: Yellow/brown staining from woods like oak. Use a stain-blocking primer and allow full dry times between coats.
Smart process sequence
Following a disciplined order reduces rework and keeps quality consistent from the first door to the last.
- Document and label every part; remove and bag hardware.
- Degrease thoroughly; rinse and dry.
- Repair chips, fill dings, and stabilize loose veneer.
- Scuff-sand; seal MDF edges if present.
- Vacuum and tack-wipe; set up a dust-controlled spray zone.
- Prime with a substrate-appropriate primer; sand between coats.
- Dial in sprayer with sample boards; strain coating.
- Spray colour coats in thin, even passes with consistent overlap.
- Allow proper dry and cure times; handle with care.
- Final inspection and corrections; reinstall hardware; add bumpers.
FAQ: cabinet respraying mistakes to avoid
How clean is clean enough before priming?
Keep cleaning until a white cloth no longer lifts residue and the surface feels squeak-clean after a fresh water rinse. Degrease first, rinse thoroughly, and let parts dry before sanding so you do not grind oils into the surface.
Do I need to sand if I am using a bonding primer?
Scuff-sanding creates a uniform mechanical profile that helps even the best primers grip. A light, even scuff paired with a compatible primer is a safer route than relying on chemistry alone.
Why does my finish feel soft days after spraying?
Temperature, humidity, and film thickness influence cure time. Heavy coats or cool, humid spaces can slow curing. Provide stable conditions, allow ample time, and avoid stressing the finish until it has fully cured.
What is the best way to avoid orange peel on cabinet doors?
Strain your coating, set tip size and pressure to suit viscosity, maintain a consistent gun distance, and apply light, even coats with 50% overlap. Always dial in settings on a test piece before painting doors.
When can I reinstall doors and hardware?
Reinstall only after the coating is dry enough to handle without imprinting. Even then, treat the finish gently and avoid tightening hardware aggressively until full cure. Use new bumpers to reduce sticking.