
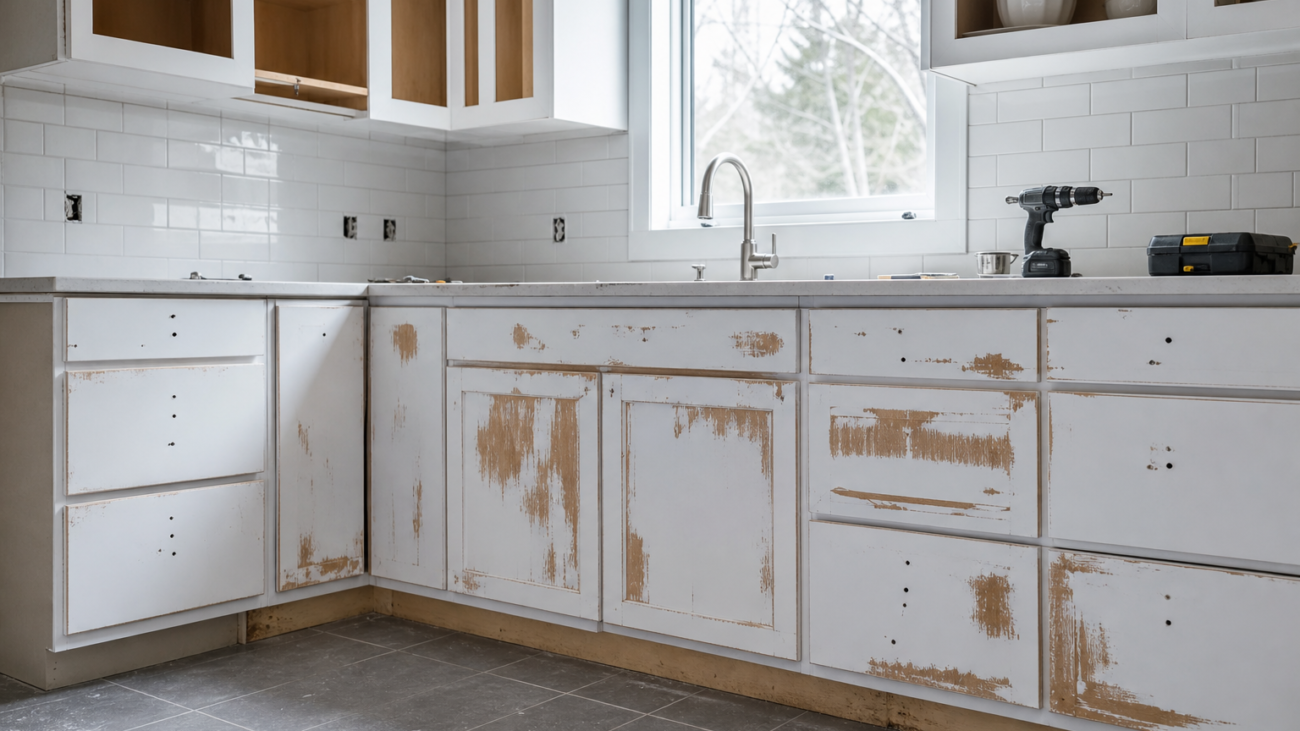
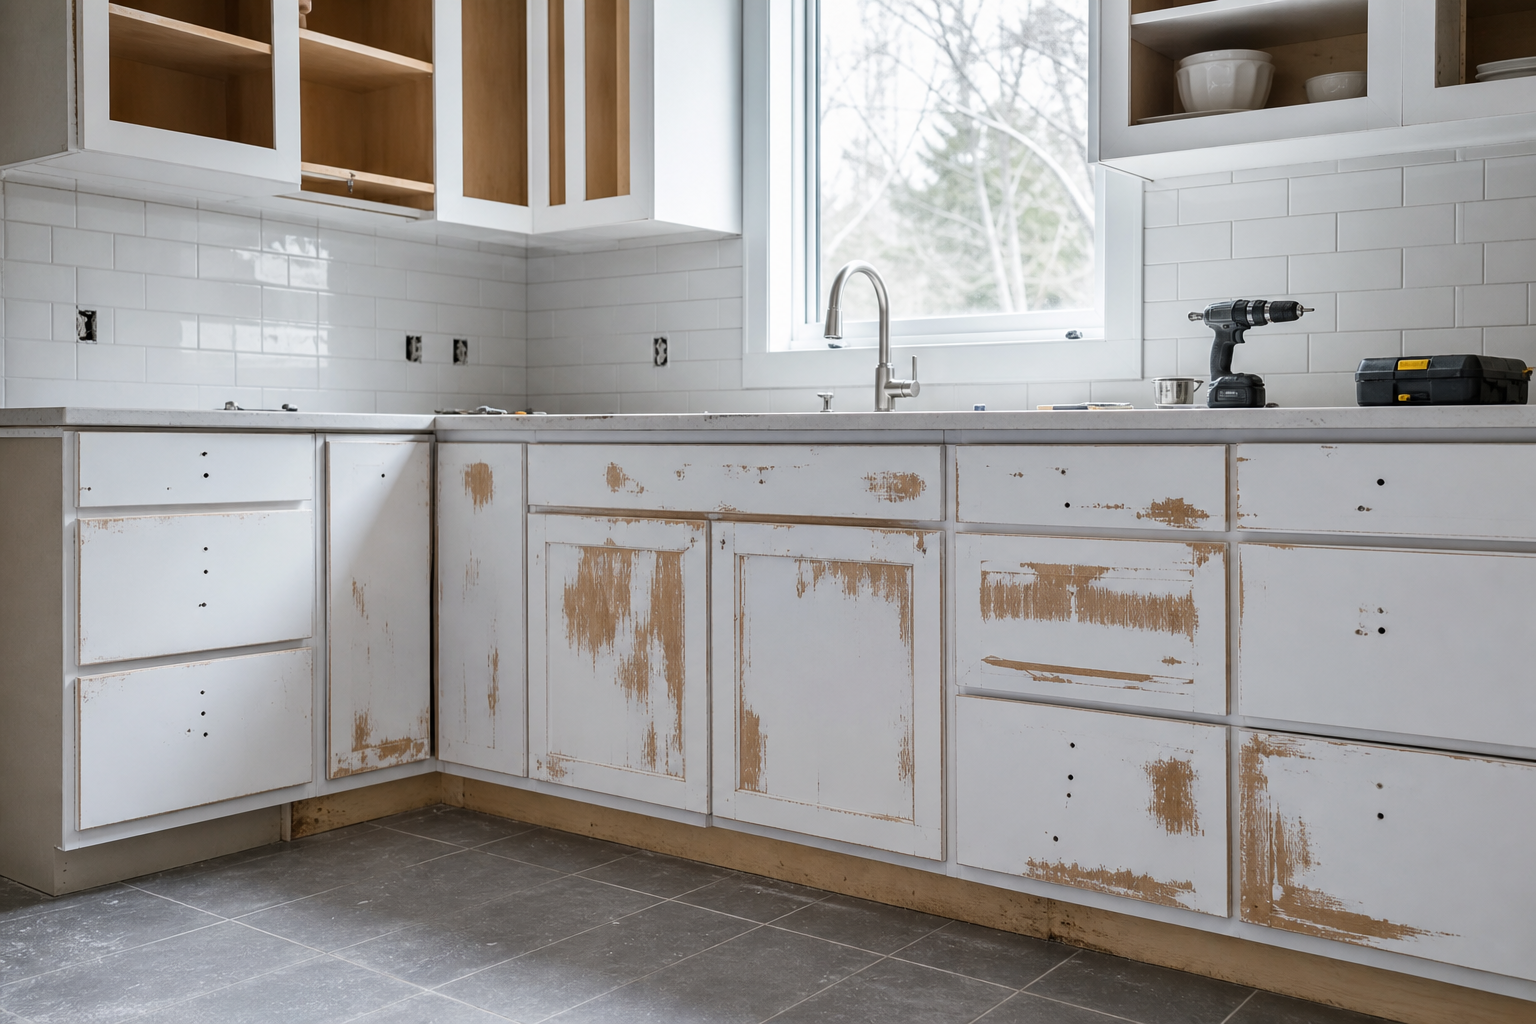
Toronto cabinet repair before respraying: what to fix, how to prep, and when to replace parts
Planning a cabinet colour change with a sprayed finish? The quality of your paint job is only as good as the surface beneath it. That’s why Toronto cabinet repair before respraying isn’t a nice-to-have—it’s the foundation for a durable, smooth, professional-looking result. This guide walks you through what to inspect, the common problems to fix, and the right preparation sequence so your spray finish adheres, levels, and lasts.
Why repair matters before a spray finish
Spray coatings highlight, not hide, surface defects. A cabinet door with hairline cracks, lifted veneer, or greasy residue may look fine from a distance, but once you lay down a uniform sprayed film, imperfections telegraph through. Proper repairs deliver three essential benefits:
- Adhesion: Clean, sound, and profiled substrates help primers and topcoats bond.
- Appearance: Flattened seams, filled dents, and tight edges allow the spray to level to a consistent sheen.
- Longevity: Stabilized wood, reinforced joints, and sealed stains prevent premature chipping, cracking, or tannin bleed-through.
Rapid diagnosis checklist: find problems in minutes
Use this room-by-room checklist to map issues before you pick up sandpaper or primer. Work from top to bottom and left to right so nothing gets missed.
- Hinges and hardware
- Loose screws, stripped holes, sagging doors, misaligned reveals.
- Corroded hinges or knobs, stuck soft-close mechanisms.
- Door and drawer faces
- Dents, dings, gouges; chipped corners or edges.
- Hairline cracks in rails/stiles or panel seams; open mitres.
- Raised wood grain, flaking clear coat, heavy brush marks from past work.
- Boxes and frames
- Loose face frames, racked boxes, out-of-square openings.
- Water swelling or soft spots near sinks and dishwashers.
- Peeling veneer or delaminated edge banding.
- Surfaces and contamination
- Grease film, cooking residue, silicone overspray (from polishes), or wax.
- Glossy factory finishes that need deglossing or scuff-sanding.
- Stain and odour sources
- Tannin bleed-prone woods (oak, mahogany) or knots.
- Water stains, rust marks from hardware.
When to repair vs replace: a practical decision tree
Not every problem needs a new part. Use this decision guide to choose smart fixes that support a successful spray finish.
- Loose hinges or pulls
- Repair if: screw holes are slightly enlarged—use wood glue and hardwood toothpicks/dowels, then re-drill.
- Replace if: hinges are bent or corroded; upgrade to matching hardware before finishing to avoid fresh paint damage later.
- Edge damage and corner chips
- Repair if: damage is under 6 mm deep—use a hard-setting wood filler; feather-sand to retain the profile.
- Replace if: large chunks are missing or the profile can’t be rebuilt consistently—consider a new door.
- Cracked rails/stiles or open joints
- Repair if: hairline cracks—wick in wood glue and clamp; fill pinholes after curing.
- Replace if: the joint moves under light pressure—structural failure will print through paint and continue to move.
- Veneer lift and delamination
- Repair if: small areas—inject glue, roll flat, and clamp; skim with filler after.
- Replace if: broad panels are bubbled or MDF is swollen—resurfacing or a new panel is more reliable.
- Water damage and swelling
- Repair if: minor swelling sands flat and the substrate is still firm.
- Replace if: MDF has puffed edges that crumble; moisture intrusion has softened the core.
- Severe contamination (silicone/wax)
- Repair if: residue responds to thorough degreasing and sanding.
- Replace if: fish-eye defects persist even with barrier priming—contamination can defeat adhesion.
Tools and materials you’ll likely need
Assemble a compact, high-impact repair kit so you can move efficiently through doors, drawers, and frames.
- Cleaning and deglossing: degreaser, clean water, microfibre cloths, Scotch-Brite pads.
- Disassembly: driver bits, container for screws, masking tape and marker for labelling.
- Repairs: wood glue, clamps, hardwood dowels/toothpicks, two-part wood filler, fine wood putty, veneer glue or contact adhesive.
- Surface prep: sanding block, sanding sponge, dust extraction, sandpaper (80–220 grits), tack cloths.
- Priming and sealing: bonding primer, stain-blocking primer for tannin/water marks.
- Protection: masking paper, plastic sheeting, painter’s tape, drop cloths, PPE (respirator, safety glasses, gloves).
Step-by-step repair sequence that sets up a flawless spray
Follow this order to avoid rework and ensure each step reinforces the next.
- Document and label
- Photograph hinge locations and door orientation. Label each piece (e.g., “Sink-Upper-2”) on the hinge pocket with low-tack tape.
- Remove doors, drawers, and hardware
- Bag and label screws; keep hinges and corresponding doors together.
- Deep clean and degloss
- Degrease all surfaces until a clean white cloth shows no residue. Rinse and let dry. Lightly abrade glossy areas to a uniform dullness.
- Stabilize structure first
- Re-glue loose face frames and joints. Correct racking and square openings before cosmetic fixes.
- Repair fastener holes and hardware issues
- For stripped holes, glue and insert hardwood dowels or toothpicks, flush-cut, then re-drill pilots.
- Fix veneer, edges, and chips
- Re-adhere lifted veneer and clamp. Rebuild chipped edges with hard-setting filler; shape while green, finish-sand when cured.
- Address cracks and gaps
- Inject glue into hairline cracks; clamp across rails/stiles. Avoid flexible caulks on moving joints—they can telegraph under paint.
- Level and profile-sand
- Block-sand fills flush. Preserve door profiles by using sponges on curves. Step through grits to 180–220 for uniform scratch patterns.
- Dust control and inspection
- Vacuum, tack, then inspect under raking light. Circle defects with pencil for targeted touch-ups.
- Prime strategically
- Use a bonding primer on slick finishes and a stain-blocking primer on tannin- or water-stained areas. Spot-prime repairs first, then full-prime for uniform build.
- Final sand and clean
- After primer cures, scuff-sand lightly (220–320) to remove nibs and improve topcoat leveling. Remove dust meticulously.
Wood types and special cases to consider
Different materials call for slightly different repair and prep tactics. Keep these nuances in mind:
- Oak and open-grain hardwoods: Grain can print through sprayed finishes. Consider grain-filling after primer if a glass-smooth look is desired.
- Maple and tight-grain hardwoods: Take repairs cleanly; watch for burnishing when sanding—use fresh paper and moderate pressure.
- MDF: Edge damage is common; seal freshly sanded edges with primer to prevent fuzzing and over-absorption.
- Veneered panels: Avoid over-sanding through thin veneer; use light pressure and sharp abrasives.
- Previously coated cabinets: Unknown coatings may resist adhesion; perform a small adhesion test with your chosen primer.
Avoid these pitfalls that ruin sprayed finishes
- Skipping degreasing: Paint won’t bond over kitchen oils and silicone.
- Filling moving joints with soft putties: They crack under seasonal wood movement.
- Overbuilding edges with filler: Bulky edges chip faster and look non-factory.
- Neglecting stain sealing: Tannins and water marks can bleed through multiple topcoats.
- Rushing reassembly: Fresh coatings need adequate cure time to avoid impressions around hardware.
Prep the workspace for spraying after repairs
After repairs and priming, set up an environment that supports a clean, even spray.
- Containment: Mask off adjacent rooms; create a dedicated spray area for doors and drawers.
- Clean air: Reduce airborne dust; vacuum floors and use lightly dampened floors to settle particles before spraying.
- Racks and stands: Use drying racks or pin boards to handle pieces without touching fresh faces.
- Lighting: Raking light at 30–45 degrees reveals defects and orange peel during wet coats.
- Test panel: Always dial in viscosity, tip size, and fan pattern on a scrap or back face first.
Timelines and sequencing that keep projects on track
Even a modest kitchen can include 20–40+ pieces. A simple, repeatable sequence helps you stay organized and avoid mixing unprepped parts into the spray cycle.
- Day 1: Label, remove hardware, deep clean, and start structural fixes.
- Day 2: Complete fills, veneer re-adhesion, and sanding; spot-prime repairs.
- Day 3: Full prime, scuff-sand, dust control, and final inspection.
- Day 4+: Spray topcoats, allow proper cure, then reassemble carefully.
Adjust time based on repair complexity and product cure requirements. Don’t compress cure windows; adhesion and print-through problems often trace back to rushing this stage.
Quality control checks before you pick up the spray gun
- Touch test: Run fingertips across edges and repairs—if you feel a ridge, you’ll see it after spraying.
- Raking light: Inspect each face and edge; mark micro-defects for a quick spot fill and sand.
- Adhesion spot test: Crosshatch and tape-pull a primed, hidden area; proceed only with solid adhesion.
- Hardware dry-fit: Test hinge plates and pulls post-primer to confirm hole alignment.
FAQs: Toronto cabinet repair before respraying
Do I need to remove all doors and drawers to repair and respray?
Yes—disassembly makes repairs more accurate and produces cleaner edges and backs. It also prevents overspray on interiors and hardware. Labelling each piece ensures smooth reassembly and consistent reveals.
What’s the best way to fix stripped hinge screw holes?
Glue hardwood toothpicks or a short dowel into the hole, let it cure fully, trim flush, and drill a new pilot hole. This restores bite for the screw and helps keep doors aligned after spraying.
How do I stop stains and wood tannins from bleeding through paint?
After cleaning and sanding, spot-prime stained areas with a stain-blocking primer, then apply a full bonding or stain-blocking primer coat. Allow proper dry times and scuff-sand lightly before spraying topcoats.
Can I fill open panel seams on Shaker-style doors?
If the seam is a static gap caused by shrinkage, a hard-setting filler or epoxy can work after stabilizing the joint with glue. If the panel floats and still moves, prioritize structural stabilization and avoid soft, flexible fillers that can crack later.
Is sanding between primer and topcoat necessary?
Light scuff-sanding removes nibs, levels minor texture, and promotes intercoat adhesion. It’s a small step that significantly improves final smoothness and durability.