
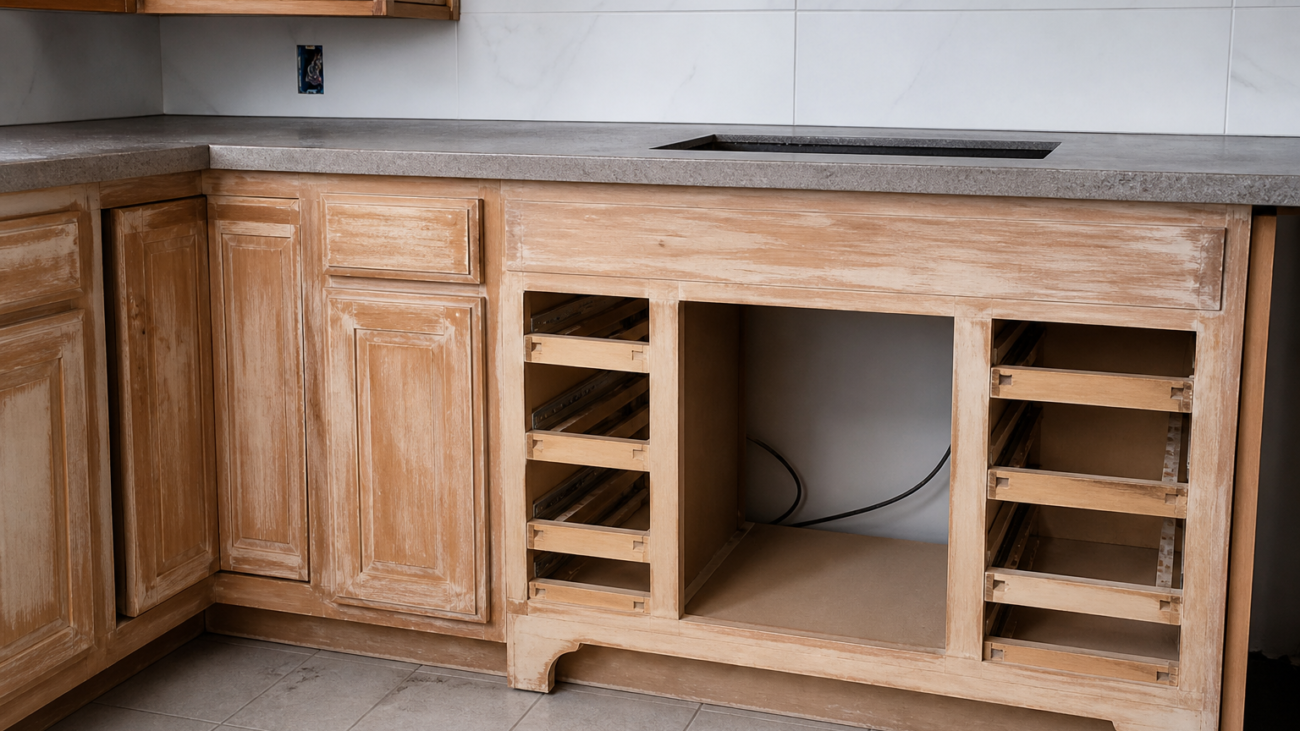
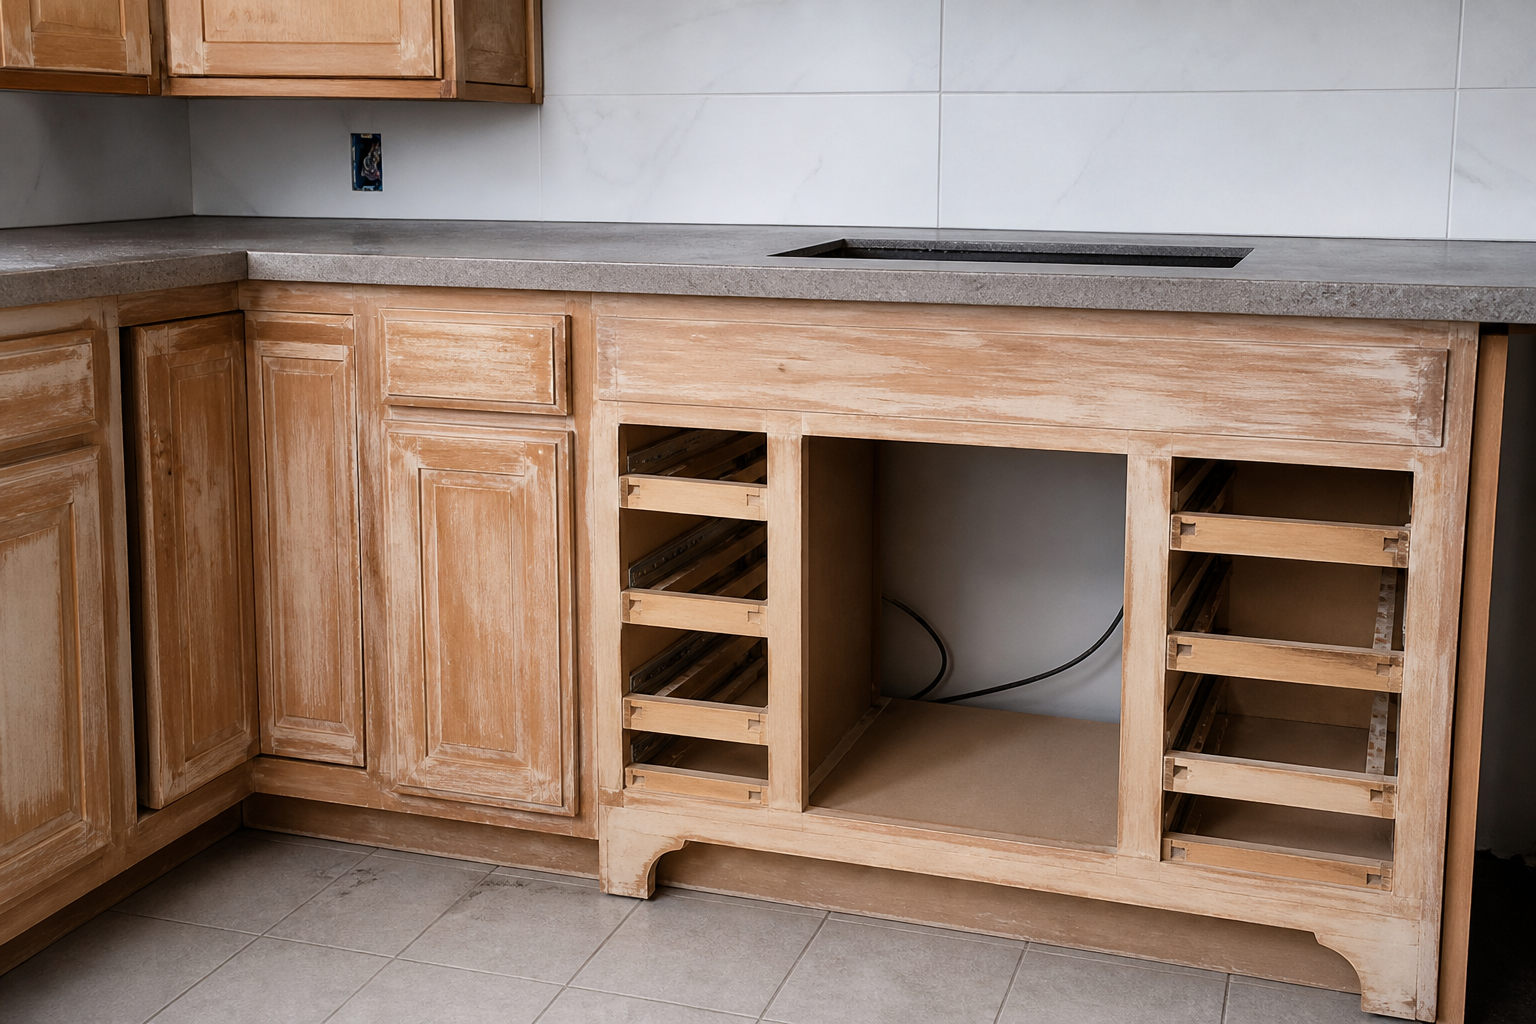
Toronto cabinet repair before refinishing: what to fix and how to spot it
Refinishing can make tired cabinets look new again—but only if the surface underneath is sound. Doing the right Toronto cabinet repair before refinishing eliminates hidden problems that cause peeling, telegraphed defects, sticky doors, and squeaky drawers. This guide shows you exactly what to check, what to fix first, and how to prepare cabinets so your new finish looks smooth and holds up to daily use.
Why repair first: adhesion, durability, and appearance
Paints and clear coats are thin, unforgiving layers. They highlight, not hide, what’s underneath. Repairing before refinishing matters for three big reasons:
- Adhesion: Loose veneer, flaking factory coatings, oils, or moisture damage can prevent new finishes from bonding. Solid substrate = reliable adhesion.
- Durability: Unfixed cracks, wobbly boxes, or stripped hinge screws stress the finish and can lead to early chipping at high-touch points.
- Appearance: Dents, ridges, and seams will “telegraph” through the new coat. Smoothing and stabilizing first yields a flatter, cleaner look.
Quick diagnostic walkthrough: what to inspect in 20 minutes
Use this simple pass-through to decide which repairs to tackle before you prime or paint:
- Open and close everything: Doors should swing freely and align; drawers should glide without sticking. Note rub points and sagging.
- Check box integrity: Press on cabinet sides, backs, and floors. Listen for creaks and feel for flex—especially beneath sinks.
- Scan for moisture cues: Look for swelling, dark stains, bubbled veneer, or soft particleboard around sinks, dishwashers, coffee stations, and refrigerator water dispensers.
- Assess the finish: If the existing coating is glossy, oily, or flaking, plan on thorough cleaning and mechanical deglossing.
- Evaluate edges and profiles: Nicks on shaker rails, chipped corners, and worn edges need filling and reshaping for crisp lines.
- Hardware and hinges: Loose handles or misaligned hinges often indicate stripped screw holes or worn components that should be corrected now.
Prioritizing repairs: structural, functional, then cosmetic
Address issues in the order that protects your finish and daily usability:
- Structural: Cabinet boxes, shelves, face frames, and sink bases must be solid. Reinforce loose joints, replace severely swollen substrate, and secure backs/sides.
- Functional: Fix hinges, drawer slides, and alignment so moving parts stop rubbing. Eliminate door-to-door contact and cabinet-to-counter rubs.
- Cosmetic: Once the structure and motion are right, fill dents, level seams, and re-adhere veneer so the surface reads flat under new coatings.
Common Toronto cabinet issues you can fix before refinishing
- Under-sink swelling or staining: If particleboard is spongy or flaking, replacement is safer than patching. If sound, dry it thoroughly, seal stains, and proceed with prep.
- Loose face-frame joints: Add wood glue to open seams and clamp. Reinforce from inside with brads or pocket screws if accessible.
- Peeling thermofoil or veneer: Trim loose edges, re-bond with appropriate adhesive, and feather sand. Replace if the failure is extensive.
- Chipped corners and edge wear: Use a high-quality wood filler or two-part epoxy to rebuild, then sand to shape for crisp profiles.
- Hinge screw blowouts: For stripped holes, glue hardwood dowels or insert repair anchors, then re-drill pilot holes to prevent future sag.
- Drawer slide misalignment: Re-square slides, replace worn rollers, and ensure both sides are level and parallel to stop binding.
- Grease and silicone contamination: Clean thoroughly with a dedicated degreaser; silicones from polishes can cause fisheyes if not removed.
Materials and prep sequence that supports long-lasting finishes
Good prep is as critical as the repair work. Here’s a durable sequence to follow:
- Clean: Degrease doors, drawers, and boxes (especially around handles and cooking zones). Rinse and dry completely.
- Disassemble: Remove doors, drawers, shelves, and hardware. Label parts and hinge positions so reassembly preserves alignment.
- Repair: Perform the structural and functional fixes described above. Allow adhesives and fillers to fully cure.
- Sand and degloss: Mechanically scuff all surfaces to create a tooth for primer. Feather edges where old finish transitions to bare spots.
- Dust control: Vacuum with a brush attachment and tack-wipe. Persistent dust causes nibs that telegraph through topcoats.
- Prime for the substrate: Use an adhesion-promoting, stain-blocking primer compatible with your chosen topcoat. Spot-prime repairs first, then full-prime.
- Inspect under raking light: Mark and spot-fill low areas, then re-sand and touch-up prime. This is your chance to perfect the surface.
- Finish coats: Apply thin, even coats as directed by the product manufacturer, allowing full dry times between coats.
Wood species and surfaces: special notes before refinishing
- Oak with open grain: If you want a modern, smooth look, consider grain-filling after repairs and before priming.
- Maple and birch: Dense and smooth; focus on thorough deglossing to help primer grip and on crisp edge repairs.
- Laminate and thermofoil: Sound adhesion depends on the integrity of the facing. Any loose sections must be re-bonded or replaced prior to coating.
- Pine and softwoods: Dings easily; protect repaired edges and consider a sealing primer to reduce tannin bleed.
Hardware, hinges, and alignment: prevent rubs that ruin finishes
Fresh paint won’t stop a door that already rubs. Address these alignment points early:
- Reveal consistency: Aim for even gaps along door edges. Adjust hinges for plumb and square.
- Soft-close retrofits: If adding soft-close hinges or dampers, install and test now so you’re not drilling finished doors later.
- Handle and pull layout: Fill old holes completely if changing styles, then mark, drill, and dry fit new hardware before finishing.
- Drawer slides: Level both slide rails, confirm full extension without racking, and replace worn components.
Moisture and kitchen zones to watch closely
Certain areas see more wear and steam. Give them extra scrutiny:
- Sink bases: Look for past leaks, swollen bottoms, and moldy odours. Repair or replace damaged components; seal stains before priming.
- Dishwasher flanks: Steam can lift edges and soften adhesives. Re-bond any lifting seams and ensure end panels are secure.
- Range hoods and uppers near stoves: Heavy grease accumulation demands deeper cleaning and sometimes an extra primer coat.
- Coffee stations and kettles: Repeated steam can raise grain and loosen tape-on edging; re-adhere and seal.
Surface smoothing that shows in the finish
Little steps add up to a factory-like look:
- Feather-fill seams: Where stiles meet rails, use a fine filler to level hairline gaps so they don’t show as shadow lines.
- Rebuild corners: Square off bull-nosed chips with a straightedge during sanding after epoxy cures.
- Raking-light checks: Shine a light across the surface. Circle any depressions, fill, and re-sand until the shadow disappears.
- Edge break: Slightly ease sharp edges; coatings stick better and resist chipping.
Safety and ventilation
Follow product labels for protective gear and ventilation when cleaning, sanding, priming, or finishing. Use dust extraction when possible and keep the workspace clean to minimize airborne particles that can land in wet coatings.
Timeline and checklist you can follow
Every project varies, but this simple checklist helps you plan:
- Day 1: Remove doors/drawers/hardware, label, and deep-clean.
- Day 2: Structural and functional repairs; clamp and cure per adhesive specs.
- Day 3: Fill, sand, dust removal; first full prime.
- Day 4: Spot-fill under raking light, sand, touch-up prime.
- Day 5: Finish coats with full dry times as directed by manufacturer.
- Final: Reassemble carefully, adjust hinges, and install hardware.
FAQ: toronto cabinet repair before refinishing
How do I know if a swollen sink base needs replacement instead of repair?
If the substrate crumbles, stays soft after drying, or won’t hold screws, replacement is typically the more reliable path. If it’s firm and only stained, you can dry it thoroughly, seal the stains, and proceed with standard prep.
Can I refinish over peeling thermofoil or loose veneer?
Not reliably. You’ll need to re-bond or replace any failing sections first. A finish can only adhere to what’s firmly attached. After re-bonding and leveling, prime appropriately before topcoating.
What’s the best way to fix stripped hinge screw holes?
Glue in a hardwood dowel or use a suitable insert, let it cure, then re-drill a proper pilot hole. This restores bite so hinges stay aligned and prevent future sagging that could chip new paint.
Do I need grain filler on oak before painting?
Only if you want a very smooth, contemporary look. Without filler, the open grain will remain visible as a subtle texture under paint. It’s a style choice—fill if you prefer a flat, sleek finish.
Should I drill new hardware holes before or after finishing?
Lay out and drill new holes before finishing to avoid chipping fresh coatings. You can dry-fit hardware to confirm alignment, then remove it for painting and reinstall after curing.