
A Practical Guide to Toronto Cabinet Door Spraying for Kitchens
Cabinet door spraying has become a go-to way to refresh a kitchen without the disruption and waste of a full replacement. Whether you want crisp whites, a modern neutral, or a bold, character-forward color, a properly sprayed finish can transform the look of existing cabinetry. This guide explains how cabinet door spraying works, what to expect step by step, how to plan your project, and how to care for the finish once it is complete—all with practical checklists you can use before you book a service.
What is cabinet door spraying?
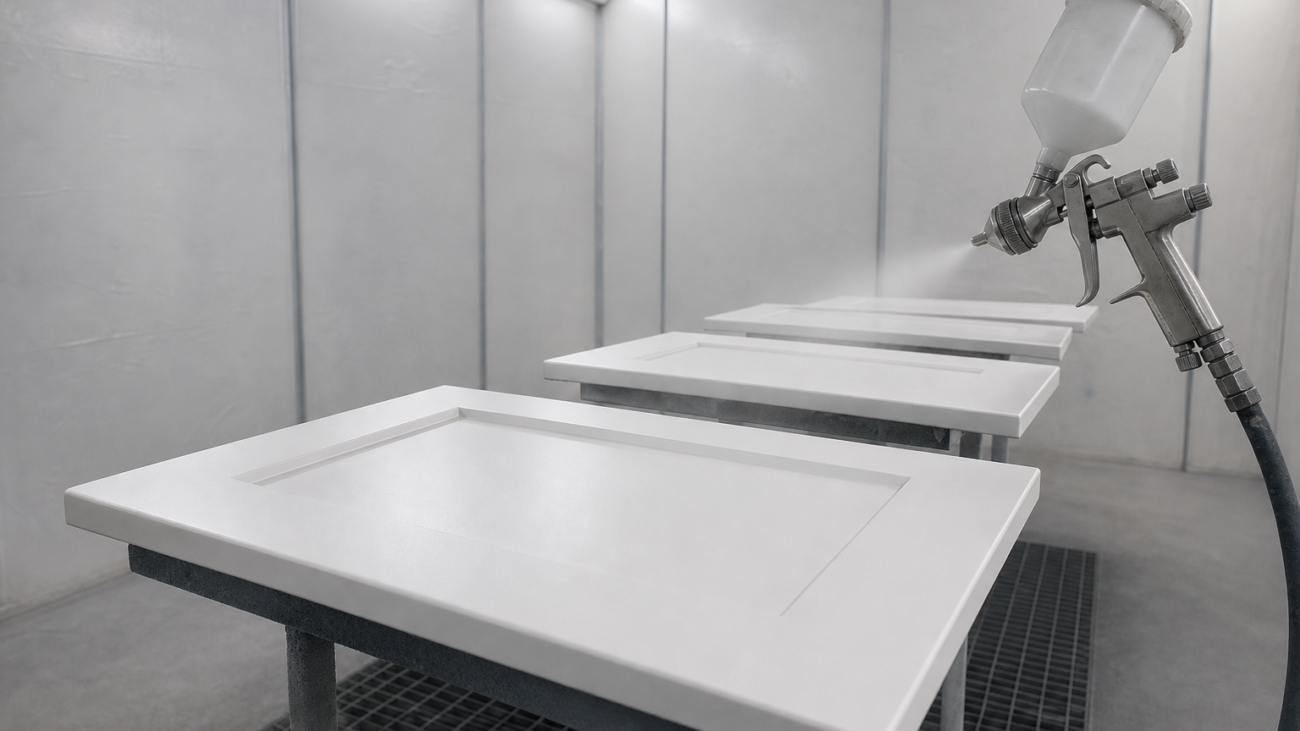
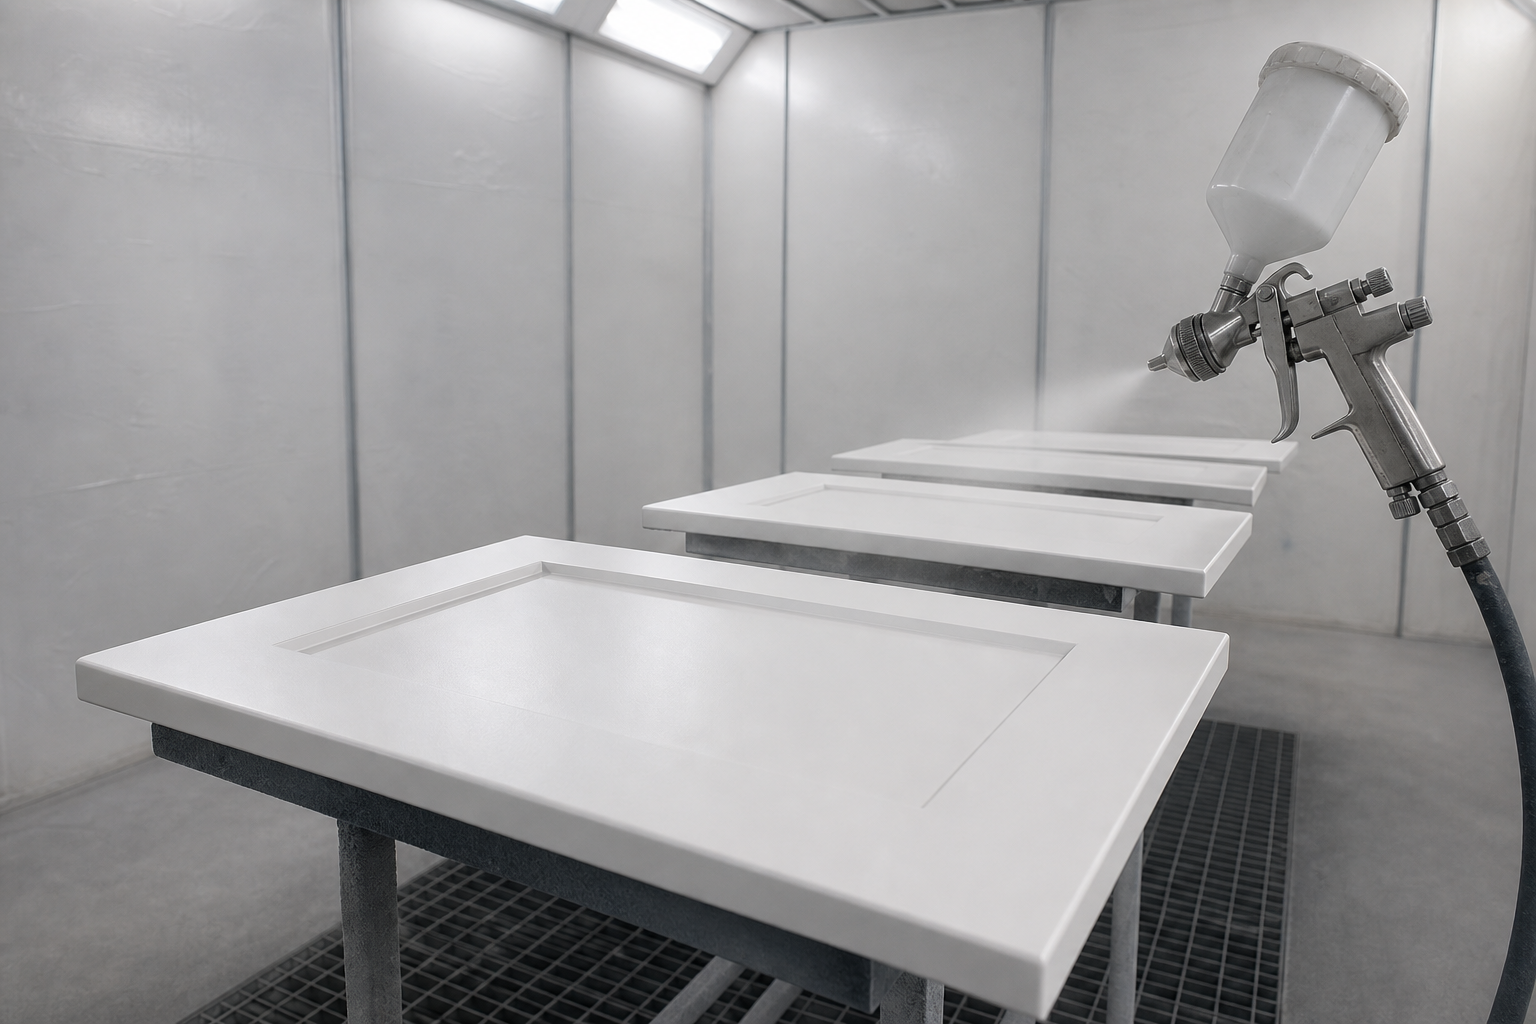
Cabinet door spraying is a finishing method where paint or a compatible coating is applied to cabinet doors, drawer fronts, and typically exposed face frames using a spray system rather than brushes or rollers. The goal is a smooth, consistent film with minimized brush marks and improved edge coverage. When done correctly with compatible materials and thorough prep, sprayed finishes can provide a clean, uniform appearance that updates style and color without altering your existing cabinet layout.
Spraying is commonly chosen for:
- Modernizing wood species and stains that feel dated
- Unifying mismatched doors and trim pieces
- Achieving a fine, furniture-like finish on profiles and panel details
- Coordinating cabinetry with new counters, backsplashes, or flooring
How the process works
Every project is unique, but the stages below describe a typical, well-structured cabinet door spraying workflow from start to finish.
- Assessment and scope. Confirm which components will be sprayed: doors, drawer fronts, exposed face frames, crown, toe kicks, panels, and islands. Note any damage, loose hinges, or water-swollen areas that need repair before finishing.
- Documentation and labeling. Doors and drawer fronts are labeled to ensure each piece returns to its original position. Hardware is removed and grouped by cabinet to avoid mixing.
- Removal and transport (if applicable). Doors and drawer fronts are usually sprayed off-site in a controlled environment. In-home masking and protection are set for any components finished on-site (such as face frames).
- Surface cleaning and deglossing. Residual oils and kitchen contaminants are removed with appropriate cleaners and scuff sanding. This step supports coating adhesion and helps prevent finish defects.
- Repairs and filling. Dings, nail holes, and minor substrate irregularities are filled and sanded flush. Caulking may be applied to seams where movement is minimal.
- Masking and containment. Surrounding areas, glass inserts, and non-finished surfaces are protected. For on-site spraying, floors, counters, and appliances are covered and ventilation plans are implemented.
- Priming. A bonding or stain-blocking primer compatible with the topcoat is applied—often in multiple coats with sanding between to build a smooth base and manage wood tannins where present.
- Color application. One to two color coats are applied, with flash and cure times observed according to product specifications. Edges and profiles receive careful, even coverage.
- Final cure and inspection. Coatings are left to cure to a handle-ready state before reassembly. Surfaces are inspected for uniform sheen and film build.
- Reassembly and adjustments. Doors and drawer fronts are reinstalled. Hinges are adjusted for reveals and alignment. Bumpers are added as needed to protect finishes during use.
Planning your Toronto kitchen project
Good planning avoids delays and ensures a smoother experience. Use the following considerations to build your timeline and scope.
- Kitchen access: Identify dates when your kitchen can be partially out of commission for masking and face-frame work. Plan simple meals or off-site dining during peak activity days.
- Appliance and counter changes: If you are also upgrading counters or appliances, coordinate sequencing so newly finished cabinetry is protected from later trades.
- Color selection: Gather a small set of candidates and review them under your kitchen’s actual lighting at different times of day. Narrow to one final choice that works with floors and fixed elements.
- Hardware plan: Decide if you will keep, clean, or replace pulls and knobs. If switching from knobs to pulls (or changing hole spacing), discuss hole filling and re-drilling during the finishing plan.
- Storage and staging: Clear counters and empty the first row of upper and base cabinets scheduled for work. Provide a staging area for labeled doors and drawers during pickup and return.
- Ventilation and protection: Ensure windows open and HVAC returns near the kitchen can be covered during on-site tasks. Protect adjacent rooms if you have open-concept spaces.
Materials and finishes
Sprayed cabinet finishes vary by chemistry and sheen. Your final choice should balance appearance, cleanability, and compatibility with the substrate. Always follow manufacturer instructions for application and cure times.
- Primers: Bonding primers and stain-blocking primers are frequently used on kitchen cabinetry, especially when coating over slick factory finishes or species prone to tannin bleed-through. Sanding between coats promotes smoothness.
- Topcoats: Cabinet-grade coatings are formulated for adhesion and wear on high-touch surfaces. Discuss options that suit doors, drawer fronts, and frames as a system with the chosen primer.
- Sheens: Satin and semi-matte sheens are common for their balance of wipeability and glare control. Higher sheens can highlight surface imperfections but may provide a crisper, contemporary look; lower sheens hide minor wear more easily.
- Color families: Whites and soft neutrals remain popular for brightening spaces. Mid-tone grays and warm beiges can soften contrasts in kitchens with stone or wood elements. Saturated accent colors on an island or a bank of lowers add character while keeping uppers light.
- Substrate considerations: Solid wood, veneer over MDF, and thermofoil each require specific prep approaches. Confirm that the chosen system is compatible with your cabinet material.
Prep and safety checklist
Preparation is central to a clean, long-lasting sprayed finish, and safety should remain a priority throughout. Use this checklist to align expectations before any work begins.
- Identify cabinet material types (e.g., wood, veneer, MDF) and note any water damage or delamination.
- Confirm cleaning and deglossing methods to remove kitchen residues before sanding and priming.
- Discuss dust control, masking, and containment to protect counters, floors, and adjacent rooms.
- Plan ventilation strategies and verify that windows can be opened if required.
- Remove contents from cabinets that will be masked or sprayed on-site; cover or relocate nearby items.
- Verify labeling for all doors and drawers so reassembly restores factory alignment.
- Set a schedule for pickup and return of doors/drawers, plus on-site sessions for frames.
- Keep children and pets clear of work zones and curing areas.
- Allow specified cure times before normal use; avoid harsh cleaning during early cure windows.
Spray vs. brush-and-roller
Both methods can update cabinetry, but they differ in finish character and logistics.
- Finish character: Spraying aims for a more uniform film with minimized tool marks, which can look closer to a factory finish, especially on panel profiles and edges.
- Speed and staging: Roller-and-brush methods can be useful for small touch-ups or limited components. Spraying, especially when conducted off-site for doors and drawers, can move efficiently through priming and topcoats under controlled conditions.
- Containment: Spraying requires more comprehensive masking and overspray control. If your kitchen is open to other living areas, expect added protection and ventilation steps.
Common pitfalls to avoid
Steer clear of these frequent mistakes to help your finish look good and last.
- Skipping thorough degreasing, leading to adhesion issues and fish-eyes.
- Using non-compatible primer/topcoat combinations.
- Rushing cure times before handling or reinstallation.
- Neglecting hinge and hardware planning, causing misalignment or visible old holes.
- Overlooking masking details like the inside edges of face frames and glass inserts.
- Applying heavy coats on edges, which can cause sags or runs.
Maintenance and care
After reinstallation, gentle care helps preserve the finish, especially during the first weeks of cure.
- Wipe spills promptly with a soft cloth and mild, non-abrasive cleaner.
- Avoid harsh chemicals, scouring pads, or aggressive scrubbing.
- Use door bumpers and close doors gently to reduce edge wear.
- Clean high-touch areas like around pulls regularly to prevent buildup.
- Address minor chips early: clean, lightly sand the spot if recommended for your coating system, and touch up with a matched finish.
When to consider refacing instead
Spraying updates color and sheen but does not change door style or cabinet layout. If you want a different door profile, need to replace damaged doors, or plan to add new boxes or drawers, a refacing approach (new doors and veneers over existing boxes) may align better with your goals. You can still complete sprayed finishing on new and existing components as part of a coordinated plan—just confirm materials and color matching in advance.
Timeline and expectations
Lead time and duration vary by scope, number of doors and drawers, and whether on-site frame work happens in one or more sessions. Expect distinct phases: pickup and labeling, off-site priming and color application, on-site masking and face-frame finishing, curing, and reinstallation. Setting realistic milestones for each phase—plus buffer for inspection and touch-ups—helps keep the project on track.
FAQ
Will spraying cover the wood grain on my cabinet doors?
It depends on the species, cut, and how much filling and priming you plan to do. Some open-grain woods can show texture through paint unless grain-filling primers and multiple build coats are used. Discuss how much grain telegraphing you are comfortable with before work begins.
Do doors have to be removed to be sprayed?
Removing doors and drawer fronts usually delivers cleaner, more consistent results and allows better control over dust and overspray. Face frames and panels can be finished on-site with proper masking, but doors are commonly transported to a controlled environment for priming and topcoats.
How long before I can use my kitchen normally?
Most coatings have distinct dry, handle, and cure stages. Doors can often be reinstalled after they are handle-dry, while full cure and peak durability take longer. Plan light use initially and follow the specific product guidance provided for your coating system.
Can I change my hardware during a spraying project?
Yes. If you are switching from knobs to pulls or changing hole spacing, discuss hole filling, sanding, and re-drilling as part of the prep and reassembly steps so the new hardware aligns cleanly.
What if my cabinets have minor damage?
Small dings and scratches are commonly addressed during the filling and sanding stage. More significant issues—like swollen MDF edges or delaminated veneer—should be repaired or replaced prior to finishing so the new coating has a stable substrate.