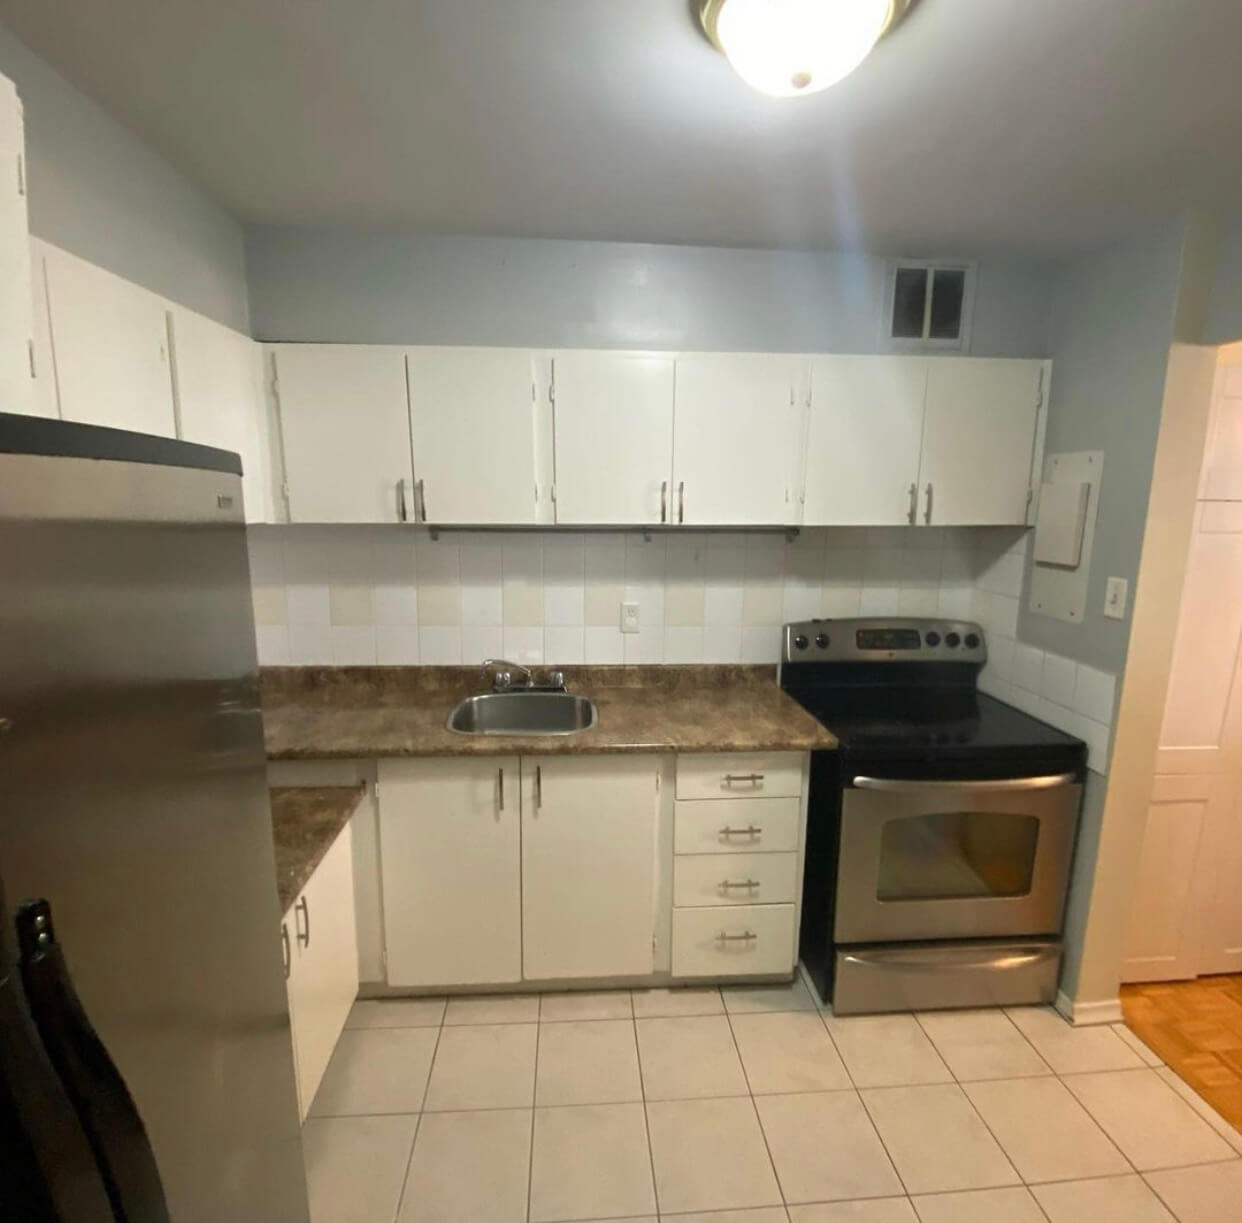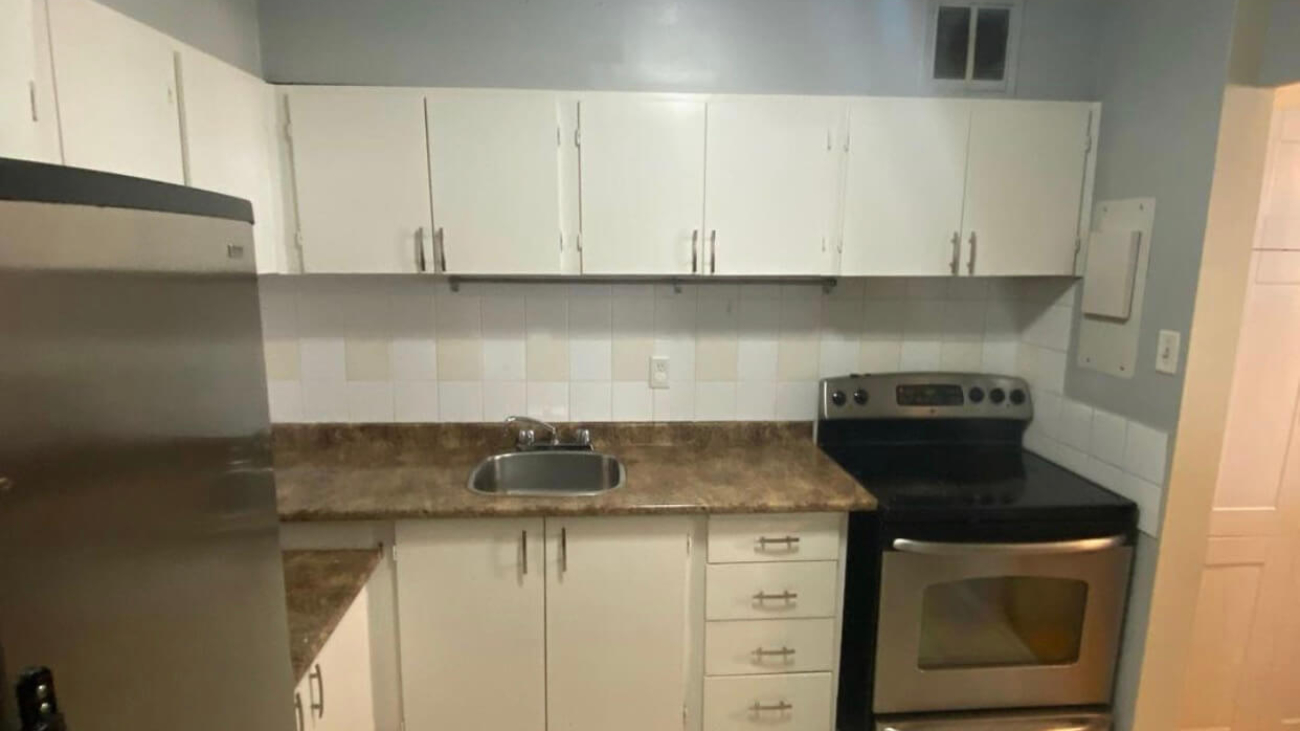
Kitchen cabinet refacing contractors replace doors and drawer fronts, apply new veneer to cabinet boxes, and update hardware so your kitchen looks newly installed—without replacing the boxes. For York and Toronto homeowners near 2710 St Clair Ave W, this is a smart, fast way to modernize. Paint2decor INC manages the entire process, from design consult to final inspection.
By Masoud Kakar — Paint2decor INC
Last updated: May 3, 2026
Quick Summary
Kitchen cabinet refacing swaps visible surfaces—doors, drawer fronts, veneers, and hardware—while keeping sound cabinet boxes. It delivers a major style upgrade and shorter timelines than a full replacement. This guide explains how refacing works, when it’s best, how to choose contractors, and how Paint2decor INC executes projects across York and Toronto.
Use this section as your at-a-glance roadmap. Then dive deeper using the table of contents below.
- What refacing is and how it differs from refinishing and replacing
- When to choose refacing and what results to expect
- Step-by-step process contractors follow
- Materials, door styles, and finish options
- Best practices to vet kitchen cabinet refacing contractors
- Local considerations for York and the Toronto metro
- Quality checks, timeline planning, and a hiring checklist
What Is Kitchen Cabinet Refacing?
Kitchen cabinet refacing is the professional replacement of doors and drawer fronts, application of new veneer or laminate to face frames and exposed panels, and installation of matching hardware. The original cabinet boxes remain. Done well, refacing makes cabinets look newly built, often within days, with minimal disruption to daily life.
Refacing focuses on the visible parts of your cabinetry. Cabinet boxes (usually 1/2–3/4 inch plywood or furniture-grade particleboard) stay in place. Contractors fit new doors, drawers, and veneer so the system looks cohesive and modern.
- Core elements changed: doors, drawer fronts, face-frame veneers, toe kicks, end panels, and hardware.
- Core elements kept: cabinet boxes, shelving, and interior structure—provided they’re square, dry, and structurally sound.
- Common overlays: 1/2-inch overlay, full overlay; European-style concealed hinges are typical.
- Finish systems: factory-finished doors, site-applied veneers, and pro-grade coatings like 2K urethane on panels.
For homeowners comparing options, our cabinet refacing in Toronto page outlines how we assess boxes, measure for replacement fronts, and align sheen and texture for a seamless result.
Why Refacing Matters for GTA Homeowners
Refacing matters because it transforms style, boosts everyday usability, and shortens renovation timelines. In York and the broader Toronto metro, many kitchens have sturdy boxes but dated doors. Refacing leverages that strength, cutting mess and downtime while delivering a like-new finish aligned to today’s colors and hardware.
Here’s the thing—most Toronto-area cabinets are overbuilt for longevity, so investing in new faces pays off. You upgrade line-of-sight elements, storage flow, and surface durability without demoing good carcasses. That means fewer days of kitchen downtime and less waste.
- Function gains: soft-close hinges, ergonomic pulls, and corrected door reveals improve daily use.
- Durability gains: modern coatings resist moisture, oils, and frequent cleaning; 2K systems cure harder than typical wall paints.
- Design gains: shaker, slab, or slim-profile rails modernize instantly; common rail widths: 2–2.5 inches for a balanced look.
- Timeline gains: many kitchens complete in about 5–10 working days on site after doors are fabricated.
When we work in York, we often see solid maple or oak boxes from past renovations. Rather than replace, we tighten joinery, true up faces, and fit new components—delivering a transformation with less disruption to work and school schedules.
How Kitchen Cabinet Refacing Works (Step-by-Step)
The refacing workflow includes evaluation, precise measuring, door and drawer fabrication, site preparation, removal, veneer application, installation of new fronts, hardware fitting, finishing touches, and final QA. A disciplined process controls dust, protects surfaces, and ensures gaps, reveals, and sheen match across the kitchen.
- Evaluation and measure: verify box plumb/square within a few millimeters; document hinge types and overlay targets.
- Front fabrication: select door profile (e.g., shaker), material (MDF, maple), and factory finish sheen (matte, satin).
- Site prep: mask floors, appliances, and counters; set up dust control; label doors/drawers for sequence.
- Removal: carefully remove existing fronts and hinges; keep hardware if reusing pulls or knobs.
- Veneering: apply matching wood veneer or high-pressure laminate to face frames and exposed panels.
- Install new fronts: hang doors, align 3-way adjustable hinges to achieve even 2–3 mm reveals.
- Hardware fit: drill to a centered 96 mm or 128 mm pull standard (or per spec); install soft-close mechanisms.
- Finish integration: touch up edges, seal seams, align sheen; confirm color consistency under 3000–4000K lighting.
- Final QA: cycle each door/drawer 10–15 times; verify clearances at appliances and corners.
Our team follows a repeatable checklist and captures photos at each milestone. That discipline creates consistent results across Toronto homes—from compact condos to wider suburban kitchens.
Refacing vs. Refinishing vs. Replacing
Refacing changes your kitchen’s visible faces and hardware while keeping boxes; refinishing repaints or re-stains existing fronts; replacing removes the entire cabinet system. Choose refacing when boxes are solid and you want new door styles. Choose refinishing when you like your current door style and only want a new color.
| Approach | What changes | Best when | Typical timeline |
|---|---|---|---|
| Refacing | New doors/drawers, veneers, hardware | Boxes are sound; desire new style | About 1–2 weeks on site after fabrication |
| Refinishing | Existing doors repainted/re-stained | Happy with current profiles; want new color | Often 3–7 working days |
| Replacing | All new boxes, doors, layout | Boxes failing or layout change needed | Several weeks to months depending on scope |
If you’re unsure, explore our kitchen cabinet refinishing in Toronto overview or our broader cabinet refinishing services to compare finishes and durability for your home.
Materials, Styles, and Methods
Refacing materials include wood veneers, rigid thermofoil, and laminates; doors range from shaker to flat slab and slim-rail shaker. Method selection depends on box condition, humidity, and desired sheen. Matching species, grain direction, and edge profiles is essential for a seamless look.
Material and style choices shape longevity and daily cleaning ease. We help homeowners balance style with maintenance so kitchens stay beautiful under real-world use.
- Veneers: maple, oak, walnut; installed with pressure-sensitive adhesive and rolled to remove bubbles.
- Laminates/RTF: stable color and easy cleaning; good for high-moisture zones near sinks and dishwashers.
- Doors: 5-piece shaker (2–2.5 inch rails), micro-shaker (1.5–1.75 inch rails), slab (minimalist), or glass inserts.
- Coatings: catalyzed 2K urethane, polyurethane, or conversion varnish on panels; common sheens: matte (10–15 GU) and satin (25–35 GU).
- Hardware: soft-close hinges, under-mount slides rated 75–100 lb, and handles sized 1/3 cabinet width for proportion.
We frequently coordinate refacing with selective painting on panels or floating shelves. Our preparation standards outline surface cleaning, sanding, and adhesion protocols that make coatings last.
Best Practices for Hiring Kitchen Cabinet Refacing Contractors
Vet kitchen cabinet refacing contractors by inspecting past projects, finish systems, and QA processes. Require written scopes, sample doors, and references. Confirm dust control, masking, and hinge alignment targets. Specialists like Paint2decor INC provide photos, standardized checklists, and a clear project lead for communication.
Choosing the right partner prevents mismatched veneers, uneven reveals, and peeling edges. Here’s a practical checklist you can use on any consultation.
- Proof of specialization: ask for 3–5 recent refacing projects with before/after photos and project durations.
- Finish samples: request a door in your sheen and color; inspect edges, back paint, and hinge cup boring.
- Process clarity: confirm steps from labeling to final QA, including reveal targets (2–3 mm) and hinge types.
- Protection plan: ask how they mask floors, counters, and appliances; verify dust control tools and venting.
- Communication: identify a single point of contact, daily updates, and milestone sign-offs.
- Warranty and care: request a care guide (cleaners pH 6–8, microfiber cloths, no abrasive pads).
We maintain a documented process and dedicated project lead so homeowners always know what’s next and who to reach during the job.
Hiring Refacing Contractors in York and Toronto
In York and the Toronto metro, look for contractors who understand condo rules, parking, and seasonal humidity. Paint2decor INC operates locally from St Clair Ave W, coordinating deliveries, elevator bookings, and protective floor coverings to keep projects smooth and on schedule.
Local expertise matters—especially with logistics. We routinely stage door deliveries to match building access windows and measure ambient humidity (ideally 35–55%) to protect veneers while curing.
Local considerations for York
- Plan scheduling around neighborhood access near Jane St at St Clair Ave West; we coordinate staging so crews arrive and exit efficiently.
- Humidity swings in spring/fall can move wood a millimeter or two; our team checks conditions and adjusts hinge tension to prevent door warp.
- For families visiting nearby Toronto Public Library – Daniel G. Hill Branch or enjoying Smythe Park, we stage loud tasks during off-hours to reduce disruption.
Tools and Resources Contractors Use
Professional refacing relies on accurate measuring tools, dust control, and finish systems. Expect HVLP sprayers for panels, quality veneer rollers, 3-way adjustable hinges, oscillating tools for trim, and low-decibel extractors. Documentation—scope, samples, and QA checklists—keeps teams aligned and homeowners informed.
In our experience, the right tools don’t just speed work—they protect your home. We also publish preparation guides and service pages to keep expectations clear at every step.
- Measuring: digital tape (1/16-inch precision), story sticks, and squareness checks on frames.
- Cutting/fit: track saws for panels, oscillating tools for trim, and template jigs for pulls (96/128/160 mm).
- Spraying: HVLP with 1.3–1.5 mm tip for cabinet coatings; transfer efficiency improves finish consistency.
- Ventilation: portable booths, exhaust fans with HEPA filtration, and zip walls to isolate work zones.
- Documentation: sample-approval forms, daily logs, and final punch lists signed by the homeowner.
See our consultation workflow for how we confirm scope and finishes before ordering your new fronts.
Timeline and Scheduling
Most refacing projects run in two phases: off-site fabrication and on-site installation. After measuring, doors typically arrive in a few weeks. On-site work often takes about 5–10 working days, including removal, veneering, installation, hardware fitting, and QA—planned to minimize kitchen downtime.
We stage tasks to protect your routine. For example, we align removal and veneering midweek, then hardware fitting and QA ahead of weekends so you can enjoy the refreshed space.
- Day 1–2: prep, masking, removal, and veneer on initial runs.
- Day 3–6: hang doors/drawers in zones (uppers first), adjust reveals, install soft-close systems.
- Day 7–10: hardware templates, touch-ups, sheen alignment, and final punch list.
- Post-completion: avoid harsh cleaners for 7–10 days while coatings fully cure.
Quality Assurance Checklist
A strong QA program validates alignment, adhesion, sheen, and smooth operation. Inspect reveals (2–3 mm), hinge torque, veneer seams, toe-kick continuity, and finish consistency under warm and cool light. Document any touch-ups and confirm homeowner sign-off with a dated checklist and photos.
- Open/close every door and drawer at least 10 times; check for rubs at corners.
- Confirm pulls align within 1–2 mm across banks; verify screw depth and backer support.
- Inspect veneer edges for clean cuts and uniform pressure-roll marks.
- Spot-check color under 3000K and 4000K bulbs; confirm no sheen banding.
- Review care guide: pH-neutral cleaners, soft cloths, and felt pads on counters.
Pricing Factors (No Numbers)
Refacing quotes vary by kitchen size, door style complexity, veneer type, hardware selection, and site conditions. Contractors also consider access, parking/elevators, and any cabinet repairs. The best approach is a documented scope with finish samples, so expectations match results before fabrication begins.
While we don’t list prices online, we do provide clear scopes with timelines and product specs. If you’re gathering bids, align vendors on the same door count, overlay style, veneer class, and hardware so you can compare apples to apples.
- Scope drivers: number of doors/drawers, glass inserts, pantry panels, and crown or light-rail details.
- Material drivers: wood veneer vs. laminate, door species (maple, oak), and coating system and sheen.
- Site drivers: masking area size, dust control needs, and delivery/elevator logistics.
- Upgrade drivers: soft-close slides, pull-out trays, and organizational inserts.
When you’re ready, start with a no-obligation consultation so we can map the exact scope for your kitchen and timeline.
Case Studies and Examples
Real-world projects show what to expect. In York and across Toronto, we’ve refaced compact condos and family kitchens, aligning door profiles, veneers, and hardware with existing layouts. These snapshots illustrate timelines, material choices, and QA steps that consistently deliver a like-new look.
York family kitchen, 22 fronts: We kept solid oak boxes, installed slim-rail shaker doors in satin white, added soft-close hinges, and veneered panels in matching white. On-site time: about seven working days. Outcome: brighter space with uniform 2–3 mm reveals and quieter operation.
Toronto condo, 14 fronts: We coordinated elevator access, used durable laminate for moisture zones, and templated 128 mm pulls for consistent lines. On-site time: about five working days. Outcome: modern slab look with smooth, wipeable faces.
Townhome galley, 18 fronts: We combined walnut veneer on end panels with matte shaker doors and swapped to under-mount slides rated 75 lb. On-site time: roughly a week. Outcome: warmer tone and stronger storage ergonomics without touching the layout.
Thinking about refacing? Talk to a specialist. Our team at Paint2decor INC will review door counts, overlays, veneer options, and timelines—then provide a clear, written scope.
Book your consultation to get started.
Research and Additional Reading
To deepen your planning, review discussions that compare refacing with other approaches, walk through renovation planning, and outline paint process basics. Use these resources to gather vocabulary, align scope, and prepare questions for your contractor consultations.
For perspectives on refacing versus replacement and general renovation planning, see these helpful overviews: refacing vs. replacing and planning a kitchen renovation. To understand paint terminology used in cabinetry work, this painting process overview can help you ask sharper questions.
Frequently Asked Questions (FAQ)
Homeowners often ask about structural suitability, timeline, and coordination with other upgrades. These concise answers address the most common questions we hear in York and Toronto consultations. For project-specific guidance, we recommend a documented, in-home assessment and sample review.
How do I know if my cabinets are good candidates for refacing?
If boxes are dry, square, and securely fastened, they’re usually good candidates. We check hinge screw bite, shelf integrity, and face-frame plumb within a few millimeters. If you also want a new door style and updated hardware, refacing is often the most efficient path.
Can I change the color and keep my existing doors?
Yes—if you like your current profiles, refinishing may be better. We deep-clean, sand, prime with an adhesion system, and spray with pro-grade coatings. Compare options on our kitchen cabinet refinishing page to see which finish suits your space.
What’s the typical on-site timeline for refacing?
After measuring and fabrication, on-site work often runs about 5–10 working days. That includes removal, veneering, hanging new doors and drawers, hardware, and quality checks. We schedule tasks to minimize downtime, and we keep you informed with a daily plan.
Can refacing be paired with new countertops or backsplash?
Yes. We often coordinate schedules so surfaces are protected during stone templating and tile work. We’ll confirm clearances for thicker counters, verify appliance reveals, and stage tasks so all trades can work without damage to new finishes.
Do you offer free quotes in York and Toronto?
We do. Our local team reviews door counts, box condition, door styles, and veneer options, then provides a written scope and timeline. Start by requesting a visit so we can gather precise measurements and share finish samples for approval.
Conclusion and Key Takeaways
Refacing gives you a like-new kitchen by updating doors, drawers, veneers, and hardware while keeping sound boxes. It’s efficient, design-forward, and well-suited to York and Toronto homes. The right contractor brings rigorous process, clear scopes, and quality checks to deliver a durable, cohesive finish.
- Refacing is ideal when boxes are solid but styles feel dated.
- Expect organized steps: measure, fabricate, prep, veneer, install, QA.
- Materials and hardware choices drive longevity and daily satisfaction.
- Local logistics in York/Toronto influence scheduling and protections.
- Start with a documented consultation and sample approvals.
Ready to plan your transformation? Connect with our York-based team on St Clair Ave W and we’ll map a smooth, well-communicated path to your refreshed kitchen.